Recent Posts

Tigger Birthday Cake
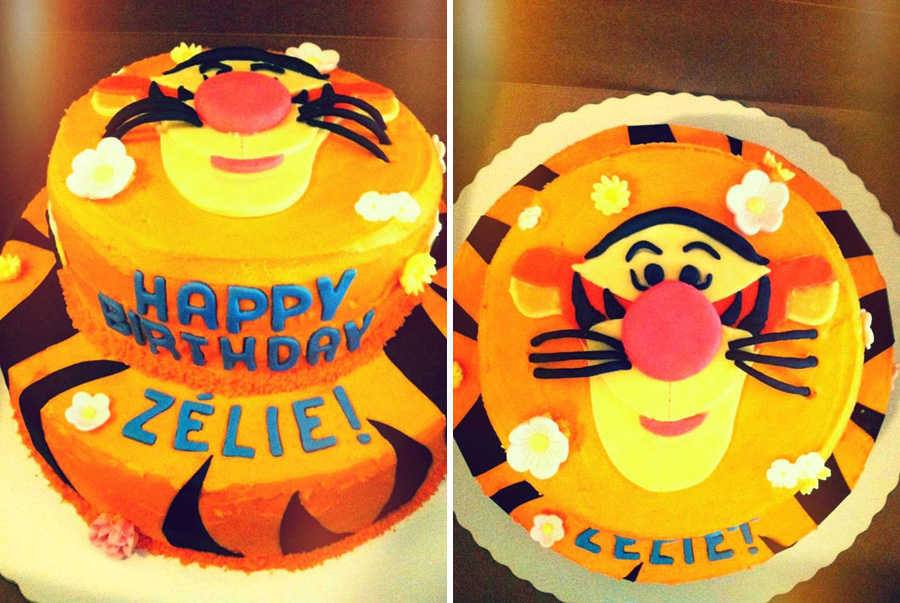
Before I left for my month-away-from-Madison, my roommate Meghan was in the process of making a Tigger birthday cake. Meghan babysits from Zelie (and her siblings) and the little girl is o-b-s-e-s-s-e-d with Tigger. Meghan planned the whole cake and made the entire thing — the only thing I did was frost/assemble the cake before I left for my trip. I am still attempting to convince Meghan to stay in the Midwest and not move back to New Jersey — cause we could totally start a little cake making biz. :)

A few notes about what Meghan used:
– Tigger’s face was handcut by Meghan and made out of fondant
– The black stripes were made using Wilton sugar sheets
Ghost Cake

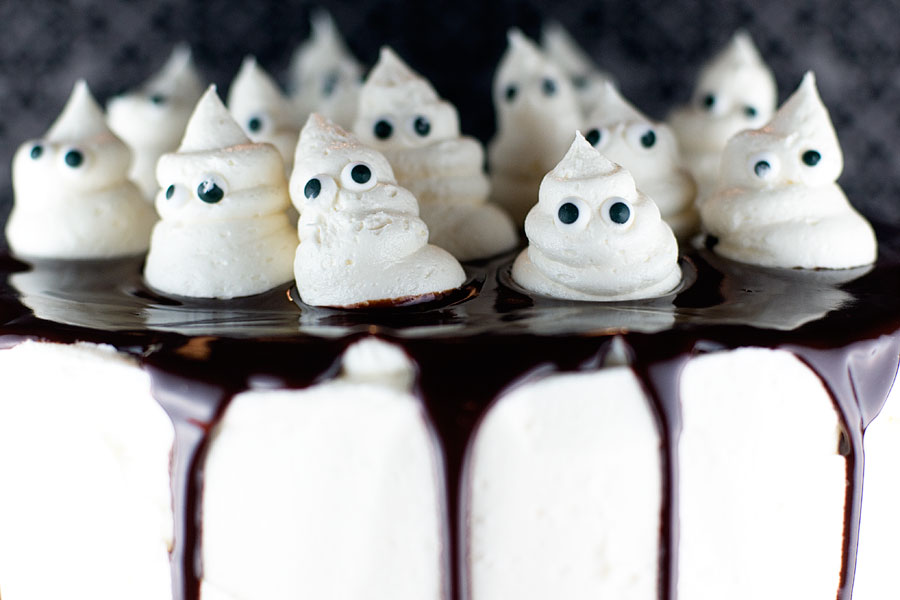
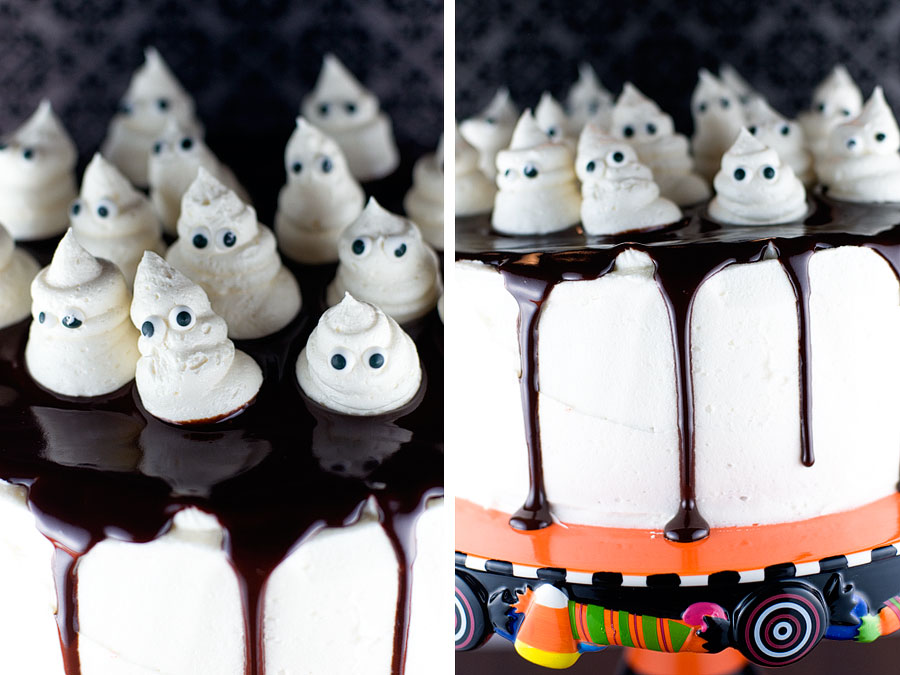
Happy Halloween!! Hope you all had a great time at your weekend Halloween parties. What did you dress up as? I wish that I were still a little kid – the costumes are so much cuter… and more comfortable. I dressed up as a skeleton. And by “dressed up” I mean I wore a t-shirt with a skeleton design on the front. Halloween is more of a baking holiday for me than anything else :) Speaking of which, hope you enjoy this BOO CAKE!

Ghost Cake
Recipe source: I Am Baker
Print Recipe

For the Cake:
I made a two-layer cake from a box mix. Feel free to make something homemade if you’d like!

For the Frosting:
I frosted my cake using my go-to buttercream recipe.

1 stick salted butter – room temperature
1 stick unsalted butter – room temperature
1 cup shortening
1 tablespoon clear vanilla extract
2 pounds confectioner’s sugar (powdered sugar, 10x)
4-6 tablespoons very cold milk
(The CLEAR extract is very important if you want WHITE buttercream. Most buttercream tends to have a yellow-ish tint if you use real vanilla extract)

1. Cream the butter and shortening in the bowl of an electric or stand mixer.
2. Add the clear vanilla extract and combine well.
3. Begin adding in the sugar and mixing thoroughly after each addition.
4. After all of the sugar has been added and mixed thoroughly, begin adding the very cold milk… one tablespoon at a time, combining very well after each addition (mixer on medium-high to high speed) until you reach the desired consistency.

For the Ganache:
After the cake is frosted, make the ganache.

8 oz. semi-sweet chocolate, chopped
1 cup heavy cream
1/2 teaspoon vanilla
1/4 cup light corn syrup

1. Combine all ingredients into a double boiler and cook over a medium heat, stirring frequently. Once the mixture becomes smooth, remove from heat and allow to cool completely.

For the Ghosts:
While the ganache cools, make the marshmallow frosting.

2 sticks butter, at room temperature
2 cups powdered sugar
1 jar marshmallow fluff (7oz)
2 teaspoons clear vanilla extract

1. Cream the butter and powdered sugar in a large bowl. Add marshmallow fluff and vanilla; mix well.
2. When the ganache is cooled, spread over the top of the cake until it begins to drip down the sides. Imperfection is totally OK – don’t worry about making a bit of a mess!
3. Wait about 15 minutes for the ganache to settle, then pipe the marshmallow ghosts. I used a pastry bag fitted with a large round tip. Pipe the frosting onto the cake into the shape of ghosts; add candy eyes or black icing for eyes. Do not worry about making the ghosts look perfect — the more “off” they are, the better. Give them crossed eyes, make them lean to the side, they’re supposed to be a little crazy.

Pumpkin-Shaped Cheese Treats

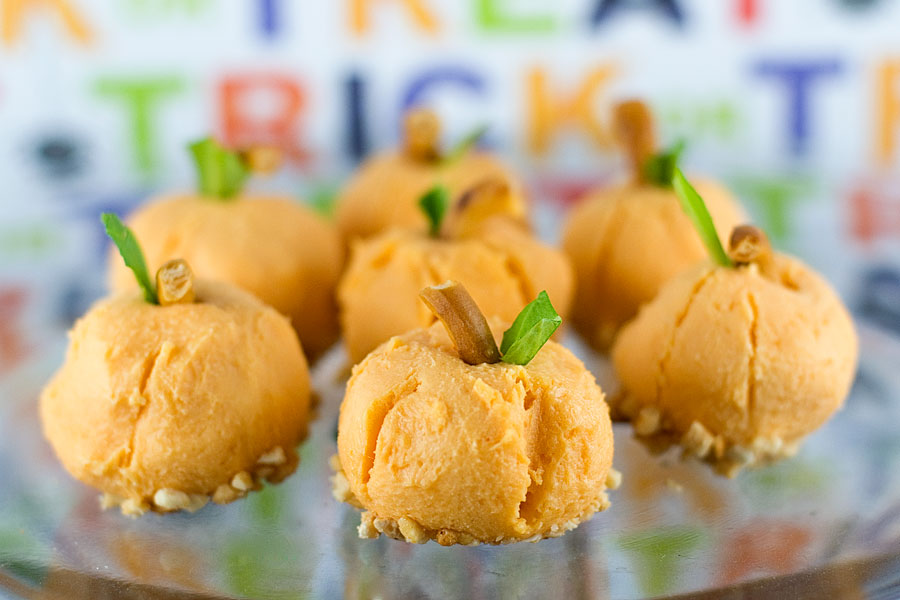
I am cheese LOVER. I have yet to meet a cheese that I haven’t liked (even the moldy, stinky cheeses are OK in my book). One of my guilty pleasures are the tubs of Merkts or Kaukauna cheese spreads. So, so delicious! Especially on Ritz crackers. If you are having a Halloween party, make these for sure!

Pumpkin-Shaped Cheese Treats
Print Recipe

1 tub of cheddar cheese spread (by Merkts or Kaukauna)
1/2 cup crushed peanuts
Pretzel pieces (stems)
Lettuce bits (leaves)

1. Shape the cheese into 1″ balls. This is easier to do if the cheese is COLD, so you might want to throw it in the freezer for a while before you begin.
2. Create lines on the cheese balls with a toothpick or fork to help them resemble pumpkins.
3. Coat the bottom of each “pumpkin” in crushed peanuts.
4. Place a pretzel piece on the top of each for the stem; and a piece of lettuce for the leaves.

Does it get more simple than that?!

Pumpkin Rice Krispies

Pumpkin Rice Krispie Treats
Print Recipe

3 Tablespoons butter
1 package mini marshmallows (or about 4 cups)
6 cups Rice Krispies
Orange food coloring
Black icing
Green icing
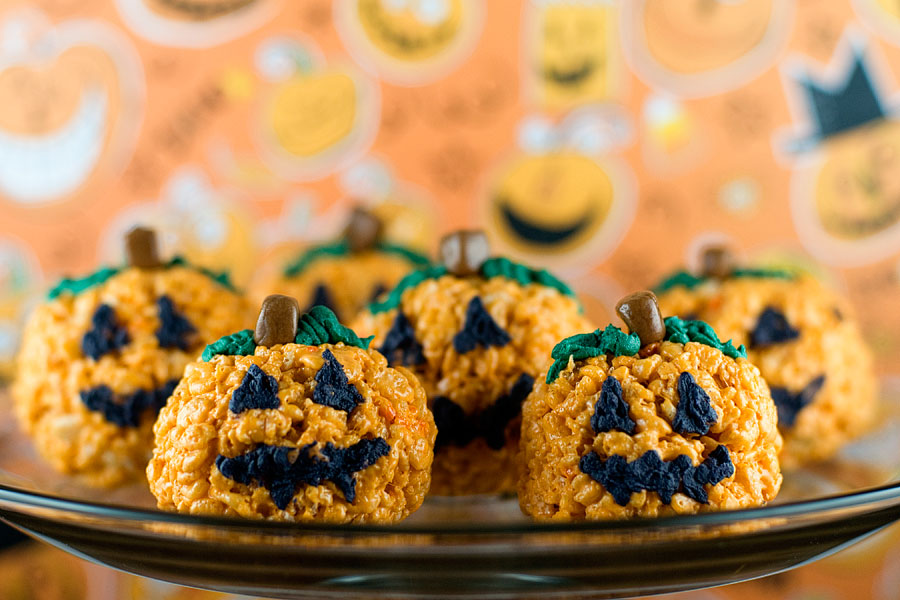
Tootsie Rolls

1. Melt the butter and marshmallows in a large saucepan over low heat.
2. Remove from heat and stir in the orange food coloring.
3. Add the cereal and stir well, until completely mixed.
4. Once cooled, shape the rice krispie mixture into balls about 3″ in diameter.
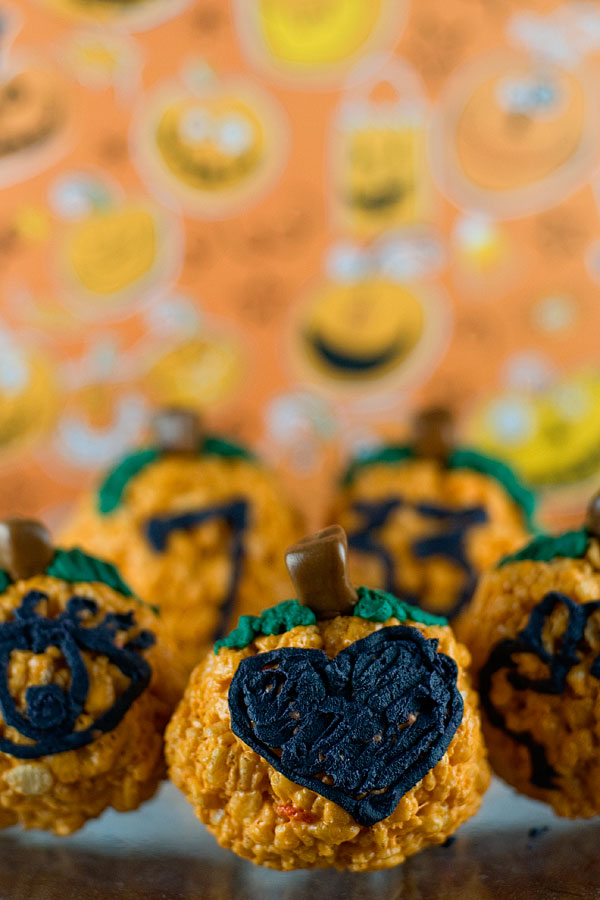
5. Shape a Tootsie Roll into a pumpkin stem and place on the top of each pumpkin. Decorate with green frosting for leaves and black frosting for the faces.

PS: Meghan made these — so of course we had to incorporate a little Friday Night Lights. Full eyes, clear hearts, can’t lose! Edit: I had a blonde moment.. the motto SHOULD be Clear eyes, full hearts, can’t lose! Thank you, Meghan! ;)

Candy Corn Cupcakes II

When I returned from my trip I told myself that I would be zen about not doing much Halloween baking this fall. Turns out, I have a hard time being zen. I feverishly made a few batches of seasonal treats the other day, so I’ll be posting today through Monday! Check back each day until Halloween for something new.

Candy Corn Cupcakes
Print Recipe

1 box white cake mix (plus required eggs, oil)
Yellow, orange food coloring
1 tub vanilla frosting (store-bought or you can make your own buttercream)

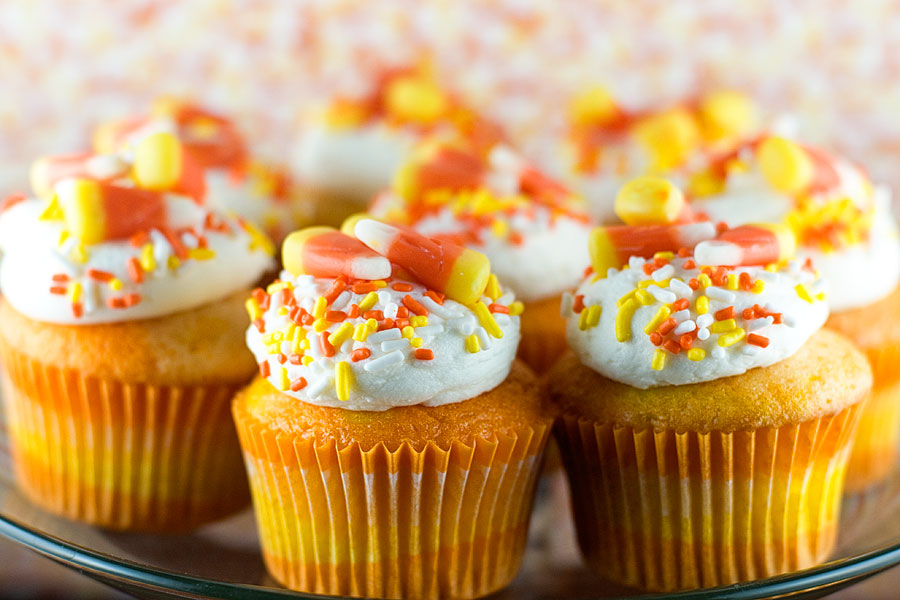
1. Make the cake batter according to box directions. Divide the batter into thirds, dying one batch yellow and one orange (leave the last plain).
2. Line 24 muffin cups; pour a spoonful of yellow batter into the bottom, then a spoonful of orange, then a spoonful of white.
3. Bake according to box directions.
4. Frost and decorate with candy corn!