Recent Posts

12 Days of Christmas: Candy Cane Blossoms
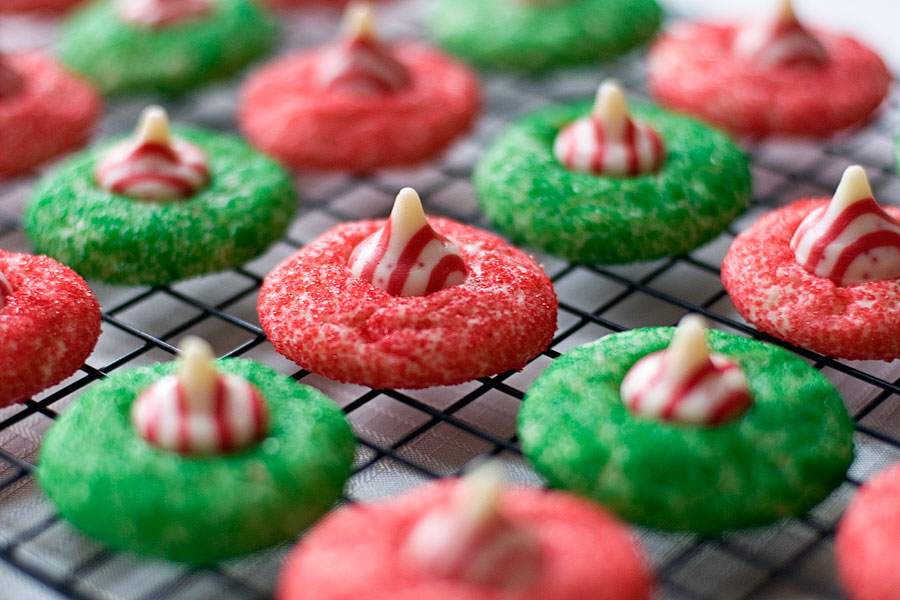

I’ve been spending some time in my hometown and made a batch of these when I was at my parents’ house. My mom took them to work the next day and the cookies disappeared within a few hours. I think the rate of cookie consumption/disappearance is a great barometer for the quality of what you make. I even had one of the admin assistants ask for the recipe (hi, Karen!). So I think it’s safe to say these cookies were a big success. I hope you give them a try and enjoy them as much as I did!

Candy Cane Blossoms
Recipe source: Baked Perfection
Print Recipe

1 bag Hershey’s Kisses Candy Cane Kisses
1/2 cup butter, softened
1 cup granulated sugar
1-1/2 teaspoons vanilla extract
1 egg
2 cups all-purpose flour
1/4 teaspoon salt
1/4 teaspoon baking soda
2 Tablespoons milk
Red and green colored sugar

1. Preheat over to 350 degrees Fahrenheit. Remove wrappers from candies (approx. 35)
2. Beat butter, sugar, vanilla, and egg in large bowl until well blended. Stir together flour, baking soda and salt; add alternatively with milk to butter mixture, beating until well blended.
3. Shape dough into 1 inch balls. Roll in red and/or green colored sugar. Place on parchment-lined cookie sheet.
4. Bake 8 – 1o minutes or until edges are lightly browned and cookies is set. Remove from oven; cool 2 to 3 minutes. Press candy piece into center of each cookie. Remove from cookie sheet to wire rack. Cool completely.

Yields approximately 35 cookies
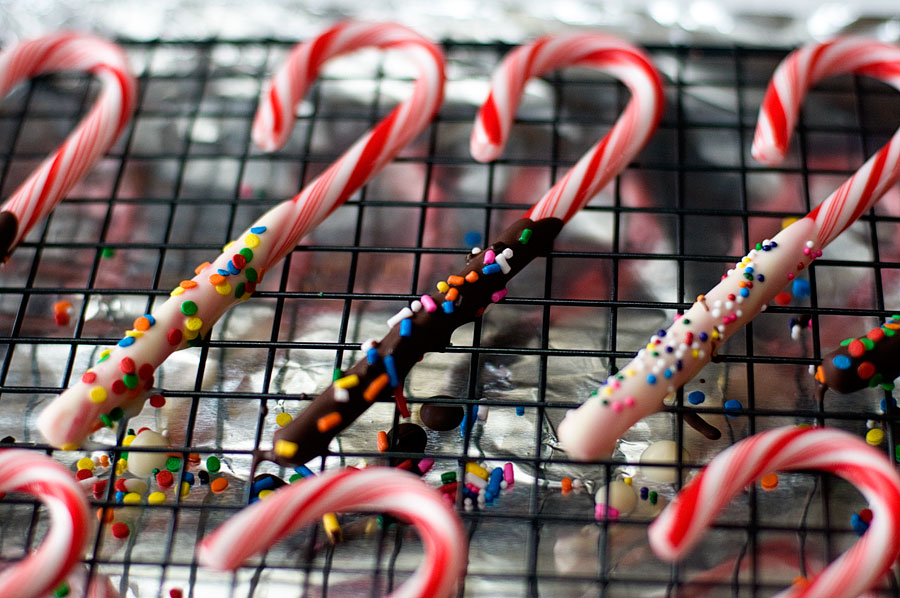
 

12 Days of Christmas: Chocolate Coated Candy Canes


Who loves coffee? Who loves chocolate stir sticks for their coffee? You know, those little sticks of candy (cinnamon, orange, lemon, or mint) covered in chocolate? When I was a little kid (and unwise to the joys of coffee) I used to eat the sticks — but only the mint or cinnamon. I could not be bothered with the silly citrus flavors (the same is true to this day).

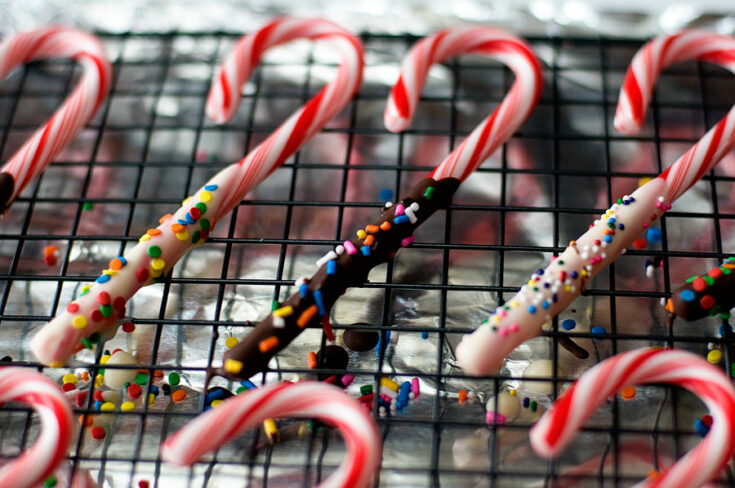
I thought I’d try to make something similar for the holidays and I immediately thought of chocolate-covered candy canes. You can use these in your coffee or you can eat them for what they are — CANDY!

Yield: 12 candy canes

Chocolate Coated Candy Canes

Chocolate Coated Candy Canes
Prep Time 15 minutes
Additional Time 1 hour
Total Time 1 hour 15 minutes

Ingredients

  • 1 box candy canes
  • 1-2 cups semisweet chocolate chips or white chocolate chips (or both!)
  • 1 Tablespoon shortening (this will thin the chocolate a bit)
  • Sprinkles for decorating (optional)

Instructions

    1. Melt the shortening and chocolate of your choice in a double-boiler or a microwave-safe bowl. If you are using the microwave, be careful not to burn the chocolate. After the chocolate is melted and smooth, let it cool down just a bit (working with piping hot melted chocolate is never easy..)

    2. While the chocolate is cooling off, unwrap all of your candy canes.

    3. Dip the bottom of each candy cane into the chocolate and coat. Allow the excess chocolate to drip off, then place the candy cane on a wire rack. Be sure that you have a piece of foil underneath the wire rack to collect the bits of chocolate that will drip off.

    4. Decorate with sprinkles or leave the candy canes plain – it’s up to you!

    5. Allow the chocolate-coated candy canes to cool and set for about an hour.

12 Days of Christmas: Santa Hat Cupcakes


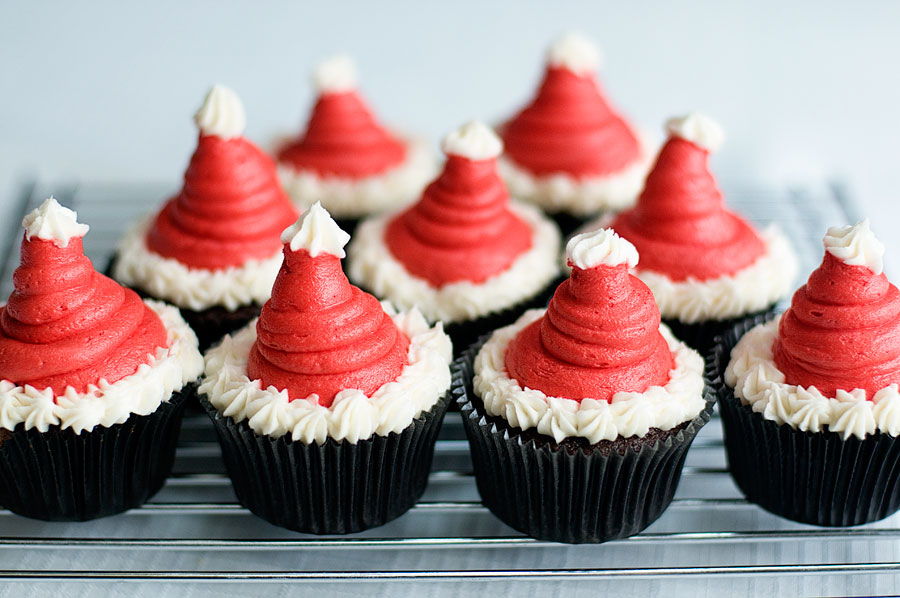
I saw a photo of these cupcakes on Pinterest and knew I had to make them! Aren’t they super cute?! By the way, if you are hopelessly addicted to Pinterest like I am, add me as a contact! Let’s be Pinterest pals. I know that December is the season of having to bring holiday treats to your kid’s school — or maybe wanting to bring a little something sweet to work. These cupcakes were simple to make, though they do require pastry tips to make the hat.

Santa Hat Cupcakes
Print Recipe

1 box chocolate cake mix (plus required eggs, oil)
1 batch buttercream frosting (many recipes listed here)
Red food coloring (I cannot recommend AmeriColor’s Super Red gel coloring enough — buy a bottle, it’s well worth it!)
A large round pastry tip and a small star tip

1. Bake cupcakes according to box directions.
2. Tint a portion of the buttercream frosting red. Pipe large “blobs” of red frosting onto each cupcake using a large round tip.
3. Pipe white frosting around each hat using a star tip. Also pipe a bit of white frosting at the top of each hat.

That’s it! Simple, right?

12 Days of Christmas: Molasses Cookies


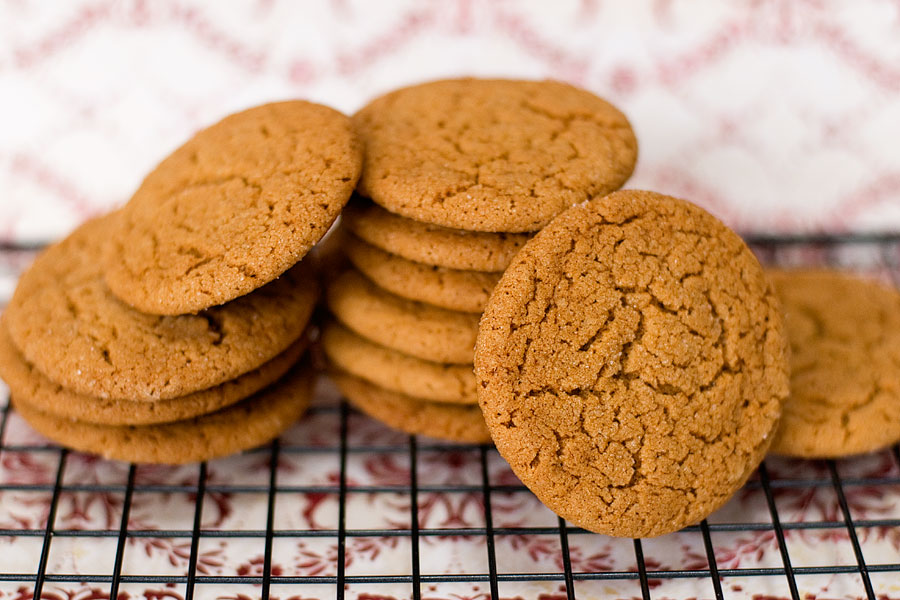
Oh, molasses. Most children today have no idea what it is. The Molasses Swamp has disappeared from the Candy Land board long ago. Molasses, in all its ooey gooey glory, is pretty tasty. I just wish it wasn’t such a pain to measure out! My friend Stefanie (we go waaaaay back — way back to elementary school!) gave me this recipe two Christmases ago. It’s a favorite recipe in her family and I definitely wanted to give it a try this year.

Stefanie is pretty awesome. We’ve known each other for almost 20 years. We used to be neighbors. We used to carpool to high school together. We still love and hate the same people and wax nostalgic about the fun we had during our childhood. Stefanie also has a great dad — and one of these days I’m going to surprise him with some fresh chocolate cookies on his doorstep.

Molasses Cookies
Print Recipe

1 cup sugar
2 cups flour
3/4 cup butter
1 egg
2 teaspoons baking soda
4 Tablespoons molasses
1/2 teaspoon salt
1 teaspoon cinnamon

1. Preheat oven to 350F and line a cookie sheet with parchment paper.
2. Cream butter and sugar; add egg and molasses, blend well. Add dry ingredients and mix well.
3. Form into 1-inch balls, roll in sugar. Place the sugar-coated ball of dough onto the cookie sheet and flatten slightly with the bottom of a glass.
4. Bake 10-12 minutes; cool completely on  wire rack.

12 Days of Christmas: Pretzel Rolo Turtles


Hey everyone! Welcome to the 12 Days of Christmas baking extravaganza. For the first twelve days of December, there will be a new recipe posted — most of which will be specific to the holidays. December is one of my favorite months and I wish it lasted more than 31 days! Let’s start simple. Everybody loves pretzel Rolo turtles — and they are ridiculously EASY to make.

Yield: About 60 turtles

Pretzel Rolo Turtles

Pretzel Rolo Turtles

EASY and quick dessert for your holiday gathering, kid's party, or office treat!

Prep Time 20 minutes
Cook Time 4 minutes
Additional Time 1 hour
Total Time 1 hour 24 minutes

Ingredients

  • 1 bag square pretzels
  • 1 bag Rolos
  • Pecans, M&Ms, or whatever type of candy you would like to use

Instructions

    1. Line a cookie sheet with tin foil and preheat oven to 300F.

    2. Arrange the pretzels on the cookie sheet, fit as many on the sheet as you’d like. Place an unwrapped Rolo on top of each pretzel. Bake for 4 minutes or until the Rolo begins to soften (do NOT let it melt entirely!)

    3. Remove from oven; top with M&M or pecans. Eat them warm or let them cool – your call!

    Can be stored for days in an airtight container. Be sure to let them cool at least 1 hour before storing.

Notes

Your yield will depend on how many pretzels/Rolos/etc you have to work with.