Recent Posts

Spring Oreo Stuffed Chocolate Chip Cookies
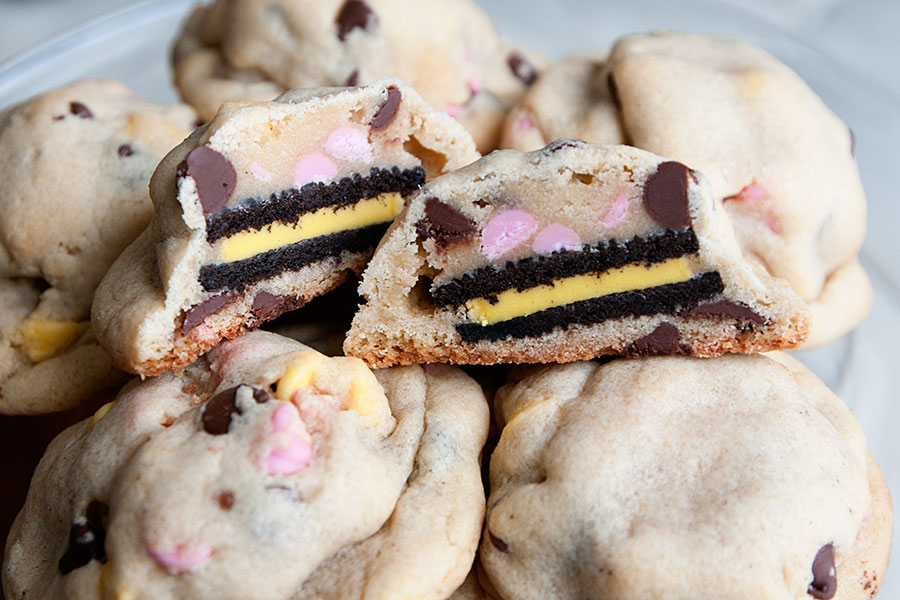
DSC_4564x900These cookies are nothing new to my blog. I’ve made a handful of variations involving Christmas Oreos, Halloween Oreos, more Halloween Oreos, and of course, the classic Oreo. But these cookies are also AMAZING, so why not include an idea for every season?

If you are located in the northern hemisphere, today is the first day of spring. Thank GOD, right?! The stores are stocked with spring and Easter goodies — like spring Oreos and spring chips. Enjoy the season, everyone!

Spring Oreo Stuffed Chocolate Chip Cookies
Recipe source: picky-palate.com
Print Recipe

2 sticks softened butter
3/4 cup packed light brown sugar
1 cup granulated sugar
2 large eggs
1 Tablespoon pure vanilla
3 1/2 cups all purpose flour
1 teaspoon salt
1 teaspoon baking soda
10 oz bag chocolate chips [I used spring baking chips; found them at Target!]
1 bag Oreo Cookies [I used Spring Oreos]

1. Preheat oven to 350 degrees F. In a stand or electric mixer cream butter and sugars until well combined. Add in eggs and vanilla until well combined.
2. In a separate bowl mix the flour, salt and baking soda. Slowly add to wet ingredients along with chocolate chips until just combined.
3. Using a cookie scoop take one scoop of cookie dough and place on top of an Oreo Cookie. Take another scoop of dough and place on bottom of Oreo Cookie. Seal edges together by pressing and cupping in hand until Oreo Cookie is enclosed with dough.
4. Place onto a parchment or silpat lined baking sheet and bake cookies 9-13 minutes or until cookies are baked to your liking. Let cool for 5 minutes before transferring to cooling rack.

Makes about 20-24 REALLY BIG cookies.
Cookie Dough Cupcakes

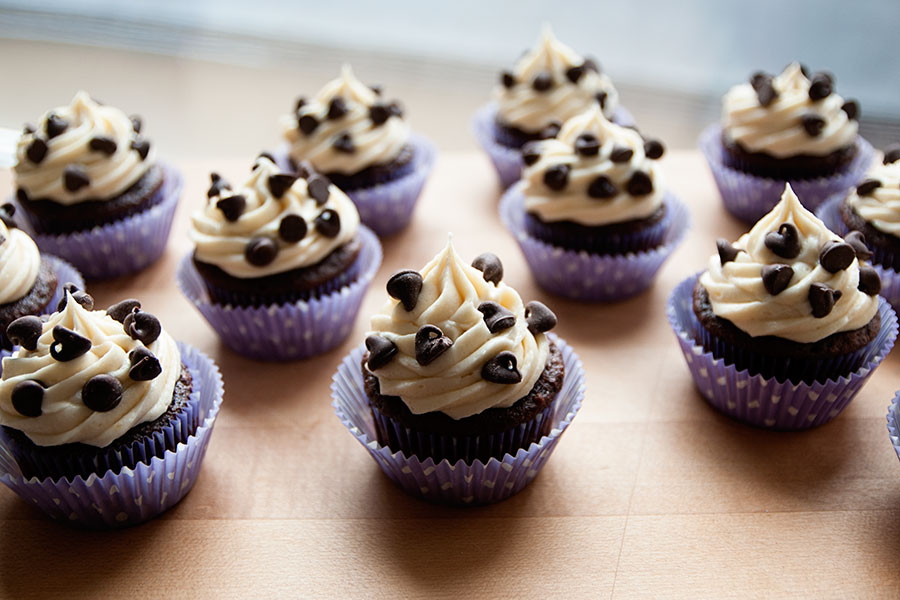
DSC_4067x900Cookie dough is the greatest. Right?! It’s comforting, it’s nostalgic, and it’s slightly dangerous because OH MY GOD WE COULD ALL DIE FROM THE RAW EGG. #sarcasm These cupcakes are semi-homemade chocolate with homemade cookie dough frosting – that does not include raw eggs, so all of you germophobes can chill. :)
Cookie Dough Cupcakes
Recipe source: Your Cup of Cake
Print Recipe

For the chocolate cupcakes:
1 box Devil’s Food cake mix
3 eggs
1/2 cup melted butter, slightly cooled
1 cup milk
1/2 cup sour cream
2 teaspoons vanilla extract
1 cup mini chocolate chips

For the cookie dough frosting:
1-1/2 cup butter, softened
2 teaspoons vanilla extract
1/3 cup flour
1/4 cup brown sugar
1 pinch salt (more if needed)
2 Tablespoons milk
2-3 cups powdered sugar
+ mini chocolate chips for decoration

1. Preheat oven to 350F and line pan with cupcake liners.
2. In a large bowl, combine eggs, melted butter, milk, sour cream and vanilla extract until smooth.
3. Stir in cake mix and chocolate chips.
4. Fill cupcake liners 3/4 full and bake for 15-20 minutes or until an inserted knife comes out clean. Cool the cupcakes completely on wire racks.
5. Cookie dough frosting: beat butter. Add vanilla extract, flour, brown sugar and salt and beat again. Slowly add in milk and powdered sugar until you reach your desired consistency.
6. Pipe onto cooled cupcakes and top with mini chocolate chips.

St. Patrick’s Day Ideas 2015

stpats2015
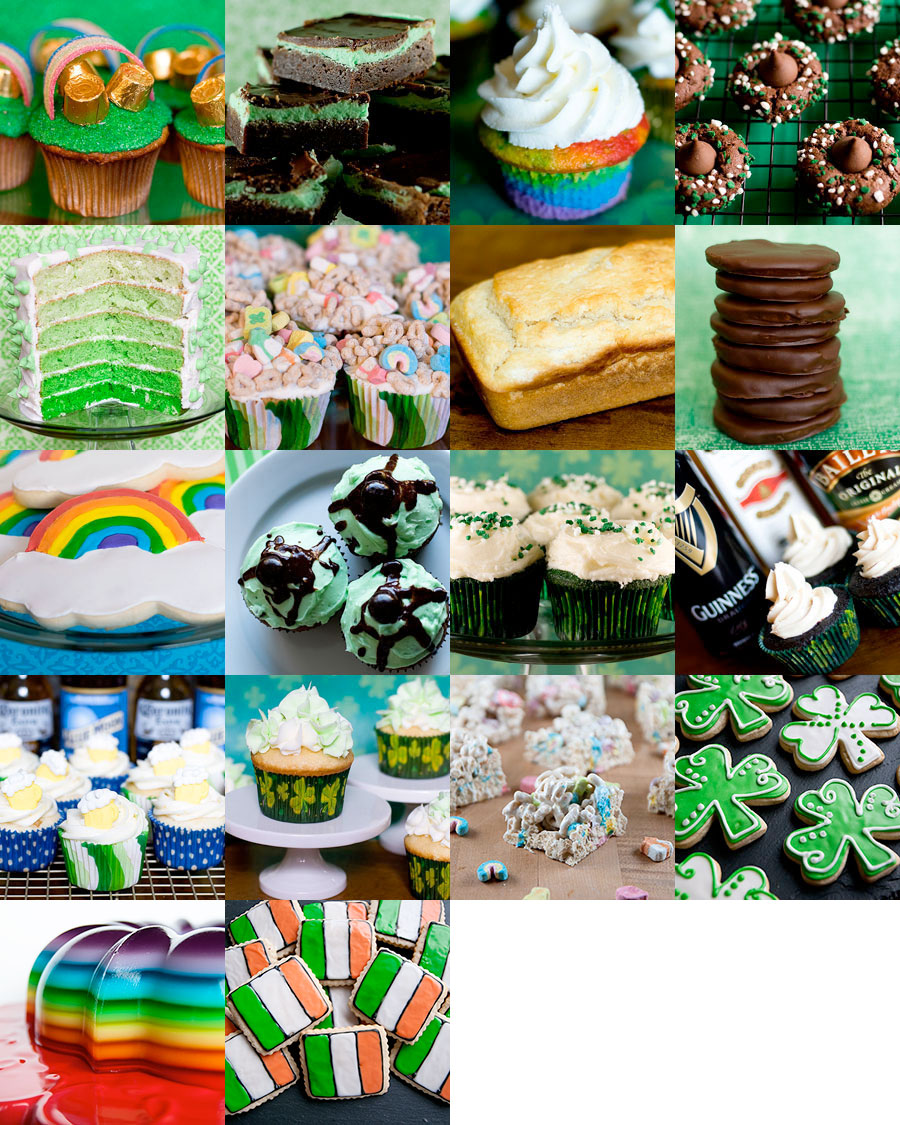
Here’s this year’s list of St. Patrick’s Day-inspired recipes. Enjoy!

1. Pot O’ Gold Cupcakes
2. Three Layer Mint Brownies
3. Rainbow Cupcakes
4. Mint Chocolate Kiss Cookies
5. Green Ombre Cake
6. Lucky Charm Cupcakes
7. Beer Bread
8. Homemade Thin Mints
9. Rainbow and Cloud Cookies
10. After Eight Cupcakes
11. Green Velvet Cupcakes
12. Irish Car Bomb Cupcakes
13. Blue Moon & Corona Cupcakes
14. Shamrock Shake Cupcakes
15. Lucky Charms Bars
16. Shamrock Cookies
17. Spiked Rainbow Jello
18. Irish Flag Cookies

Irish Flag Cookies

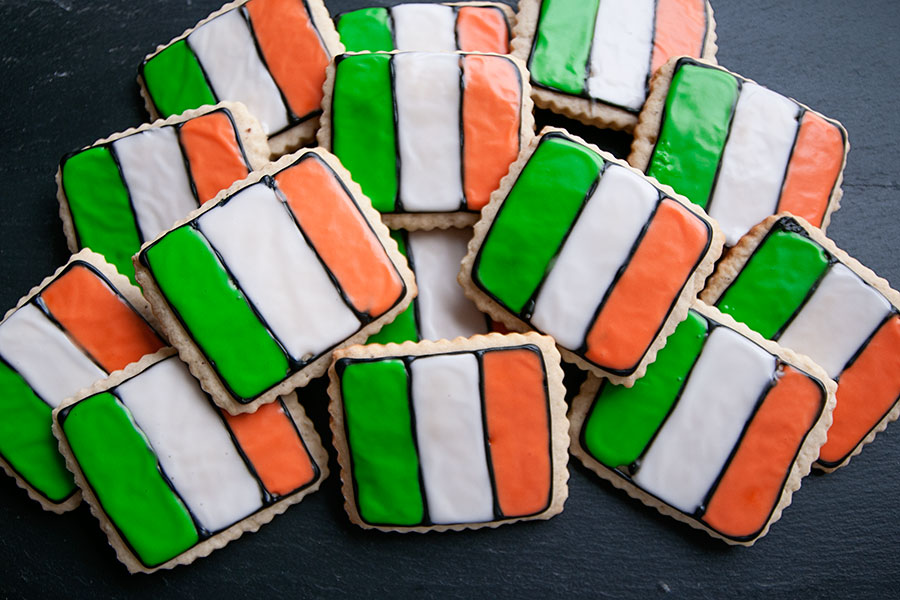
DSC_4205x900Sigh. I pretty much hate how these cookies turned out. For some reason the icing is lumpy and bumpy, the lines aren’t as straight as they should be, the black icing bled a little bit, etc. BUT WHATEVER. They’re just cookies, so I’m posting them anyway!
If you are a new to decorating with royal icing, here are some helpful tips and links:

  • I used my grandma’s sugar cookie recipe, which is listed below.  Another good cut-out cookie recipe can be found at Bridget’s wonderful Bake at 350.
  • I used a royal icing recipe from Annie’s Eats, which is listed below.
  • If you are new to decorating with royal icing, please visit this post by Annie’s Eats, which will teach you about outlining and flooding.  Bake at 350 is also a great resource for cookie decorating and ideas (I love Bridget’s book, too!).

Here are the specifics on how I made these cookies:

  • I used a scalloped-edge rectangular cookie cutter. Mine was part of a set that I bought years ago, I can’t remember where. But I’m sure you could find something similar on Amazon or another baking shop.
  • You’ll need green, orange, and black food coloring. I used Wilton’s gel colorings in Leaf Green and Orange, and AmeriColor’s Super Black.
  • I outlined the cookies with black icing first – using a small round pastry tip. Once the outlines set and dried, I flooded the cookies with green, white, and orange icing.

Omi’s Sugar Cookies
Print Recipe
1 cup butter
1 cup sugar
1 large egg
1/2 teaspoon salt
3 cups flour
1 teaspoon baking soda
1/2 cup sour cream
1 teaspoon nutmeg

Beat butter and sugar. Add egg, sour cream, and nutmeg. Add dry ingredients gradually. Chill the batter overnight or for at least 4 hours. Roll out dough and cut with cookie cutters. Bake at 350F until golden (in true fashion, my grandma didn’t give a specific baking time. I baked the cookies for about 8 minutes). The yield will depend on the size of your cookie cutter. I got about 3 dozen cookies out of this recipe.


White Royal Icing
4 cups powdered sugar, sifted
2 Tablespoons meringue powder
5 Tablespoons water

Directions:
Combine all ingredients in the bowl of a stand mixer fitted with the paddle attachment. Mix on low speed until the sheen has disappeared and the icing has a matte appearance (about 7-10 minutes).  Transfer the contents of the mixing bowl to an air-tight container. This will be the stiffest consistency of the icing, and at this point it is still too stiff to use for decorating. Add water a very small amount at a time and stir by hand until fully incorporated. Continue until the icing has reached a consistency appropriate for piping.

Note: you may need to make more than one batch of this icing, depending on how many cookies you end up making.

Spiked Rainbow Jello

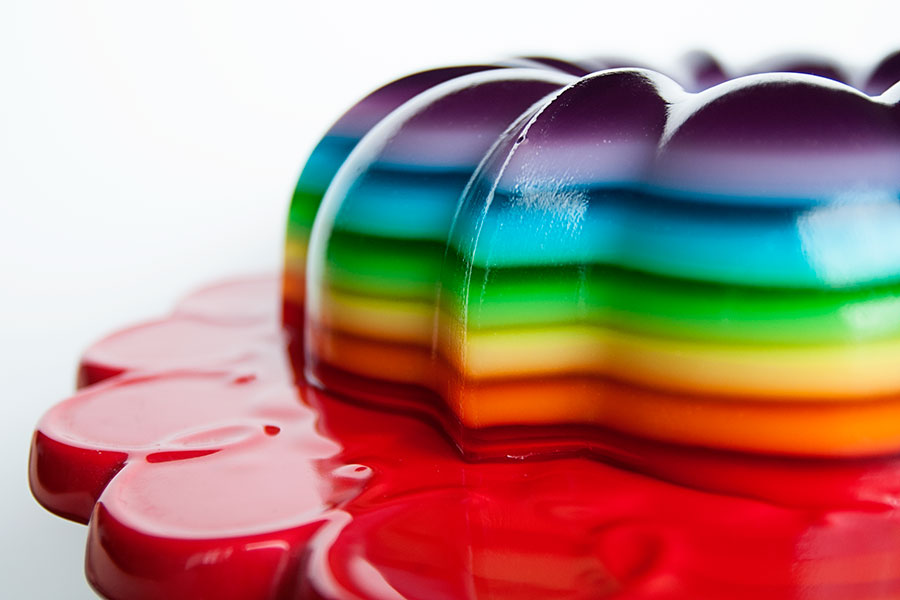
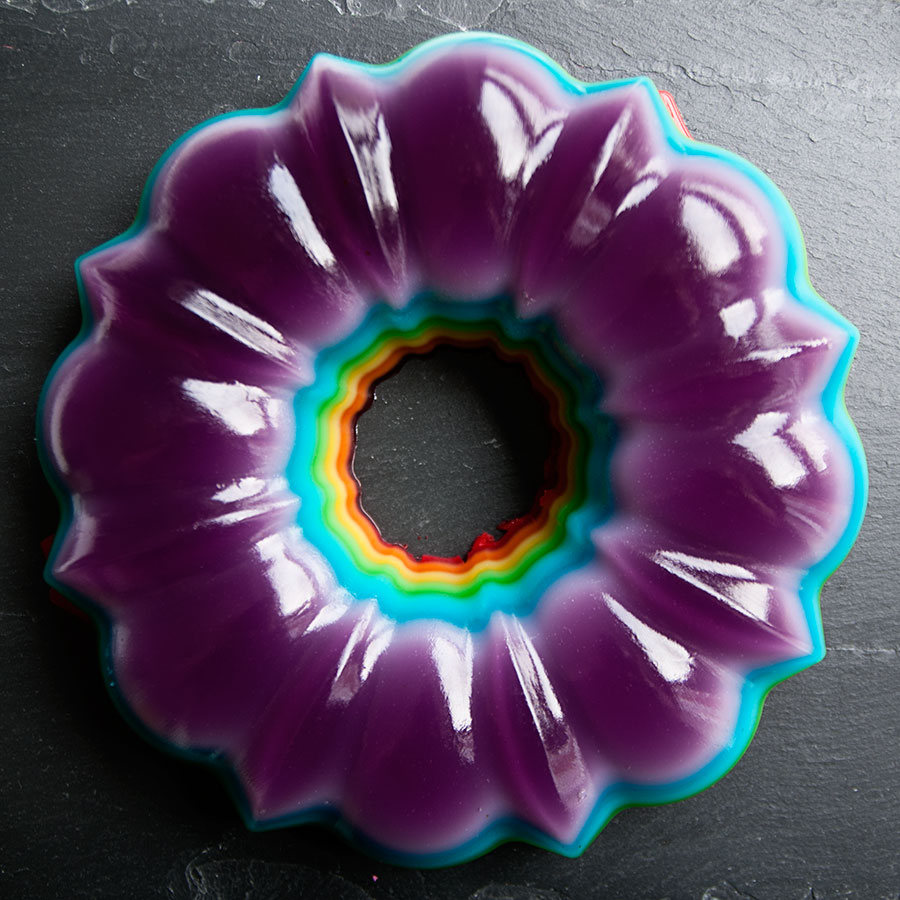
DSC_2693x900St. Patrick’s Day is next Tuesday! Let’s be real: it’s a drinking holiday for 90% of the population who choose to celebrate it. I decided to make delicious, booze-filled rainbow jello. Making this really isn’t difficult at all, but it is very time-consuming. You’ve been warned!
Spiked Rainbow Jello
Recipe source: Tablespoon.com
Print Recipe

4-1/2 cups water, divided
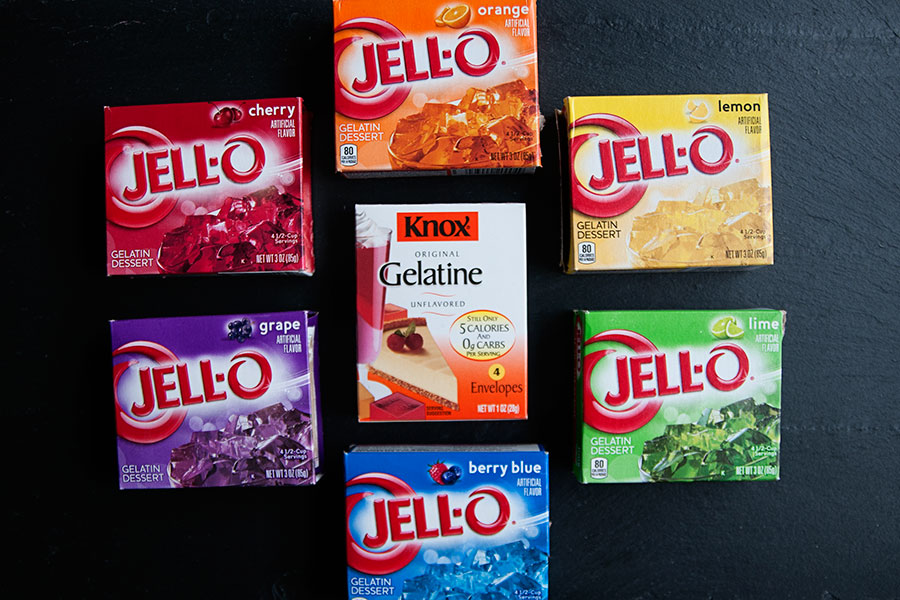
6 packages (3 oz) flavored gelatin dessert mix
3 envelopes plain gelatin (6 tsp gelatin powder, divided)
3 cups flavored rum or vodka, divided (I used cake-flavored UV vodka)
1-1/8 cups vanilla yogurt, divided

1. Place the bottle of liquor in the freezer for several hours before beginning recipe.

2. Lightly spray bundt pan or gelatin mold with non stick cooking spray (I used a 10-cup bundt pan). Wipe off the excess spray with a paper towel. A slight residue should remain, just enough to help unmold your gelatin, without affecting the taste or appearance.

3. Pour 3/4 cup water into a saucepan and sprinkle with 1 teaspoon of the plain gelatin. Allow gelatin to soak for a minute or two. Heat over low heat, stirring constantly, until gelatin is dissolved (about 5 minutes). Whisk in the first package of flavored gelatin. Whisk for at least 2 minutes, or until completely dissolved.

4. Remove from heat. Add 1/2 cup of the cold liquor, and stir to combine.

5. Pour 3/4 cup of the gelatin mixture into the prepared mold, and place in refrigerator. Allow to set for 20 to 30 minutes, until the gelatin is a little firm, but still sticks when touched. Very important – if the layers set up too much, the next layer won’t bond appropriately.

6. Refrigerate the remaining gelatin mixture in bowl about 5 minutes or until slightly thickened (consistency of unbeaten egg whites). Gradually stir in 3 tablespoons of yogurt and stir until well blended. This cooling step is also important – the gelatin must be cooled to room temperature before adding on top of other layers, or the layers will not be well defined.

7. Gently spoon the gelatin/yogurt mixture over set gelatin and return to the refrigerator. Refrigerate about 15 minutes or until gelatin is set but not firm (again, it should stick to finger when touched). As the layers progress, the setting time will become shorter as the pan and gelatin becomes colder, and the layers become thinner as more layers are added to the mold.

8. Repeat steps with remaining gelatin flavors, for a total of 12 alternating clear and creamy gelatin layers.

9. After completing all the layers, refrigerate the gelatin overnight. To unmold, fill a larger container or clean sink with warm water (not too hot). With clean fingers, loosen the gelatin around the edges of the mold cavities. Next, dip the mold almost to the edge into the warm water for just a few seconds (10 seconds works). Dry the bottom of the mold with a towel and check the edges to see if they are loose. If not, repeat the dip for just a few seconds. Place your serving plate on top of the mold and invert.

DSC_2711x900DSC_2627x900