Recent Posts

Sesame Street Cupcakes
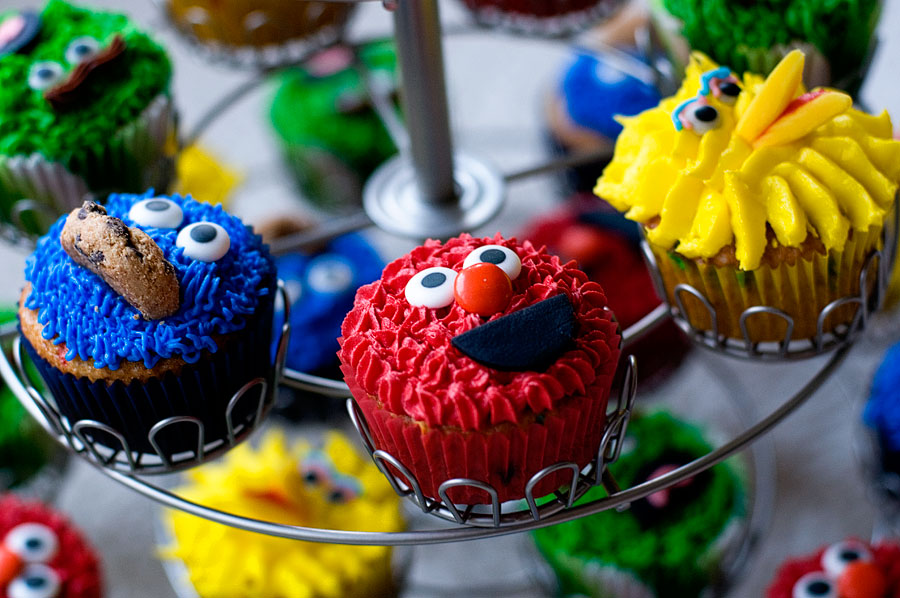
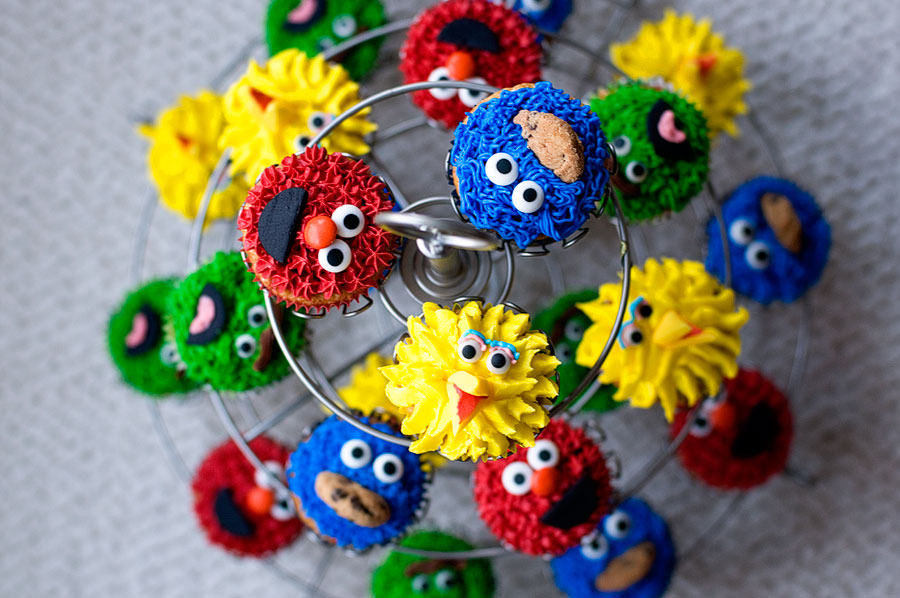
Oh, Sesame Street, I love you. I’ve loved you since I was 2 years old and had a fascination with Big Bird (or Bigga Bird, as I called him). These cupcakes went along with the Elmo cake that I posted yesterday. They look daunting, but aren’t too bad to make! The design for these cupcakes was heavily inspired by Annie’s Eats — with a few modifications from me to make things a little more simple.

  • I baked a batch of 24 funfetti cupcakes. I split them up into groups of 6 — six got red liners, six got green, six got blue, and six got yellow.
  • Elmo: I used a small star tip to pipe a bed of frosting onto each Elmo cupcake (use AmeriColor’s Super Red!). I placed two candy eyeballs and one orange M&M on each cupcake for the eyes and nose. I cut small circles out of black fondant, then cut each circle in half to resemble a smile.
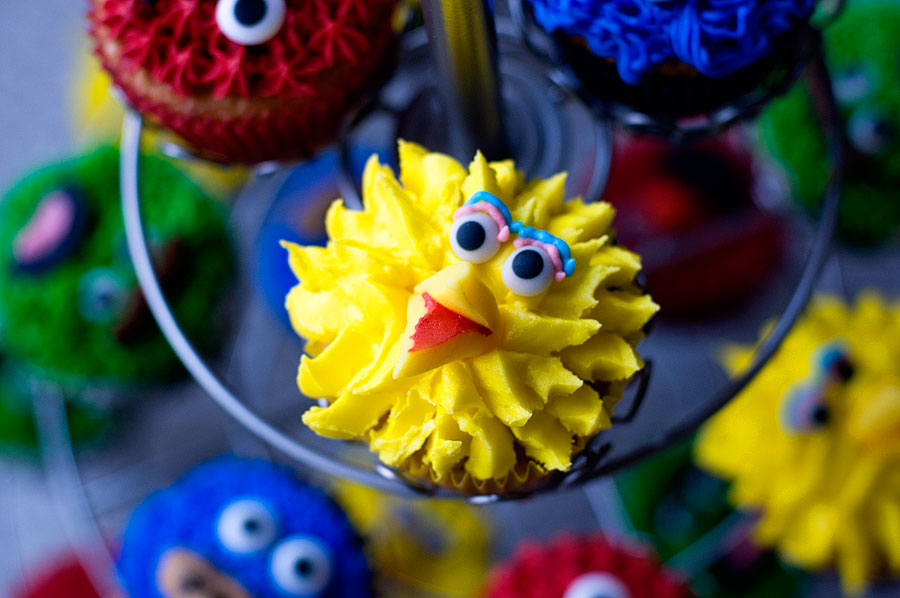
  • Big Bird: I used a leaf tip to pipe yellow frosting onto each Big Bird cupcake. Don’t worry about it not being perfect — he’s feathered! He’s supposed to look a little disheveled. I placed two candy eyes on each cupcake and outlined them with light blue and light pink frosting (use a very small round tip). I cut two small and long triangles out of yellow fondant for the beak — and spread a small mount of red frosting on the bottom of each beak.
  • Oscar the Grouch: I used a grass tip to pipe green frosting onto each Oscar cupcake. I placed two candy eyeballs on each, then piped a bit of chocolate frosting above the eyes (he has bushy, angry eyebrows after all!). I used the same method for Oscar’s mouth as I did for Elmo’s — except I made Oscar frown! If you want, you can also pipe a bit of pink frosting to resemble Oscar’s tongue.
  • Cookie Monster:  I used a small star tip to pipe blue frosting onto each Cookie Monster cupcake. I placed two candy eyeballs on each. For his cookie-filled mouth, cut small Chips Ahoy cookies in half.
Elmo Cake

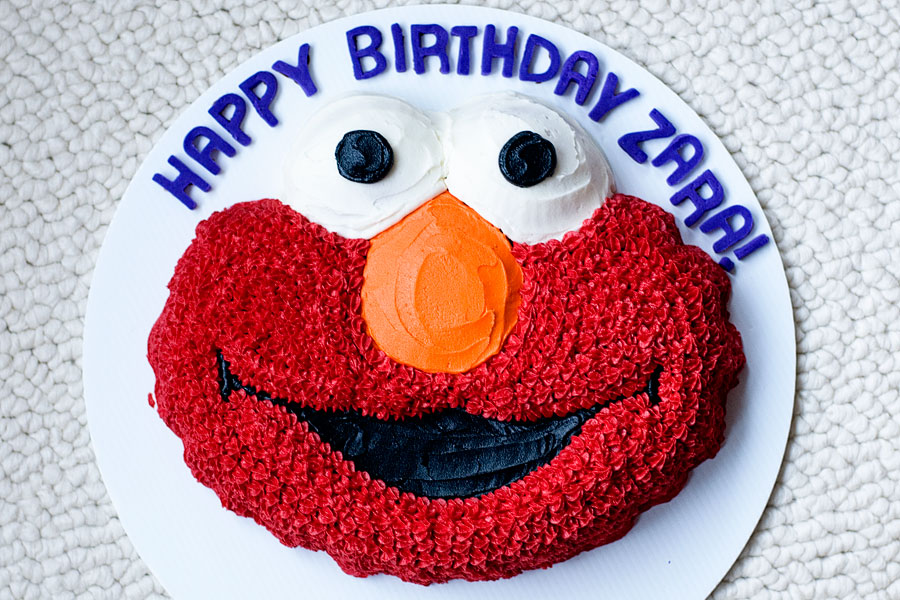
Elmo!! I still remember the Tickle Me Elmo CRAZE from about 10 years ago. I guess the little red dude is still popular. This cake was a breeze to make — thanks to Wilton and their great shaped cake pans!

  • I purchased the Elmo-shaped cake pan at Hobby Lobby. I baked a yellow cake (box mix) — the pan will take 1 box’s worth of batter to make the full Elmo shape.
  • Once the cake has cooled, prepare to frost! As always, I made a batch of white buttercream frosting. I dyed portions red, black, and orange — and I left a small amount as-is and white. As I’ve mentioned before, I really recommend AmeriColor’s Super Red and Super Black gel dyes. They are sold at Hobby Lobby as well!
  • I spread white frosting on Elmo’s eyes and orange on his nose. I used a small off-set spatula to create a smooth look. Next I piped a blob of black icing onto each eyeball — and flattened it a bit to finish the eyes.
  • Next I worked on the mouth. I used a small round piping tip to outline Elmo’s smile. The pan has indents for all of these features — so you will be able to trace! Then I spread the black frosting smooth using an off-set spatula.
  • Final step was to pipe all of Elmo’s red fur. I used a small star tip to do this — and a lot of bright red frosting!
  • The “Happy Birthday Zara!” letters were done using purple fondant and small alphabet cutters.

Angry Birds Cake

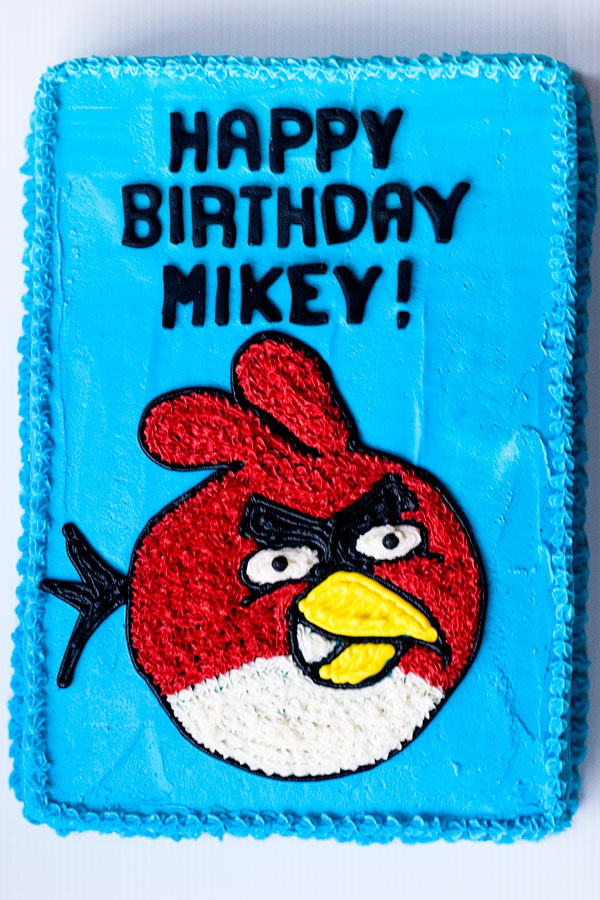
Who is addicted to Angry Birds? I’m sure many of you are! It’s a game that I just can’t get into, but maybe I’m more of a Tetris girl. I was asked to make an Angry Birds cake for Mikey’s birthday back in December. I was nervous about having to hand “draw” the bird onto the cake, but I think everything worked out well!

  • The cake is a 9×13″ 2-layer cake. I think I used a chocolate cake mix. I made a batch of white buttercream frosting and dyed portions of it sky blue, yellow, red, and black using Wilton gel colorings for the blue and yellow, and AmeriColor’s Super colorings for the red and black.
  • I used a small star tip to pipe the border of the cake.
  • I made the “Happy Birthday Mikey!” letters out of black fondant — and used small alphabet cutters for the lettering.
  • I traced the angry bird with a toothpick onto the cake. I did this freehand, so I’m sorry that I can’t provide a template. The bird isn’t that difficult, if you break it down into manageable geometric parts. I re-traced my toothpick outline with black frosting — using a small round tip.
  • I filled in the rest of the bird with red, yellow, or white frosting accordingly.

Chemistry Cake

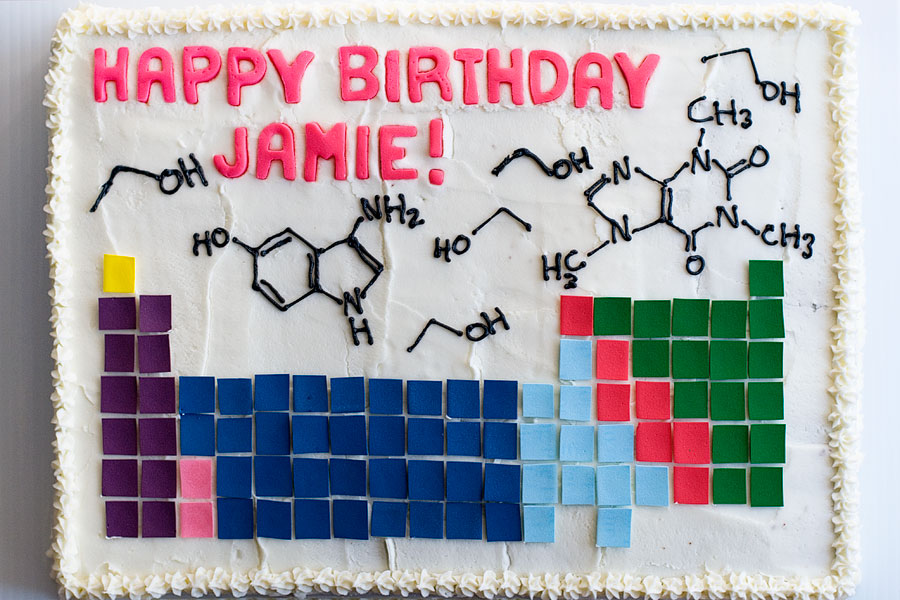
My lovely friend Jamie had a birthday back in Deceember. She works as a quality control chemist and is almost as much of a science geek as I am. I decided to make her a big ol’ chemistry themed birthday cake! I realize that this cake’s theme is confined to a pretty small niche of people, but I thought I would share it on my blog anyway — in case any of you have chemistry-loving kids or friends!

  • Baked a two-layer chocolate cake (using box mix, as always with these elaborate cakes). I believe the size for this cake was 11×15″.
  • I frosted the entire cake with white buttercream icing — and used a small star tip to pipe the detailing around the border.
  • I cut out “Happy Birthday Jamie!” out of neon pink fondant using small alphabet cutters.
  • I bought Wilton’s new sugar sheets to make the periodic table. I bought as many colors as Hobby Lobby sold! I cut out little squares out of the sugar sheets and assembled them to look like the periodic table. The different colors signify different types of elements — gases, halogens, transition metals, etc. Hmmm, I never thought I’d be using the words “transition metal” on my baking blog!
  • As a final step, I piped the molecular structure of a few common molecules (caffeine, ethanol, and seratonin) onto the cake.

Union Jack Cake

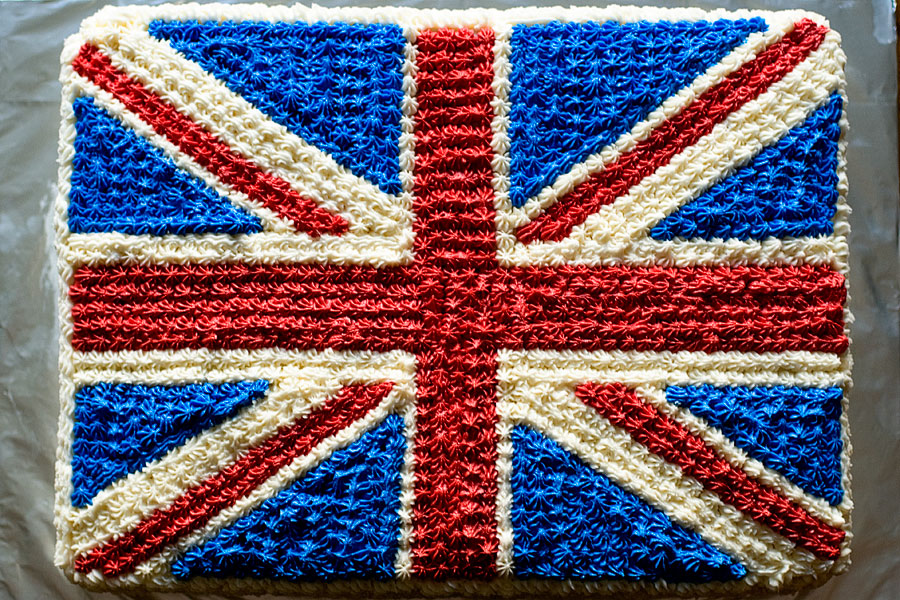
As promised yesterday, here is the Union Jack cake! This cake was much easier to make than it maybe looks — but it was VERY time-consuming (each of those little blobs of frosting was piped on — it took a while!).

  • This cake was 11″x15″ in size. I made chocolate cake from a box mix and the cake had 2 layers.
  • I frosted the entire cake with a thin layer of white buttercream frosting. Don’t worry about it being perfect — just cover up all the chocolate cake! You’ll be piping other colors on top of the “messy” frosting layer.
  • You’ll need a few batches of frosting for this cake – from start to finish. Dye portions of the frosting red and blue. I would HIGHLY recommend purchasing AmeriColor’s Super Red gel coloring. You will get RED with this product, not reddish-pink like so many other red dyes. I used Wilton gel coloring for the royal blue.
  • I used a small star tip to pipe the flag design. I piped everything using just my eye, except I did make a bit of an effort to make sure that the main red stripes (vertical and horizontal) were as centered as possible. Other than that, I printed a Union Jack image and followed along as I piped. Because it’s made up of straight lines, it was easier than it looks.