Recent Posts

Jumbo Animal Cookies
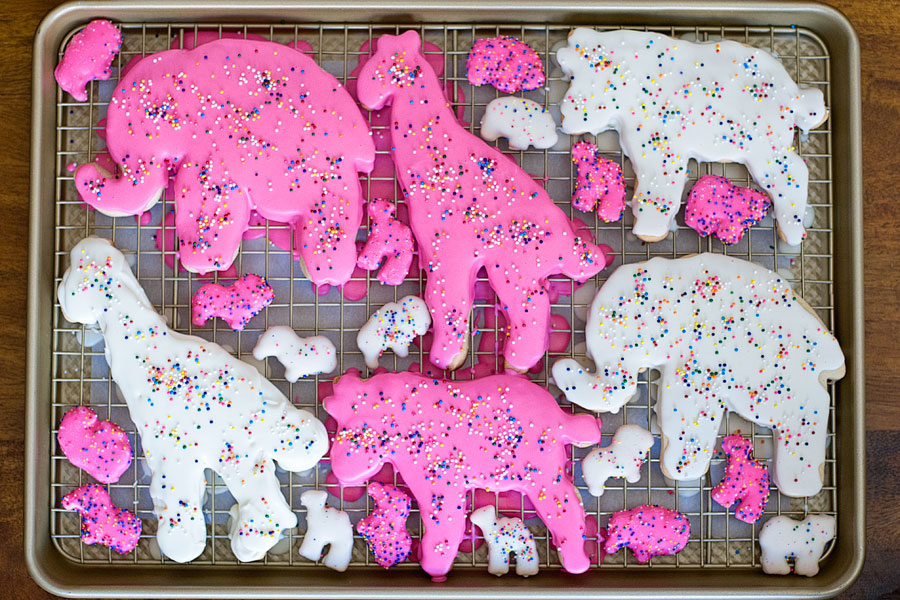

I think that there are some foods that are universally nostalgic for everyone. Pink and white animal cookies have to be included on that list. I always used to think that the pink cookies tasted different (and better) than the white cookies, but that was wishful thinking on the part of my 6-year old self.

Mother’s Cookies was the original company that made pink and white circus animal cookies. In 2008 the company abruptly closed, sending pangs of nostalgia and outrage into those of us that grew up with these cookies. A t-shirt was even created that said “Lights down, little cookies” and showed drawings of the little pink and white cuties. Luckily Kellogg’s came to the rescue and purchased the trademark and recipes for the Mother’s Cookies brand in late 2008 — and the cookies have been restored to grocery shelves! [though I hear they are only sold on the west coast — can anyone confirm this?]

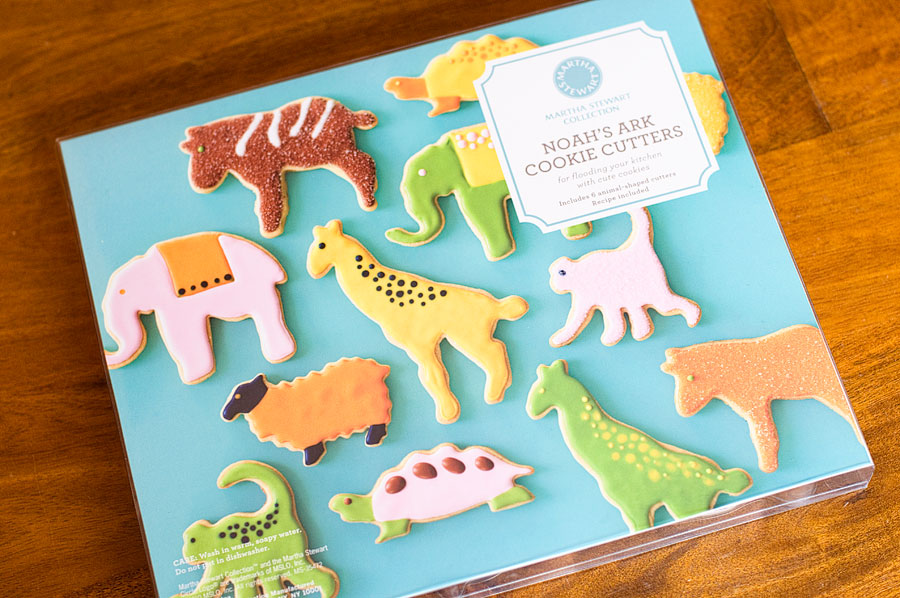
I found a set of Martha Stewart animal cookie cutters during a Macy’s after-Christmas sale. That find, combined with an idea found on Pinterest, has inspired this post!

Jumbo Animal Cookies
Inspired by Munchkin Munchies
Print Recipe

You will need the ingredients for your favorite cut-out cookie recipe (I’ve included one below), a tub of vanilla store-bought frosting*, pink food coloring, and multi-colored sprinkles.

Almond Flavored Sugar Cookies
1 cup butter
1 cup powdered sugar
1 egg, beaten
1-1/2 teaspoon almond extract
1 teaspoon vanilla
1 teaspoon salt
2-1/2 cups sifted flour

Directions:
Cream butter. Add powdered sugar. Blend in egg, almond extract, vanilla, salt and flour. Chill dough until firm. Roll to ¼â€ thickness on well-floured surface. Cut with cookie cutters. Place on greased cookie sheets. Bake at 375° for 8-10 min. Cookies should not brown. Frost and decorate when cool. Yield will depend on size of cookies.**

*Sad story — I originally made a batch of my favorite buttercream frosting, microwaved it to create a coating, but the butter separated out and I ended up with a soupy mess. Trust me, go with store-bought frosting with these. It’s easier, it’s predictable, and you’ll have no problems heating it!

**Note, since these cookies are so large, you might want to make a double batch of this dough. I got about 6 large cookies out of one batch.

  • Once your cookies are baked and cooled, divide the tub of store bought icing into two glass bowls. Tint one batch pink and leave the other as-is.
  • Microwave the frosting for about 20 seconds. Do this at 10-second intervals, stirring in between each. Do not allow the frosting to melt too much. You want frosting that you can coat your cookies with.
  • Place all of your cookies on a cooling rack and place the cooling rack on top of a baking sheet (to catch the drips of frosting). Spoon white or pink frosting onto each cookie.
  • Sprinkle each cookie with the nonpareils.
Cosmic Brownies

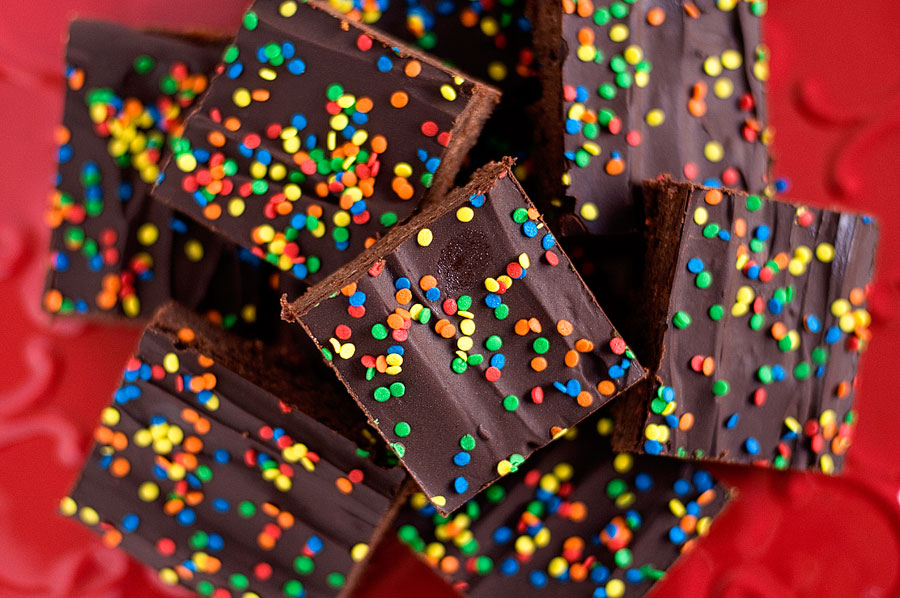
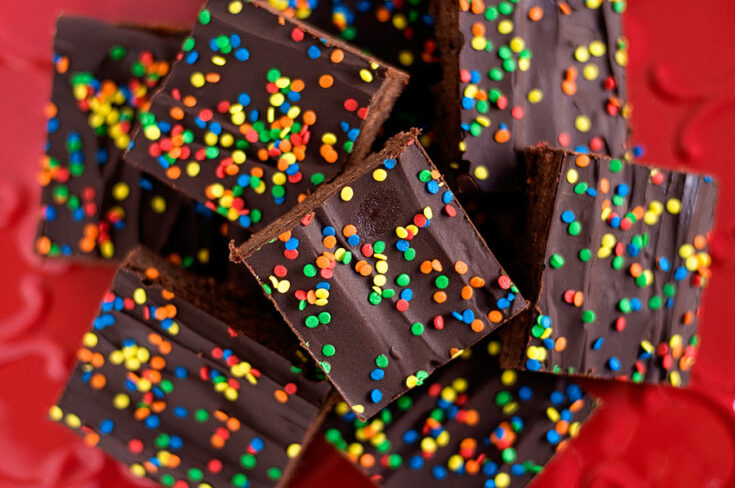
Who remembers Cosmic Brownies from the lunchboxes of their youth? I do!
Little Debbie always makes such delicious treats (everything in moderation is okay, even prepackaged junk food).

I found a homemade version of my favorite Cosmic Brownies and jumped at the chance to make them. I love a good brownie – simple chocolate goodness, and in this case, a trip down memory lane.

Yield: About 24 brownies

Cosmic Brownies

Cosmic Brownies

Take a cosmic spin back to childhood with these nostalgic brownies!

Prep Time 20 minutes
Cook Time 20 minutes
Total Time 40 minutes

Ingredients

For the Brownies:

  • 1 cup sugar
  • 2/3 cup brown sugar
  • 3/4 cup butter, melted
  • 2 Tablespoons water
  • 2 large eggs
  • 2 teaspoons vanilla
  • 1-1/3 cups flour
  • 3/4 cup unsweetened cocoa
  • 1/2 teaspoon baking powder
  • 1/4 teaspoon salt

For the Ganache:

  • 1/2 cup heavy cream
  • 7 oz. bittersweet chocolate
  • Pinch of salt
  • Colorful sprinkles for decorating

Instructions

    Make the brownies:

    1. Heat oven to 350F. Line a 13 x 9 pan with parchment paper or aluminum foil, then coat with nonstick spray. Set aside.

    2. In a large bowl, combine the sugars, butter and water with a whisk. Stir in the eggs and vanilla. In a medium bowl, combine the flour, cocoa, baking powder and salt. Stir the dry mix into the wet stuff and stir to combine.

    3. With a rubber spatula, spread the batter into the prepared pan. Bake for 18 minutes. Don’t over bake!

    4. Set aside on a rack to cool.

    Make the ganache:

    1. Place the chocolate in a bowl and set aside. In a small saucepan, heat the cream just to a simmer. Don’t boil it, just wait till you see little bubbles starting to form around the edges. Remove from the heat and pour over the chocolate.

    2. Sprinkle with the salt and let it all sit for a minute or so. Gently stir with a rubber spatula until all of the chocolate is melted.

    3. Set aside to cool a bit.

    4. When the brownies are mostly cool, pour the ganache over and spread it evenly over the top. Sprinkle as many or as few of the candies/sprinkles over the top as you like.

    5. When you’re ready to cut them into squares, lift them out with the foil and cut into the size or shape you like. [I refrigerated the brownies so the ganache could set; if you want a super oooey, gooey brownie, skip the refrigeration so the ganache remains smooth and soft]

Notes

Your yield will depend on how big or small you cut your brownies.

These brownies, because of the ganache, should be refrigerated in an air-tight container.

Recipe credit: Fake Ginger


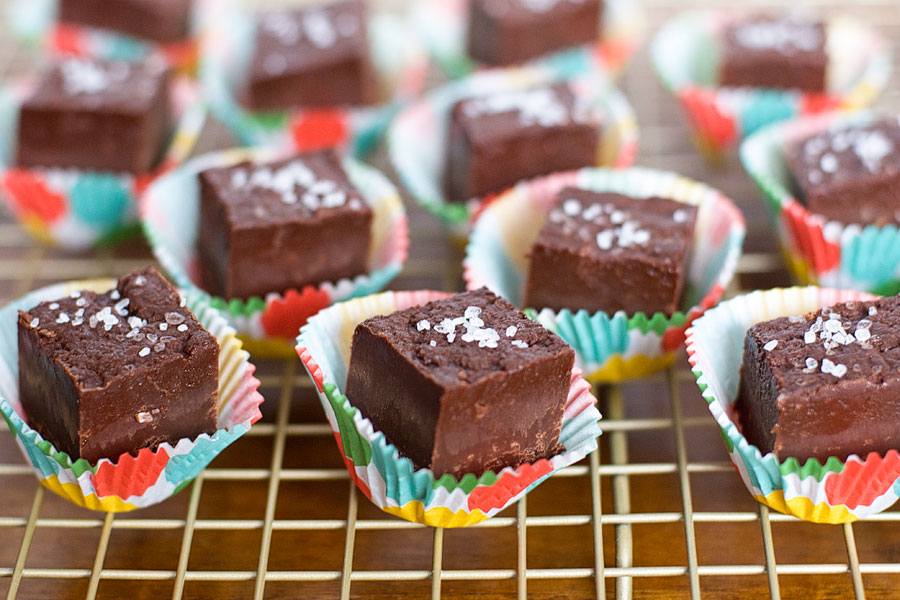
Nutella Fudge


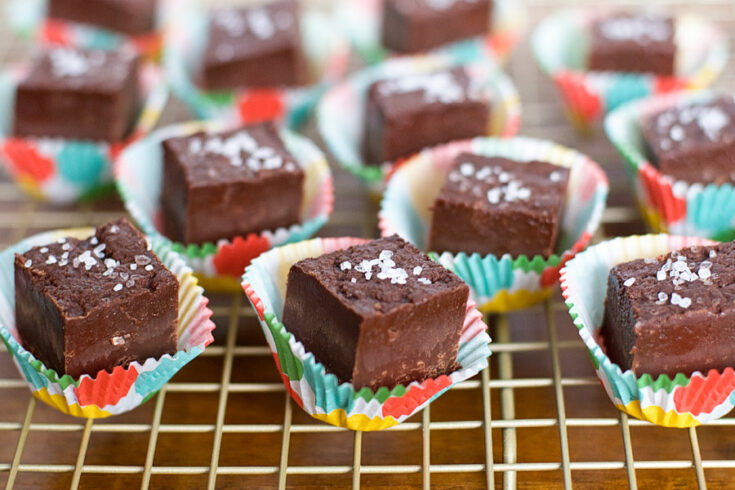
Nutella, you are perfect. If I had a faster metabolism, I would eat Nutella straight out of the jar. Nutella in fudge form? Taste bud explosion. Nutella fudge paired with sea salt? Taste bud explosion to the max. I love the combination of sweet and salt. I think the salt cuts the sugar and makes it more palatable. Other favorite sweet/salt combinations of mine include chocolate-covered potato chips, movie popcorn plus M&Ms, and Wendy’s french fries dipped in a chocolate Frosty.

This recipe is super easy. Mix a bunch of stuff together over a double boiler and POOF… fudge awaits!

Yield: About 25-36 fudge squares

Nutella Fudge

Nutella Fudge

Nutella, chocolate, and sea salt combine to make a rich and decadent treat!

Prep Time 20 minutes
Additional Time 2 hours
Total Time 2 hours 20 minutes

Ingredients

  • 1 (14 oz. ) can sweetened condensed milk
  • 1 teaspoon vanilla extract
  • 8 oz. high-quality bittersweet (60% cacao) chocolate chips
  • 1 cup Nutella, room temperature
  • 3 Tablespoons unsalted butter, room temperature, cut into 1/2-inch pieces
  • Sea salt, approximately 1/2 tsp

Instructions

1. Spray the bottom and sides of an 8×8-inch baking pan with non-stick spray. Line the pan with parchment paper, leaving a 2-inch overlap on the sides.

2. In a medium glass or stainless steel bowl, stir together sweetened condensed milk, vanilla, bittersweet chocolate chips, Nutella, and butter.

3. Form a double-boiler by setting the bowl on a medium pot of gently simmering water. The water level should be low enough that the bottom of the bowl does not touch the water. Stir until the chocolate chips are melted and the mixture is smooth, 5 to 7 minutes.

4. Scrape the mixture into the prepared pan, spread the top smooth with a spatula, and sprinkle with sea salt. Refrigerate until the fudge is firm, at least 2 hours.

5. Run a knife under hot water, dry it off, and run it around the edges of the pan to loosen the fudge. Using the overhanging parchment paper, lift the fudge out. Peel off the parchment paper. Cut the fudge into 3/4-inch squares. Store in the refrigerator in an airtight container.

Notes

Your yield will depend on how big or small you cut your fudge squares.

Recipe credit: Cookin' Canuck

Easter Ideas 2012

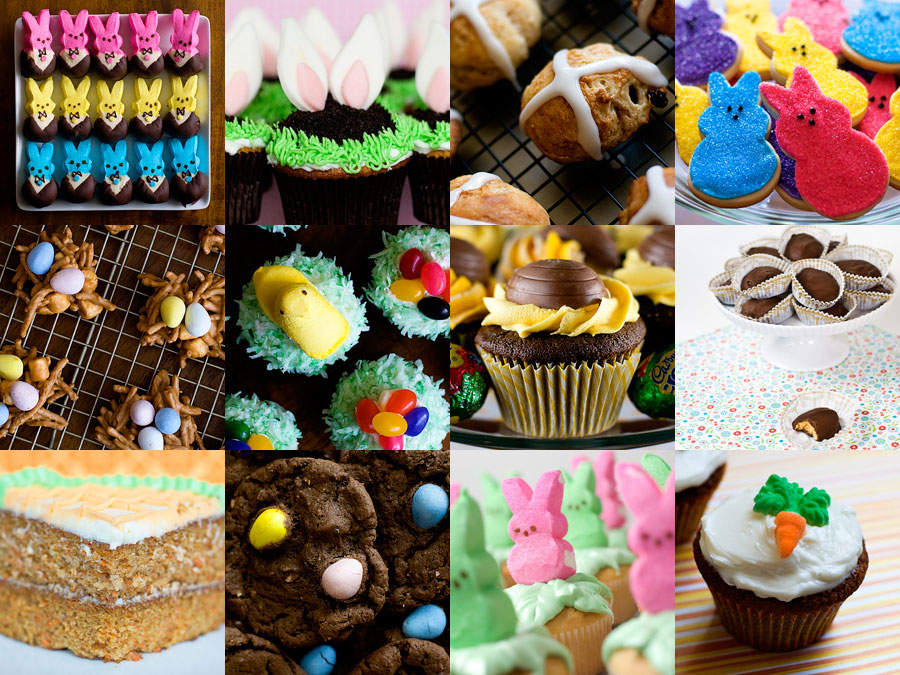
Here’s the Easter idea roundup for 2012! Happy almost-Bunny Day!

1. Tuxedo Peeps
2. Bunny Ear Cupcakes
3. Hot Cross Buns
4. Peep Cookies
5. Butterscotch Birds’ Nests
6. Coconut Easter Cupcakes
7. Cadbury Creme Egg Cupcakes
8. Homemade Peanut Butter Eggs
9. The Best Carrot Cake
10. Cadbury Mini Egg Cookies
11. Peep Cupcakes
12. Carrot Cake Cupcakes

Peep Cookies


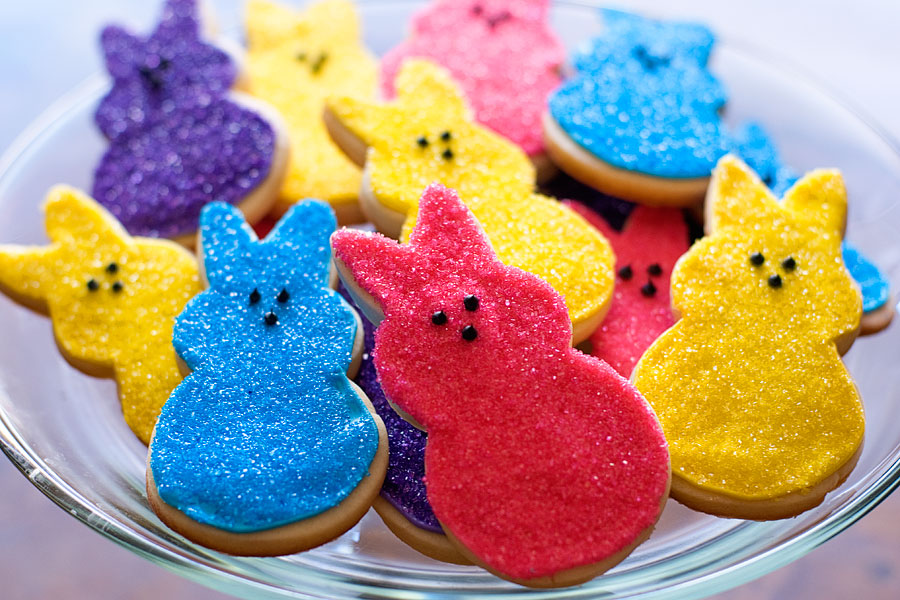
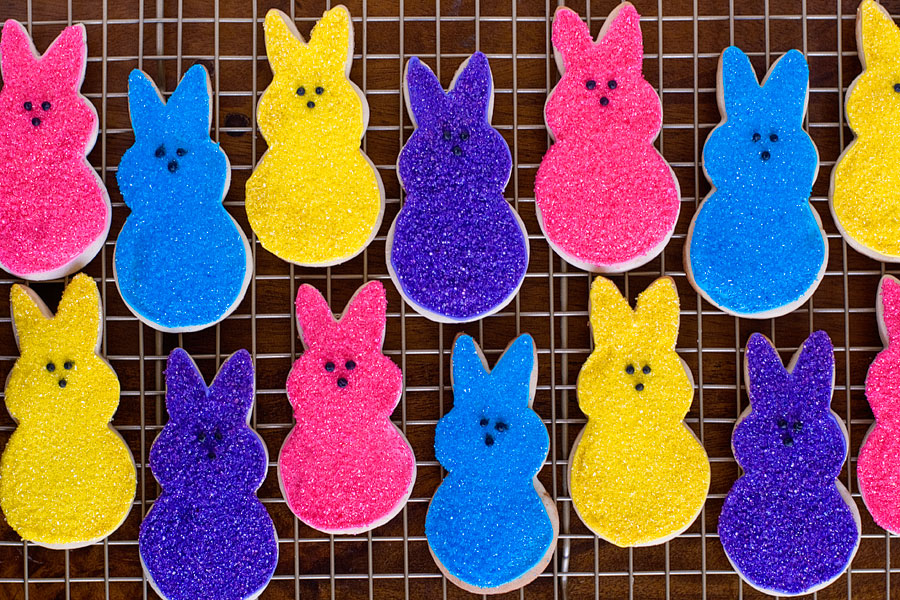
Cuuuuuuute overload! I think these are some of the cutest cookies I’ve made. Much like Valentine conversation hearts, I have a love/hate relationship with Peeps. They are adorable and a staple of Easter, but they also taste like stale cane sugar with a hint of marshmallow. Not my favorite! What’s a girl to do?! Make cookies out of them! I dug out one of my bunny cookie cutters and got to work.

Peep Cookies
Recipe source: Annie’s Eats
Print Recipe

Almond Flavored Sugar Cookies
1 cup butter
1 cup powdered sugar
1 egg, beaten
1-1/2 teaspoon almond extract
1 teaspoon vanilla
1 teaspoon salt
2-1/2 cups sifted flour

Directions:
Cream butter. Add powdered sugar. Blend in egg, almond extract, vanilla, salt and flour. Chill dough until firm. Roll to ¼â€ thickness on well-floured surface. Cut with bunny-shaped cookie cutters. Place on greased cookie sheets. Bake at 375° for 8-10 min. Cookies should not brown. Frost and decorate when cool. Yield will depend on size of the cutter you use. I got about 20-24 bunnies.

White Royal Icing
4 cups powdered sugar, sifted
2 Tablespoons meringue powder
5 Tablespoons water
Pink, yellow, purple, blue gel dyes [plus black or chocolate icing for the eyes/nose]

Directions:
Combine all ingredients in the bowl of a stand mixer fitted with the paddle attachment. Mix on low speed until the sheen has disappeared and the icing has a matte appearance (about 7-10 minutes). Transfer the contents of the mixing bowl to an air-tight container. This will be the stiffest consistency of the icing, and at this point it is still too stiff to use for decorating. Add water a very small amount at a time and stir by hand until fully incorporated. Continue until the icing has reached a consistency appropriate for piping.

I divided the royal icing into 4 batches; dyeing one pink, one yellow, one purple, and one blue. I used Wilton’s gel colorings. After flooding the bunnies, I dipped each cookie into a matching color of sanding sugar. If you are unfamiliar with working with royal icing (outlining, flooding, etc), please read this tutorial from Annie’s Eats.

After the cookies set, pipe small dots of black or chocolate icing onto each cookie for the eyes and nose.