Recent Posts

Potato Chip Cookies II
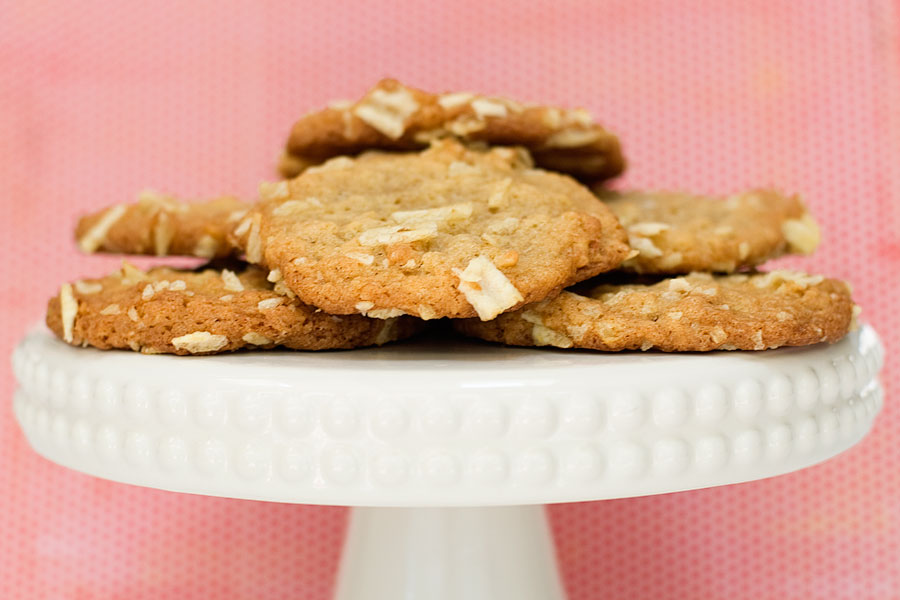
Potato chips rank somewhere in the top 3 of my favorite foods. My family used to own a potato chip factory, so I blame my unabashed love for them on that fact. I can still remember how the old chip factory used to smell – the inciting, yet odd, combination of potatoes and a whole lot of oil. I would always request the bags of the rejects – the still-delicious chips that were too dark or too green (this hue is caused when the potatoes are exposed to sunlight; the green chips are harmless..but they don’t look great!).

I baked potato chip cookies years ago for this blog. The prior recipe included butterscotch chips, which this recipe does not. Today’s recipe does not result in an overly sweet cookie – the chips really balance out the sugar included in the cookie portion. And as always, Martha Stewart recipes are spot-on delicious.

Potato Chip Cookies
Recipe source: Martha Stewart Living
Print Recipe

2 sticks unsalted butter, softened
3/4 cup packed light-brown sugar
3/4 cup granulated sugar
1 teaspoon pure vanilla extract
2 large eggs
2-1/4 cups all-purpose flour
1 teaspoon baking soda
3/4 teaspoon coarse salt
4 cups coarsely crushed salted potato chips, divided
1 cup pecans, toasted and coarsely chopped

1. Preheat oven to 375 degrees. Beat together butter and sugars with a mixer on high speed until fluffy, 2 to 3 minutes. Add vanilla and eggs, and beat on medium speed until just combined.
2. Add flour, baking soda, and salt, and beat on low speed until just combined. Stir in 2 cups potato chips and the nuts.
3. Roll dough into 2-inch balls, and then roll balls in remaining potato chips to coat. Place cookies 2 inches apart on a parchment-lined baking sheet. Bake until golden, 18 to 20 minutes. Let cool completely on baking sheet.

*Note: These cookies are ENORMOUS. Just an FYI :)
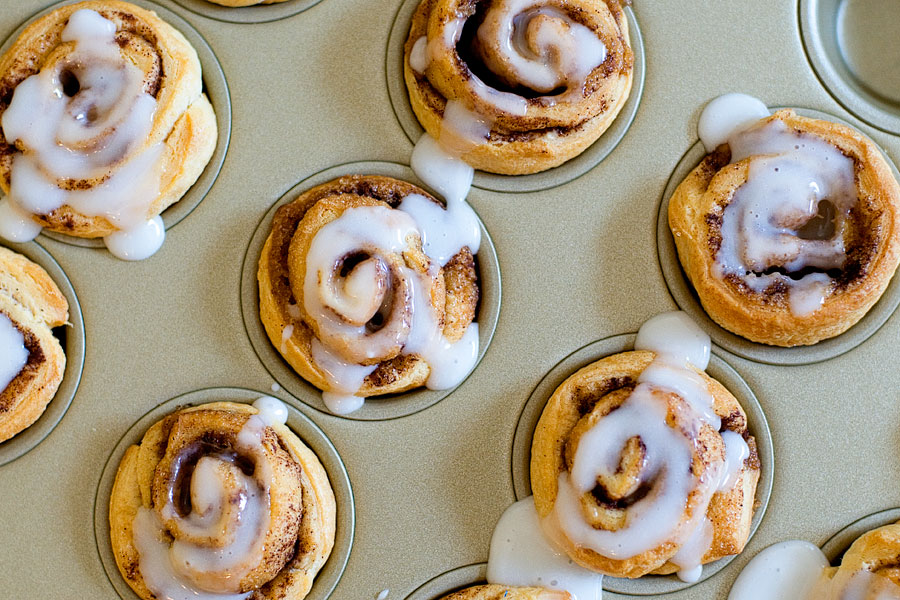
Mini Cinnamon Rolls


Giant, ooey, gooey cinnamon rolls are on my baking Bucket List. I tried to make them once and it was a comical failure. I would love to have a go-to cinnamon roll recipe and be able to make them without a problem. Someday! Until that day comes, I will settle on these super easy mini cinnamon rolls. They made my entire apartment smell so delicious and they are ridiculously easy to make. They are also dangerous because they are bite-sized…

Mini Cinnamon Rolls
Recipe source: Iowa Girls Eats
Print Recipe

1 8-oz tube of crescent roll dough
2 Tablespoons butter
Cinnamon
Brown sugar

Icing:
1 Tablespoon skim milk
3/4 cup powdered sugar
1 teaspoon maple syrup (optional; if you leave out the syrup, add just a little bit more milk)

1. Preheat oven according to crescent roll dough package directions. Lay out half of the dough (4 triangles) and pinch all of the seams together. After doing this, you will have a large rectangle of dough.
2. Using a rolling pin, smooth the seams and roll the dough into a square about 1/4″ thick. Brush with half of the butter and sprinkle with as much cinnamon & brown sugar as you’d like. Roll into a log and cut into 8 pieces.
3. Place the mini cinnamon rolls into a non-stick sprayed mini muffin tin. Repeat steps 1 and 2 with the other half of the crescent roll dough. Bake according to package directions.
4. Meanwhile whisk together the maple syrup and milk in a bowl. Add in powdered sugar until desired consistency is reached. Drizzle over warm cinnamon rolls.

Jello Cookies


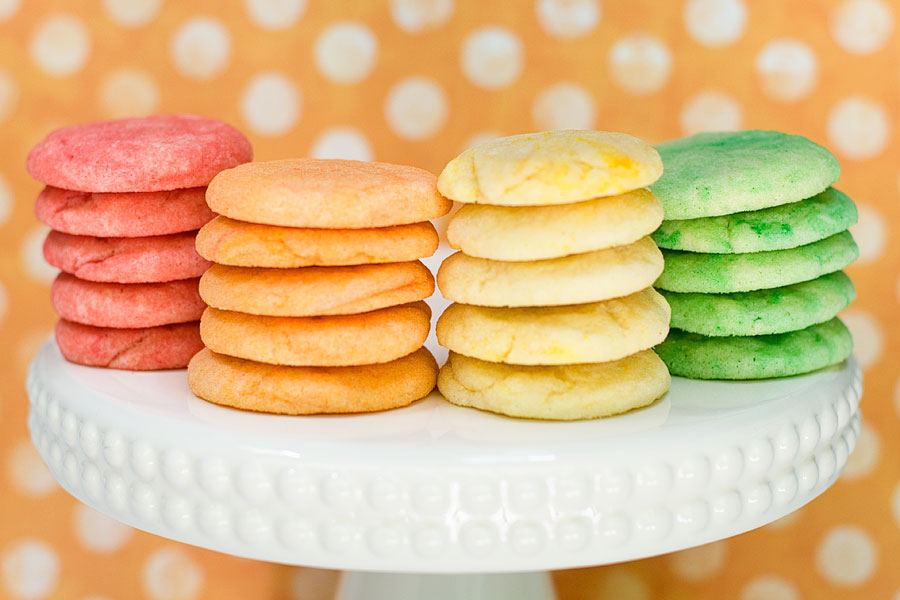
These are a must-bake for kids. Why? Because they are colorful and super sweet. I know, I know, kids shouldn’t have a ton of sugar — but I’m a firm believer in the “everything in moderation” mantra. I was at my parents’ house the weekend I made these. My mom hated them (too sweet!) and my dad loved them, so it really is a matter of personal preference. You can use any Jello flavors you’d like – I chose strawberry, orange, lemon, and lime.

Jello Cookies
Recipe source: iheartnaptime.net
Print Recipe

3-1/2 cups flour
1 teaspoon baking powder
1-1/2 cups salted butter, softened
1 cup sugar
1 egg
1 teaspoon vanilla
4 (3-oz) packages of Jello, any flavors you’d like

1. Preheat oven to 350F.
2. Beat butter in large bowl with mixer until creamy. Add sugar and beat until light and fluffy. Blend in the egg and vanilla. Mix flour and baking powder in a separate bowl. Gradually beat in flour mixture.
3. Divide dough into 4 sections. Sprinkle 2 Tablespoons of Jello onto each section. Knead together with dough. *You might want to add a little food coloring to make the colors even more vibrant.
4. Shape dough into 1-inch balls. Roll in the etra Jello from the packets. Place, 2 inches apart, on parchment-lined baking sheets. Flatten with bottom of bowl.
5. Bake 8-10 minutes. Cool on baking sheets for 2 minutes, then remove to wire racks to cool completely.

Makes approximately 2 dozen cookies.

Summer Ideas 2012

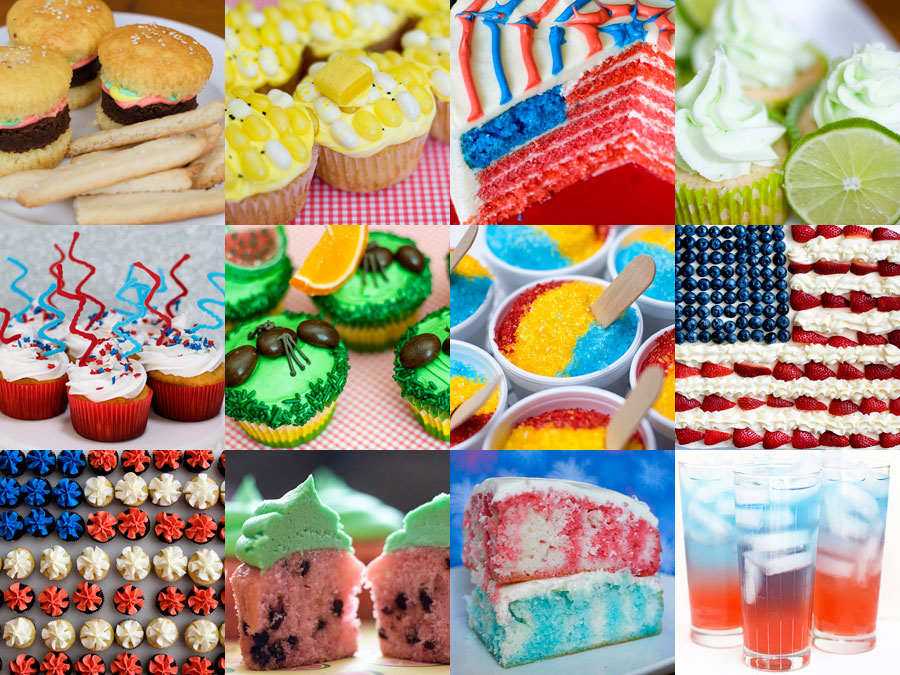
Here are some ideas for 4th of July or summer baking projects! I will be on vacation and away from my computer until mid-July. I’ve got a ton of posts scheduled for this blog, but I may be a little slow in responding to comments or e-mails. Hope you are all having an amazing summer!

1. Burgers & Fries
2. Corn on the Cob Cupcakes
3. American Flag Cake
4. Margarita Cupcakes
5. Sparkler Cupcakes
6. Ants at a Picnic Cupcakes
7. Sno-Cone Cupcakes
8. 4th of July Cake
9. 4th of July Mini Cupcakes
10. Watermelon Cupcakes
11. Red & Blue Poke Cake
12. Patriotic Punch

Sno-Cone Cupcakes


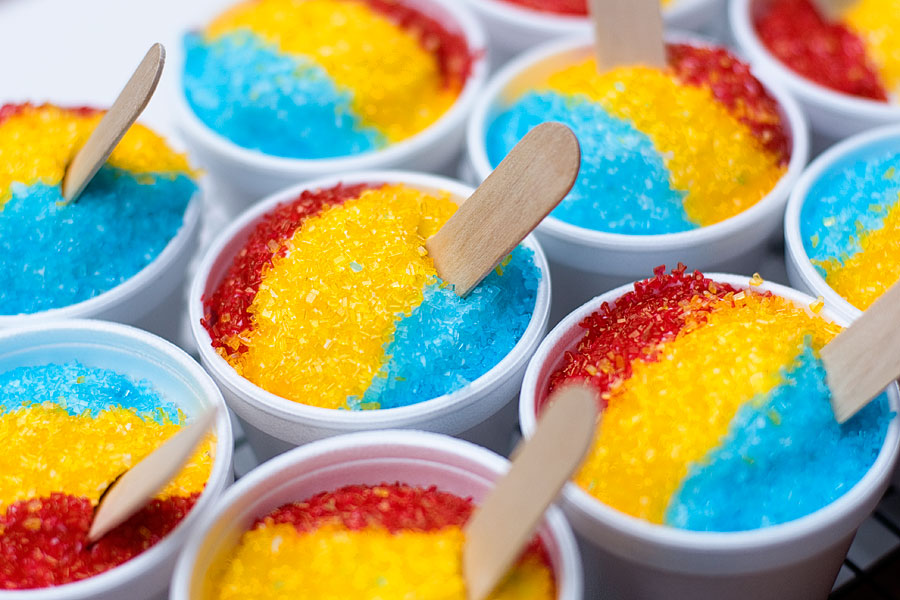
I just about squealed when I saw these adorable cupcakes in last month’s Food Network magazine. I mean, really. How cute are they?! And they really do resemble Sno-Cones! Oh, delicious Sno-Cones. I have vivid memories of eating Sno-Cones at the county fair when I was a kid. Nothing but syrup and ice, but somehow they tasted like magic (isn’t it funny how your environment can influence your perception of taste?).

These cupcakes are really easy to make. The hardest part, in my opinion, was finding the necessary Styrofoam cups and wooden spoons. I found the wooden spoons on Amazon – but if you won’t want to go this route, you could always stick a straw into your cupcakes (because many people drink their Sno-Cones instead of scooping out the ice). The 4-oz Styrofoam cups were more difficult to find. They are small and many stores don’t carry them. My Dad works in the food industry and was able to find a sleeve of them for me, but I’ve read on the Internet that Wal-Mart also carries this specific size. (and no, larger cups won’t work… the cupcakes sit juuuuuust right in the 4-oz version).

Anyway! Onto the instructions!

Sno-Cone Cupcakes
Recipe source: Food Network Magazine
Print Recipe

1 box cake mix (plus required oil, eggs)
Red, yellow, and blue sanding sugars
1 tub of store-bought vanilla frosting or 1 batch of homemade buttercream
Waxed paper, wooden spoons, and about 24 4-oz Styrofoam cups

1. Bake the cupcakes according to box directions. While your cupcakes are cooling, prepare the materials needed for assembly. Pour the sprinkles out into separate bowls. Cut strips of wax paper, about 1 inch wide.
2. Frost your cupcakes and use a generous amount on each cupcake. You want the frosting to form a little mound on the top of each cupcake.
3. Place one strip of waxed paper in the middle of the cupcake. Dip the exposed sides into the red and blue sugars. Remove the strip of waxed paper and dip into the yellow sugar.
4. Drop the cupcake into the Styrofoam cup and add a wooden spoon.