Recent Posts

Candy Corn Gummy Cupcakes
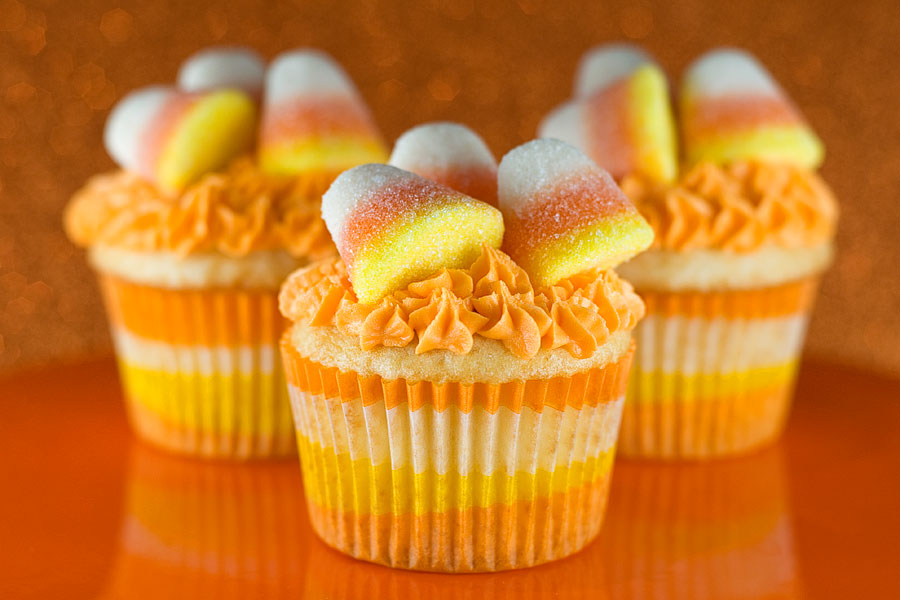

I don’t have much to say in today’s post except that these candy corn gummies were really tasty. :)

Candy Corn Gummy Cupcakes
Print Recipe

1 box cake mix (plus required oil and eggs)
1 tub vanilla frosting (or you can make your own using one of these recipes)
Orange or Halloween-themed cupcake liners
Orange food coloring
Candy corn or candy corn gummies

1. Make cupcakes according to box directions.
2. Tint frosting orange and pipe onto each cupcake. I used a small star tip to achieve the look above.
3. Top each cupcake with candy corn or candy corn gummies.
Frankenstein Cupcakes


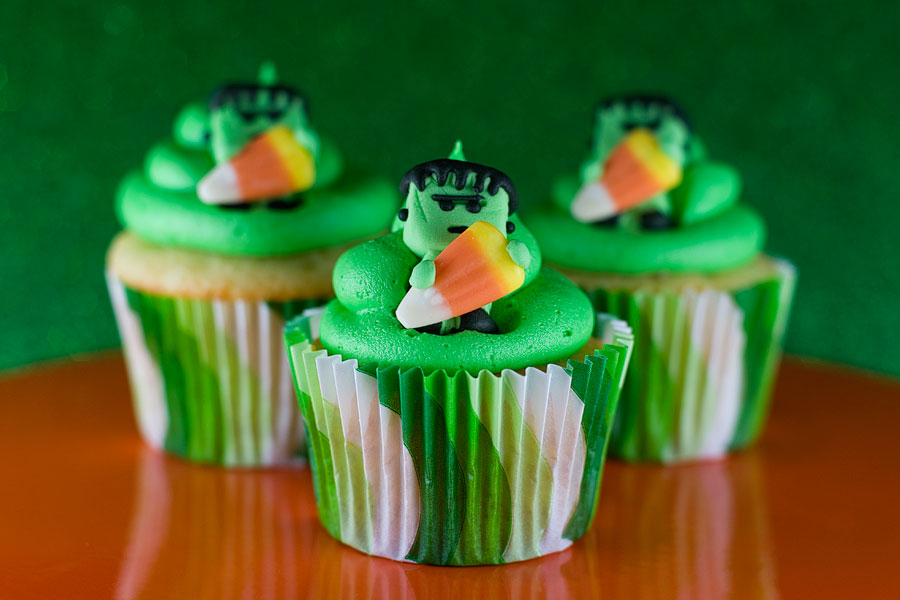
I saw these little Frankenstein cupcake toppers at Target and fell in love. Oh so cute, aren’t they?! I have some Halloween cupcake ideas lined up for this week. Yesterday I featured spiders, today is Frankenstein, tomorrow will involve candy corn, and Friday will be scary spooky!

Frankenstein Cupcakes
Print Recipe

1 box cake mix (plus required eggs and oil)
Green cupcake liners
Green food coloring
1 tub vanilla icing (or you can make your own using one of these recipes)
Frankenstein cupcake toppers (purchased mine at Target)

1. Make cupcakes according to box directions.
2. Tint your frosting green and pipe onto each cupcake. I used a large round tip – but feel free to use whatever tip you’d like.
3. Place a Frankenstein on top of each cupcake.

Spider Cupcakes


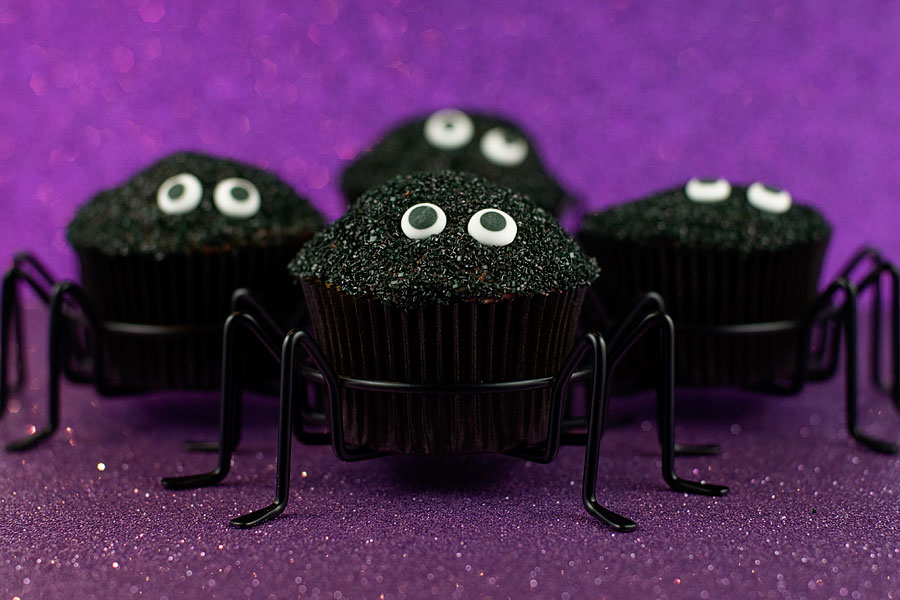
I am terrified of spiders. Well, I should be more specific. I am terrified of big spiders. The little bitty jumpy ones are fine. The wispy ones with really skinny legs are fine. But the big ones? Ahhhhh! My chest tightens and my heart races and I’m rendered useless. But fears need to be confronted! So I have learned to deal with my fear. I name every spider I see (and every spider is “Charlotte”, in my book). This somehow helps to personalize them and ease the fear. And now I’ve made giant spider cupcakes. Because what could be scary about a cupcake?

Spider Cupcakes
Print Recipe

1 box cake mix (plus required eggs and oil)
1 tub chocolate frosting
Black cupcake liners
Black sprinkles or sanding sugar
Sugar “eyes”
Spider cupcake stands (I found mine at Target – they’re sold in a pack of 4)

1. Bake the cupcakes according to box directions.
2. Cover each cupcake with chocolate frosting. Dip into the black sprinkles and coat thoroughly.
3. “Glue” on each sugar eye by using a dab of chocolate frosting.
4. Place the cupcakes in the spider stands and enjoy!

Caramel Apple Cake


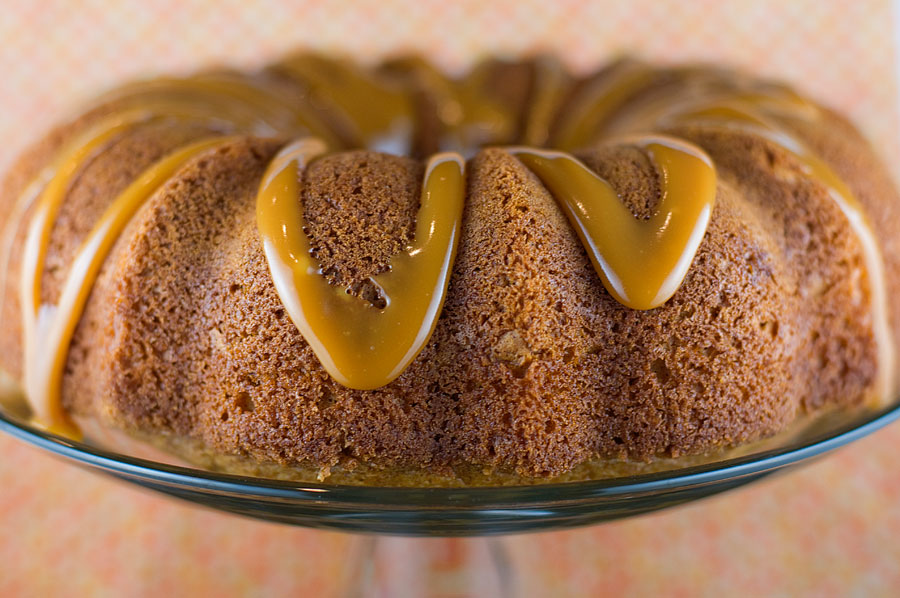
Fall is my favorite time of the year. The trees are beautiful, the smells of cinnamon and apple and burning leaves, the chill in the air, football on Sundays, all things pumpkin, and the promise of Thanksgiving and Christmas in the near future. What’s not to love?

This recipe is really easy, as it’s semi-homemade. Nothin’ wrong with going that route once in a while. This cake also made my apartment smell delicious. It was a win-win.

Caramel Apple Cake
Recipe source: mixingbowl.com
Print Recipe

3 medium apples, peeled and chopped (about 2 cups)
1/2 cup chopped walnuts (I skipped this ingredient)
1 Tablespoon granulated sugar
1 Tablespoon packed brown sugar
1 Tablespoon ground cinnamon
1 package yellow cake mix
3 eggs
1 cup water
1/3 cup vegetable oil
1 package 4-serving-size vanilla instant pudding mix
12 caramels (I used a jar of caramel instead, but the square Brach’s caramels should work fine!)
1 Tablespoon water

1. Preheat oven to 350F. Grease and flour a 10-inch Bundt pan; set aside.
2. In a large bowl, combine apples, walnuts, granulated sugar, brown sugar, and cinnamon. Mix well and set aside.
3. In a mixing bowl, combine cake mix, eggs, 1 cup water, oil, and pudding mix. Add apple mixture to cake mix mixture; mix well. Spread batter into pan.
4. Bake for 40-45 minutes or until a tester comes out clean. Cool in pan on wire rack for 10 minutes, then remove cake from pan. Cool thoroughly on wire rack.
5. Melt caramels (plus 1 Tablespoon water) in the microwave – be careful not to let the caramel burn! Pour over cake. Makes 10-12 servings.

Giant M&M Cookies


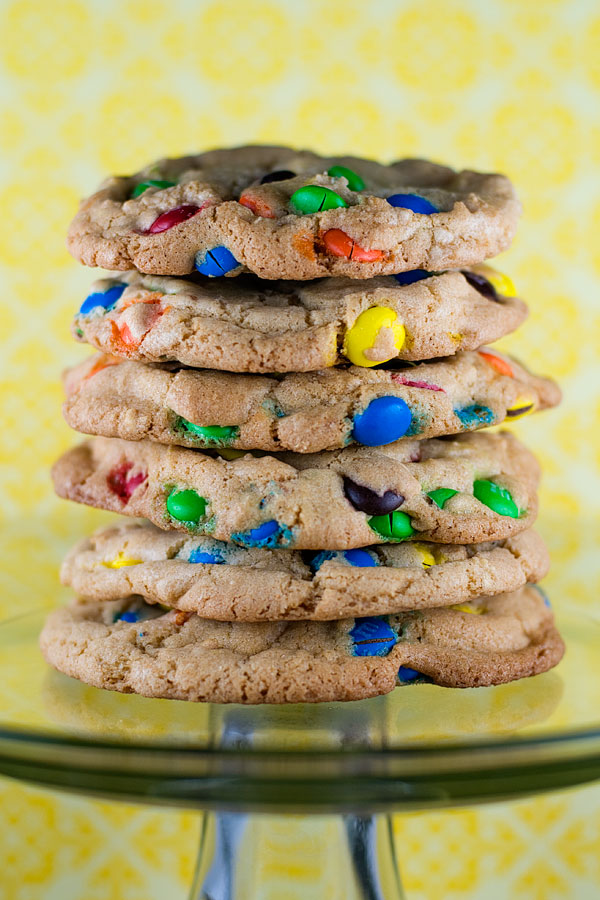
I started law school this fall which means that I don’t have nearly as much time to devote to baking as I once did (cause you guys, law school is i-n-t-e-n-s-e). But I have planned out a few things for this fall and giant M&M cookies were on the list. The Cafe in the law school building sells these amaaaaazing M&M cookies that are the size of your hand. Sometimes I make poor life choices when I’m hungry and staying late at school, which is how I discovered the deliciousness of those gigantic cookies.

I went searching on the Internet for a recipe that might be able to duplicate it and I was successful! These cookies are big and we’re not even going to discuss the caloric content. Ignorance is bliss sometimes, right?

Giant M&M Cookies
Recipe source: howsweeteats.com
Print Recipe

2 cups + 2 tablespoons all-purpose flour
1/2 teaspoons baking soda
1-1/2 sticks salted butter, melted and cooled
1 cup brown sugar
1/2 cup sugar
1 egg + 1 egg yolk, at room temperature
2 teaspoons vanilla extract
1 cup mini m&m’s (I used regular-sized M&Ms because I didn’t have the Minis!)

1. Preheat oven to 325 degrees F.
2. Mix the flour and baking soda in a bowl and set aside.
3. In another bowl, mix the butter and sugars until they are combined. Add the egg, egg yolk, and vanilla and stir until mixed. Gradually add flour and mix until a dough forms – it will look crumbly at first, but it will come together. Fold in the M&Ms.
4. Divide the dough how you choose (1/4 cup portions for 18 large cookies or 2 tablespoon portions for 36 smaller cookies). Shape each portion into a ball with your hands then pull each ball into two equal pieces. Turn each half so that the rough side of the half (what used to be the inside of the ball) faces upwards and then squish both halves together. Place the dough rough-side up on a baking sheets. If you are making the large version of the cookie, be sure to space them out on the cookie sheet!
5. Bake for 12-15 minutes (large cookies) or 8-12 minutes (small cookies) or until the edges are slightly brown. The centers should be soft and puffy. Do not over bake. Cool on a wire rack.