Recent Posts

Sunshine Lemon Bars

DSC_4536x900My momma’s 65th birthday is on Saturday. I adore my mom and will openly admit that she is my soulmate. My mom loves crossword puzzles, daffodils, Civil War trivia, iced tea with LOTS OF ICE, coffee with LOTS OF CREAMER, NFL football, her iPad, using emojis in her communications with me (which warms my heart), the color yellow, Snoopy, country music, and lemon bars.

She really loves lemon bars.

So what better treat to make for her big day?

I found this recipe on Pinterest, which was originally named “Sunburst Lemon Bars.” I changed it up because sunshine is a cuter word — and my mom is the sunshine of my life.

Yield: 24-36 bars

Sunshine Lemon Bars

Sunshine Lemon Bars

A sweet, zesty, and cheerful treat!

Prep Time 20 minutes
Cook Time 1 hour
Additional Time 1 hour
Total Time 2 hours 20 minutes

Ingredients

For the Crust:

  • 2 cups all-purpose flour
  • 1/2 cup powdered sugar
  • 1 cup butter, softened
  • 1 tsp. grated lemon peel

For the Filling:

  • 4 eggs
  • 2 cups granulated sugar
  • 1/4 cup all-purpose flour
  • 1 tsp. baking powder
  • 1/4 cup fresh lemon juice
  • 1 tsp. grated lemon peel

For the Glaze:

  • 1 cup powdered sugar
  • 2 to 3 tablespoons lemon juice

Note:

  • You’ll need about 2 lemons for all the juice + peel necessary in this recipe.

Instructions

    Make the crust:

    1. Heat oven to 350F.

    2. In large bowl with electric mixer, beat flour, sugar, butter, and peel on low speed until crumbly.

    3. Press mixture evenly in bottom of 13×9-inch pan (I sprayed my pan with Pam nonstick spray).

    4. Bake 20 to 30 minutes or until light golden brown.

    Make the filling:

    1. Meanwhile, in large bowl with wire whisk, lightly beat eggs.

    2. Beat in remaining filling ingredients except lemon juice and lemon peel until well blended.

    3. Beat in 1/4 cup lemon juice and peel.3.

    4. Pour filling evenly over warm crust.

    5. Return to oven; bake 25 to 30 minutes longer or until top is light golden brown.

    6. Cool completely, about 1 hour.

    Make the glaze:

    1. In small bowl, mix 1 cup powdered sugar and enough lemon juice for desired spreading consistency until smooth.

    2. Spread glaze over cooled bars.

    3. Cut into bars. Store in refrigerator, but allow bars to come to almost room temperature before serving.

Notes

Your yield will depend on how big or small you cut your bars.


Happy Opening Day!

It’s opening day for the Brewers today! And the Badgers are playing in the championship game against Duke tonight! BIG DAY for Wisconsin sports. I don’t have a recipe to share today, but here are some cute treats I made. I hope you’re all having a great Monday (and recovering from your chocolate bunny food hangovers!).

DSC_4989x900DSC_4979x900

Easter Ideas 2015

easter2015
Here’s the Easter idea roundup for 2015!

1. Tuxedo Peeps
2. Easter Egg Cookies
3. Hot Cross Buns
4. Peep Cookies
5. Butterscotch Birds’ Nests
6. Coconut Easter Cupcakes
7. Cadbury Creme Egg Cupcakes
8. Homemade Peanut Butter Eggs
9. The Best Carrot Cake
10. Cadbury Mini Egg Cookies
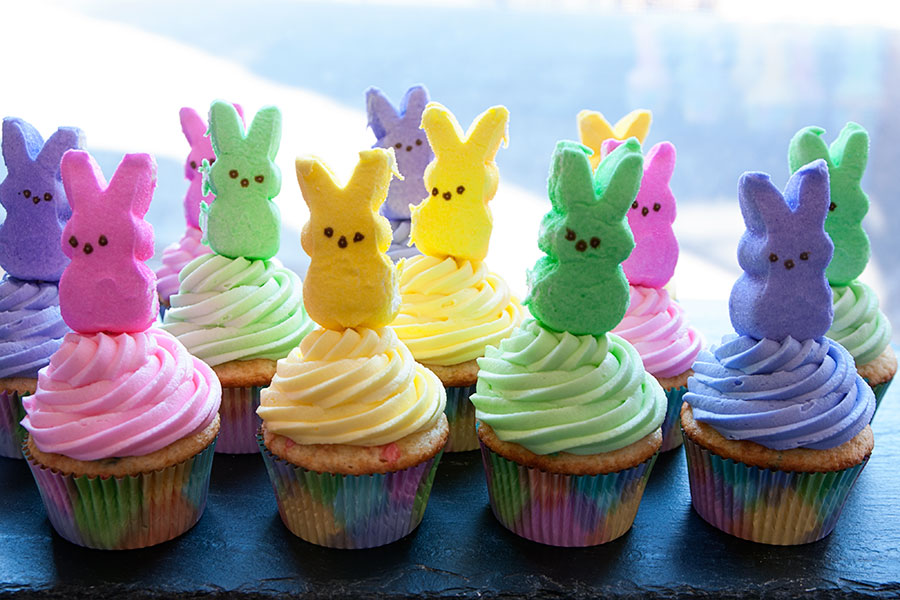
11. Peep Cupcakes
12. Carrot Cake Cupcakes
13. Cadbury Mini Egg Blondies
14. Anniversary Peep Brownies
15. White Chocolate Jelly Bean Cupcakes
16. Easter Thumbprint Cookies
17. Reese’s Peanut Butter Egg Cookies
18. Carrot Cookies
19. Ducky Cookies
20. Cadbury Mini Egg Bark
21. Peeps Cupcakes
22. Speckled Egg Cookies
23. Bunny Cake
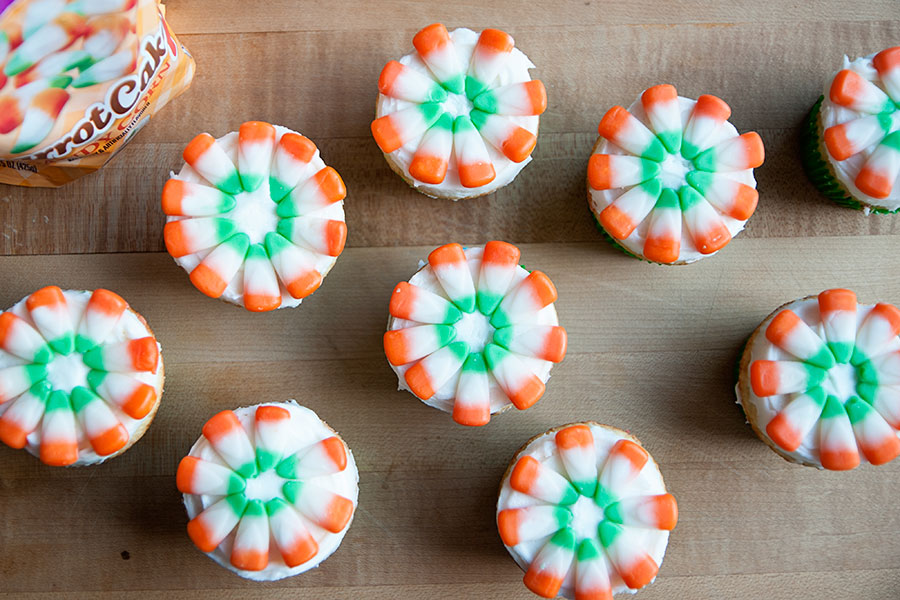
24. Carrot Cake Candy Corn Cupcakes
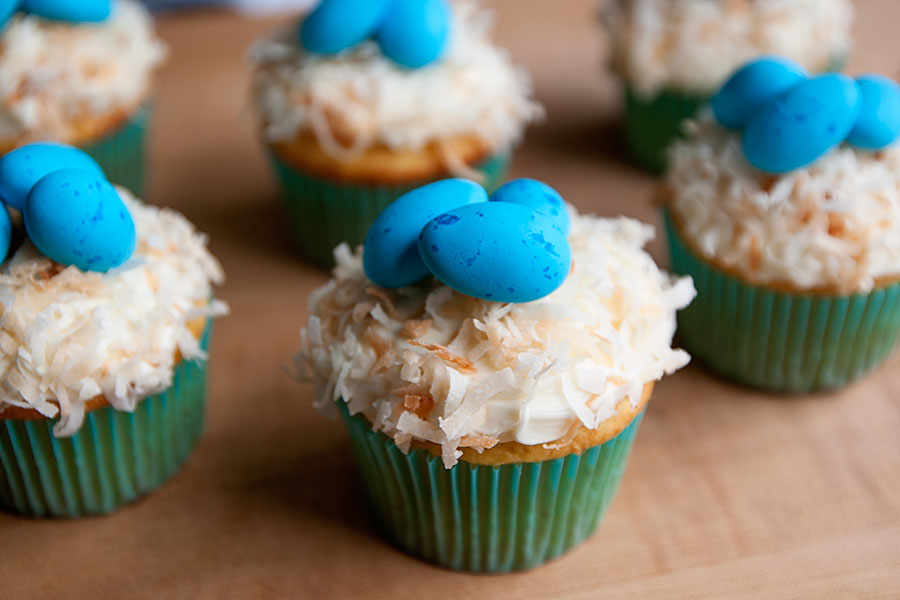
25. Robins’ Nest Coconut Cupcakes
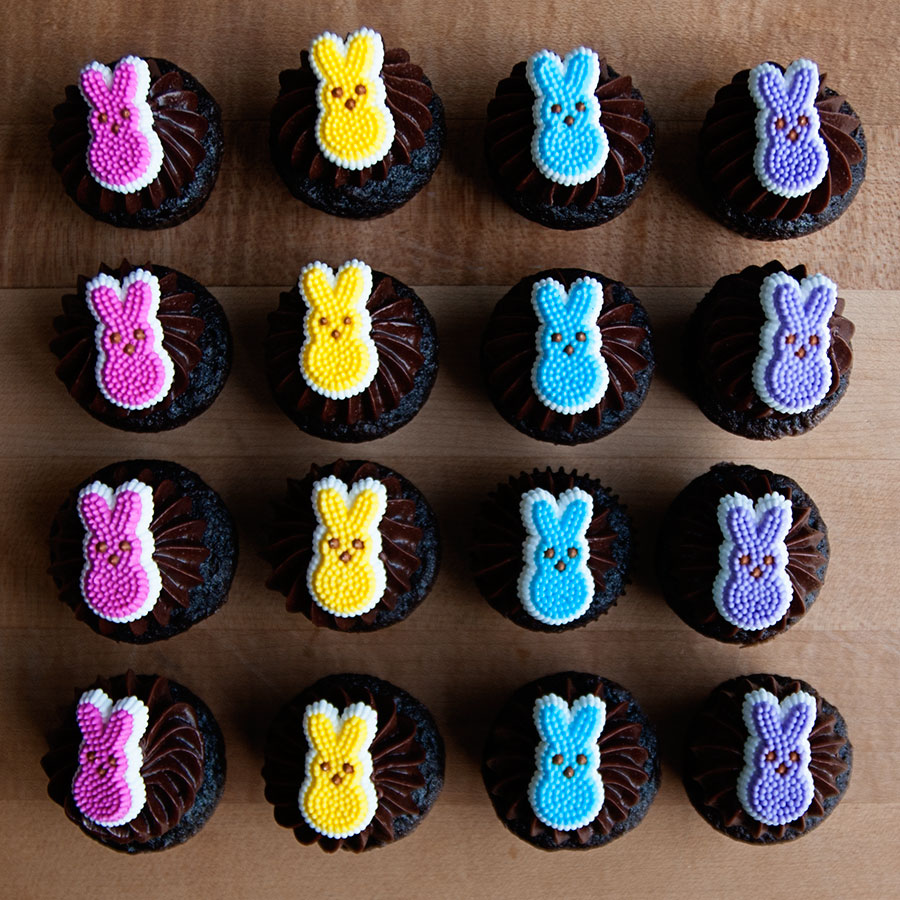
26. Mini Peeps Cupcakes
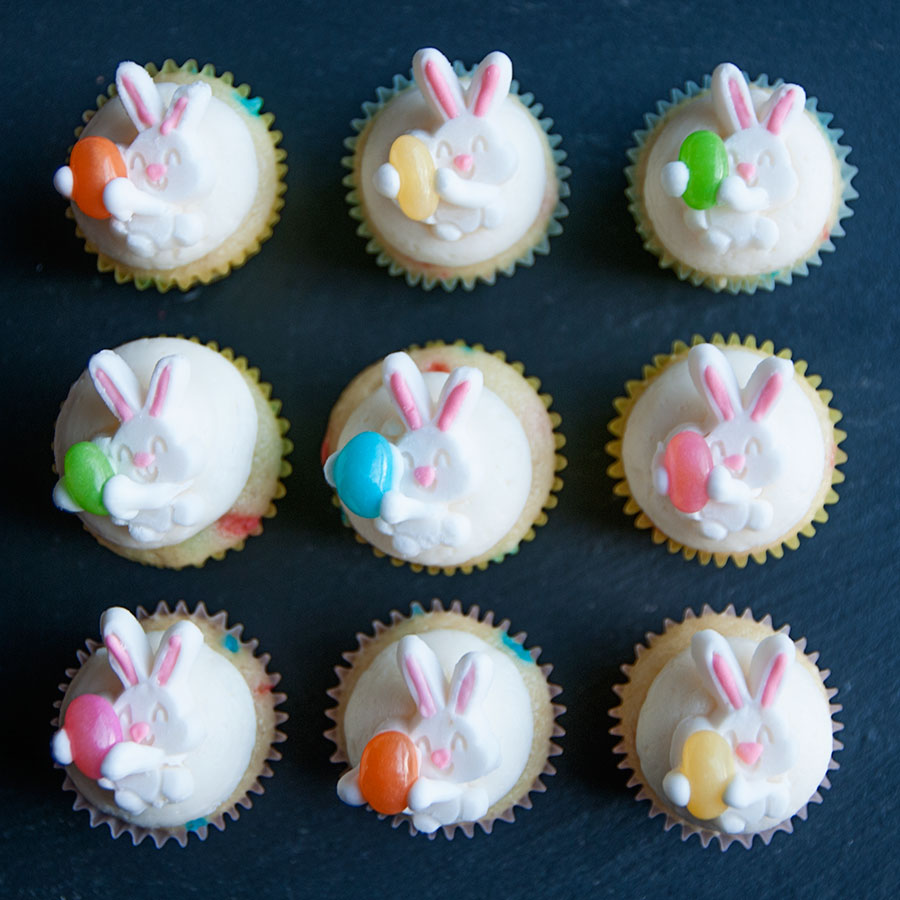
27. Mini Bunny Cupcakes

Speckled Egg Cookies

DSC_4879x900Speckled eggs! A sign of spring. I always feel twinges of sadness when I see one of these during the spring season — usually because the egg is on the ground, cracked, and the baby bird had no chance. This post has taken a turn for the morbid, huh? But anyway! Let’s focus on all the baby birds who do hatch from their beautiful blue eggs and enjoy a healthy and fun bird life.

These cookies were pretty easy to make — but here’s my warning: you’ll make a MESS with the speckling process! Feel free to make your eggs any color you’d like. I stuck with a robin egg blue because I think it’s one of the prettiest colors in nature.

If you are a new to decorating with royal icing, here are some helpful tips and links:

  • I used my grandma’s sugar cookie recipe, which is listed below.  Another good cut-out cookie recipe can be found at Bridget’s wonderful Bake at 350.
  • I used a royal icing recipe from Annie’s Eats, which is listed below.
  • If you are new to decorating with royal icing, please visit this post by Annie’s Eats, which will teach you about outlining and flooding.  Bake at 350 is also a great resource for cookie decorating and ideas (I love Bridget’s book, too!).

Here are the specifics on how I made these cookies:

  • I used a Wilton comfort-grip egg cookie cutter.
  • I dyed a small amount of royal icing brown, using AmeriColor’s brown dye.
  • I dyed a larger amount of royal icing blue, using a combination of Wilton’s sky blue and leaf green. There’s no perfect formula I can give you for this specific color. Just add a little sky blue gel coloring at a time, mix, and see if you need to add more to make the color more vibrant. A little will go a long way, so start slow. Once I achieved the blue color I wanted, I added just a little bit of leaf green. Like, a toothpick-ful. This will help to make the robins egg blue color.
  • I outlined each egg with brown icing and flooded with blue icing. Allow the icing to dry completely before moving on to the speckling process.
  • You will need a small bowl (a ramekin would be best) and a paintbrush. I bought a pack of cheap paintbrushes at Target. Add about a tablespoon of water to the small bowl or ramekin, then add a few drops of brown food coloring. Mix well. Dip the paintbrush into the brown water and use your finger to flick the liquid onto the cookies. (Is “flick” a technical term?!)
  • A few pieces of advice…
    • You will make a mess. So cover your working area with newspapers or paper towels. There is no neat-and-tidy way to do the speckling process.
    • You might want to cover your hand with a latex glove or plastic bag — because the brown water will dye your finger tips. Just sayin’. Ahem.
    • You may want to practice the speckling first. I tried it out using my kitchen sink first. Just to make sure that I had the right technique. And because you’re flicking the brown water into the sink, it makes for easy clean up!
  • If you have questions, please leave me a comment! I’m happy to help.

Omi’s Sugar Cookies
Print Recipe
1 cup butter
1 cup sugar
1 large egg
1/2 teaspoon salt
3 cups flour
1 teaspoon baking soda
1/2 cup sour cream
1 teaspoon nutmeg

Beat butter and sugar. Add egg, sour cream, and nutmeg. Add dry ingredients gradually. Chill the batter overnight or for at least 4 hours. Roll out dough and cut with cookie cutters. Bake at 350F until golden (in true fashion, my grandma didn’t give a specific baking time. I baked the cookies for about 8 minutes).  This recipe will make about 18 egg cookies (but this will depend on the size of your cookie cutter!)


White Royal Icing
4 cups powdered sugar, sifted
2 Tablespoons meringue powder
5 Tablespoons water

Directions:
Combine all ingredients in the bowl of a stand mixer fitted with the paddle attachment. Mix on low speed until the sheen has disappeared and the icing has a matte appearance (about 7-10 minutes).  Transfer the contents of the mixing bowl to an air-tight container. This will be the stiffest consistency of the icing, and at this point it is still too stiff to use for decorating. Add water a very small amount at a time and stir by hand until fully incorporated. Continue until the icing has reached a consistency appropriate for piping.

You’ll likely need two batches of this icing — but if you’re making 12 or fewer cookies, you might be able to work with just one batch.

DSC_4839x900

Bunny Cake

comparisonToday’s post features the classic bunny cake. As you can see from the photo above, I’ve been a fan of this design since the ’80s (side note: check out those mom jeans and that sweater vest! It was truly a magical time.) My Dad made that cake for me when I was 4 or 5 years old. Yes, my Dad. He was (and still is) a totally creative, awesome, and loving Dad. When I was younger my Mom worked on Saturdays because she was a young attorney who was building her practice. This meant that I got to spend every Saturday with my Dad, which was the best time. To this day, some of my strongest childhood memories involve those Saturdays with him. We’d go to breakfast together, run errands, visit my grandparents, etc.

Because my Dad has always remained a kid himself — and believes strongly in making life fun and silly — he made me this cake. My five-year old self thought what he did was magical. When I was home earlier this month for spring break, I asked him about the cake. He told me that he clipped the idea out of a magazine, planned it all out, and had to call my grandma because he couldn’t figure out how to dye the coconut pink and green.

I’m not a parent, but I can understand and appreciate the fact that parenthood can be exhausting. But please don’t forget to have fun with your kids. The simple things, like a bunny cake, matter more than you may realize. And those simple things can end up forming the strongest and happiest memories.

So how do you make a bunny cake? So. Simple. Just bake two round cakes. Leave one round cake as-is. And cut the other one up to make the ears and bow tie. If you are having a hard time visualizing this, check out this helpful graphic.

Bunny Cake
Print Recipe

1 box cake mix (plus required oil + eggs)
Two 8″ or 9″ cake pans
Two tubs of vanilla frosting (I used store bought; feel free to make homemade icing!)
1 bag of sweetened, shredded coconut
Green food coloring
Red/pink food coloring
2 Ziploc bags
Chocolate chips (about 1/2 cup)
2 pieces of gum for the bunny teeth (I used Eclipse)
String licorice or another type of candy for the whiskers

1. Bake the two round cake according to box directions.
2. While the cakes are baking, dye the coconut. Put a handful of shredded coconut into a Ziploc bag and add a few drops of green coloring. No need to use gel coloring for this. I used the food coloring you can buy at the grocery store. Seal the bag and shake, which will color the coconut green. Repeat this process with the red/pink food coloring. Leave the rest of the coconut white.
3. After the cakes have cooled completely, cut one of the cakes into the pieces according to the link I posted above. Assemble the “ears”, “bow tie”, and un-cut round cake into a bunny on a large cookie sheet or serving platter.
4. Frost the cake with the vanilla icing. Cover the frosted cakes with the shredded coconut. You can do any design you’d like, or you can follow along using my photo as a guide. Outline the cake with green coconut to make it look like grass.
5. Embellish the bunny with the chocolate chips, gum, and licorice strips.

Easy, right?! Please feel free to decorate your bunny how ever you’d like, using different colors or candies as you see fit. There’s no perfect way to do this. A Google image search for “bunny cake” will produce a variety of results that can serve as decorating inspiration.

If you end up making one of these for Easter, please take a photo and send it to me! I’d love to see it!

DSC_4777x900