Mardi Gras Cake Pops
 One of my 2013 resolutions is to master the art of making cake pops. I made a disastrous attempt about 4 years ago and haven’t tried again since. I’m generally not great with candy melts and having to coat things. It’s a baking achilles heel of mine. But if at first you don’t succeed, try try again!
I’m not sure if this attempt can be considered a full success — but it definitely wasn’t a disaster! I made these the traditional way — by baking a cake, smashing it up, adding a tub of frosting, and shaping the cake into balls. I also bought a BabyCakes cake pop maker last year. I think I’ll give that a try next time, just to change things up.
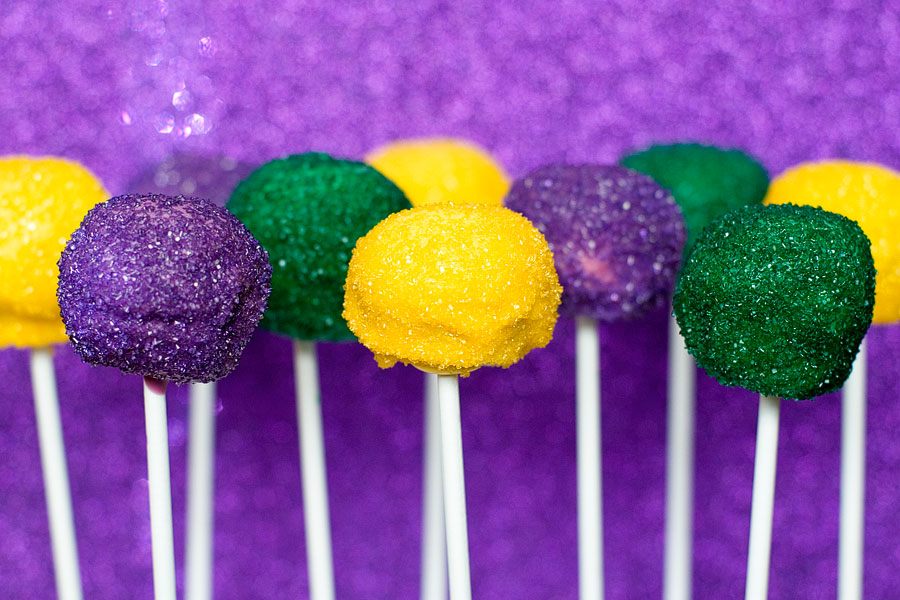
I didn’t know how I should decorate these, so I went with purple, green, and yellow – the color of Mardi Gras. Maybe one of my 2014 resolutions will be to actually attend Mardi Gras, as I’ve been wanting to go for years. Laissez les bon temps rouler!
Mardi Gras Cake Pops
Need a treat for your Mardi Gras party? These are easy and fun to make!
Ingredients
- 1 box cake mix + required eggs, water, and oil
- 2 cups frosting (I used store-bought)
- Lollipop sticks
- Candy melts, any color(s) of your choosing
- 1 Tablespoon vegetable oil
- * Craft foam or Styrofoam. A block of this will be incredibly helpful — you can place the cake pops into the craft foam. Makes them super easy to display. Craft foam can be found at Hobby Lobby, Michael’s, Jo-Ann’s, etc.
Instructions
1. Bake a cake according to box directions.
2. Use your hands to break the cake up — smush it, smash it, make crumbs out of it. Very glamorous step.
3. Add the frosting to the cake crumbles and mix.
4. Form the cake + frosting combo into balls and place on something that will fit into your refrigerator (I used a cookie sheet). Refrigerate them for 1-2 hours.
5. Prepare your candy melts. Melt them in the microwave according to the directions on the back of the bag. Adding 1 Tablespoon of oil will help to thin the melted candy melts. Once your candy melts are ready to roll, take the cake balls out of the refrigerator.
6. Dip a lollipop stick into the candy melt coating and push the stick into a cold cake pop. Dipping the stick into the melts and then into the cake pop helps the stick to adhere to the cake.
7. Dip the cake pop into the candy melt coating; allow any excess to drip off. Decorate with sprinkles if you’d like, the place the cake pop into the craft foam and allow them to dry.
If you are a visual learner like me, you might appreciate these links that could help you with the cake pop process:
How to Make Cake Pops from Love from the Oven
Cake Balls, Halloween Style from the Pioneer Woman
How to Make Cake Pops from A Beautiful Mess
And of course, the Queen of the Cake Pops, Bakerella
 Last summer I received a really awesome gift. Two vintage heart cookie cutters from a very special family. A bit of background is required for this post. I’m an only child. When I was a kid, I didn’t get shipped off to traditional daycare — I instead got to go to the Qualleys’ house. Technically, they were my babysitters from the time I was 4 years old until I was about 10. But the term “babysitter” doesn’t really cut it. They became family over the course of those years. I loved going to their house. The Qualleys had three kids – all of which were (and are) wonderful people and all have very different personalities I got along well with all of them and in many ways, they became the siblings I never had.
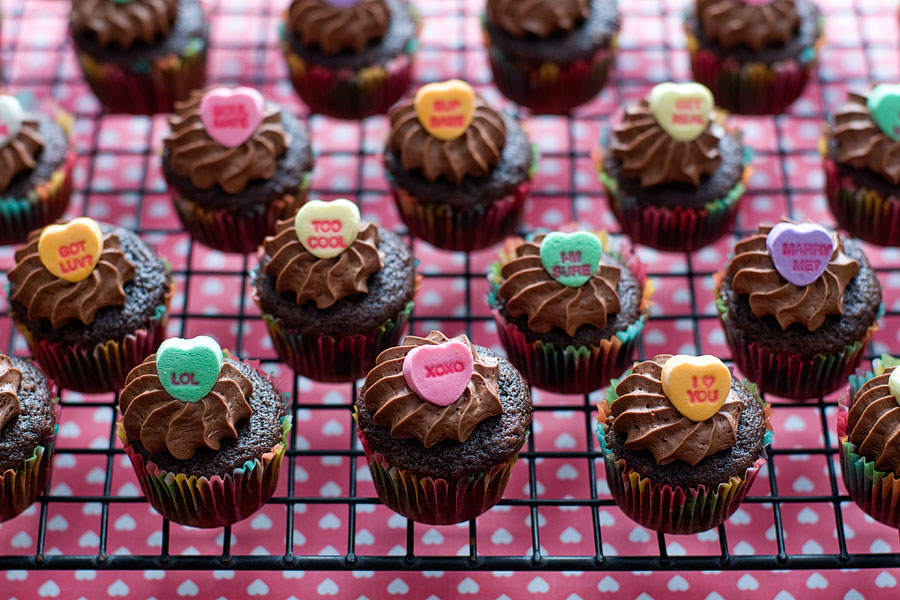 We’re four days into February – the month of Valentine’s Day! Even if you hate the holiday (as so many people do), you can’t deny its cuteness. I mean, it’s the holiday of hearts and pink and red and love. The world needs a little bit more of all of those things. Today’s recipe is an easy one – as it is entirely semi-homemade. If you don’t like conversation hearts, you can top the cupcakes with whatever Valentine’s candy you do like. Wilton makes really adorable pressed sugar hearts — or you could top them with Valentine M&Ms. The seasonal aisle at Target has a million different Valentine candies that would work!