Recent Posts

Chewy Chocolate Cream Cheese Sugar Cookies
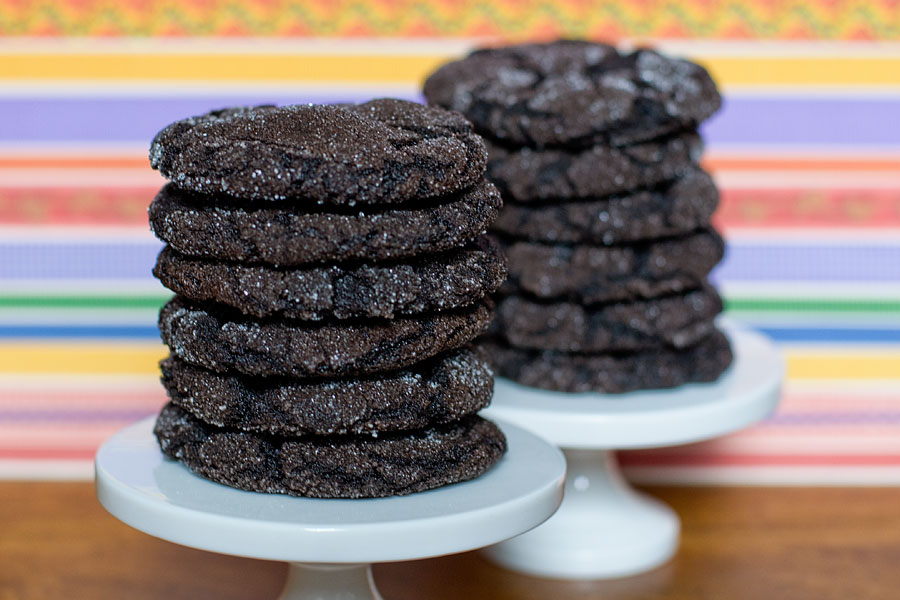
My friend Andrea introduced me to these amazing cookies. She brought them to class one day and I ate three. THREE. What was that? Oh, my self-control flying out the window. Then she made another batch a week later and I ate another THREE. Our fellow classmates descended upon the bag of cookies like hungry and stressed out vultures. Wait. That’s a surprisingly accurate description of law students. But I digress.

These cookies are phenomenal. I would even say that they rank in my top ten favorite cookie recipes. Not like my top ten list means anything, but I’ve made and consumed a lot of cookies over the years — and these are so, so delicious.

I changed one little thing from the original recipe. I used Hershey’s special dark cocoa powder instead of plain cocoa powder. This is because I’ll always take dark chocolate over regular. But feel free to use what you’d like! If you use regular cocoa powder, the cookies will be much lighter in appearance.

Chewy Chocolate Sugar Cookies
Recipe source: cravingchronicles.com
Print Recipe

1 1/2 cups unbleached all-purpose flour
3/4 cup cocoa powder
1/2 teaspoon baking soda
1 teaspoon baking powder
1/2 teaspoon table salt
1 1/2 cups granulated sugar, plus 1/3 cup for rolling
2 ounces (4 Tablespoons) dark chocolate cream cheese [you’ll find this in the dairy section of your grocery store – with the other cream cheeses]
6 Tablespoons unsalted butter, melted and still warm
1/3 cup vegetable oil
1 large egg
1 Tablespoon milk
1 Tablespoon brewed coffee
1 teaspoon vanilla extract

1. Preheat oven to 350°F. Line two baking sheets with Silpats or parchment paper.
2. In a small bowl, whisk together flour, cocoa powder, baking soda, baking powder, and salt. Set aside.
3. Combine 1 1/2 cups sugar, chocolate cream cheese and melted butter in a large bowl and whisk briskly until smooth. Whisk in oil. Add egg, milk, coffee, and vanilla extract. Whisk until smooth. Add flour mixture. Fold in with a rubber spatula until all flour is incorporated and a soft dough forms.
4. Measure remaining 1/3 cup sugar into a small bowl. Using a 2 Tablespoon cookie scoop, portion out 12 dough balls per baking sheet. Roll each dough ball in your hands, then roll in sugar to coat. Space about 2 inches apart on the baking sheet. (If the dough is too soft, set it in the fridge for 10-15 minutes.)
5. Bake 1 sheet at time at 350°F for 11-13 minutes, until cookies are set and tops have cracked. (do not over bake!) Cool on the baking sheet for 3 minutes, then transfer to a wire rack to cool completely.
6. Store in an airtight container at room temperature for up to 1 week. Makes about 24 cookies.
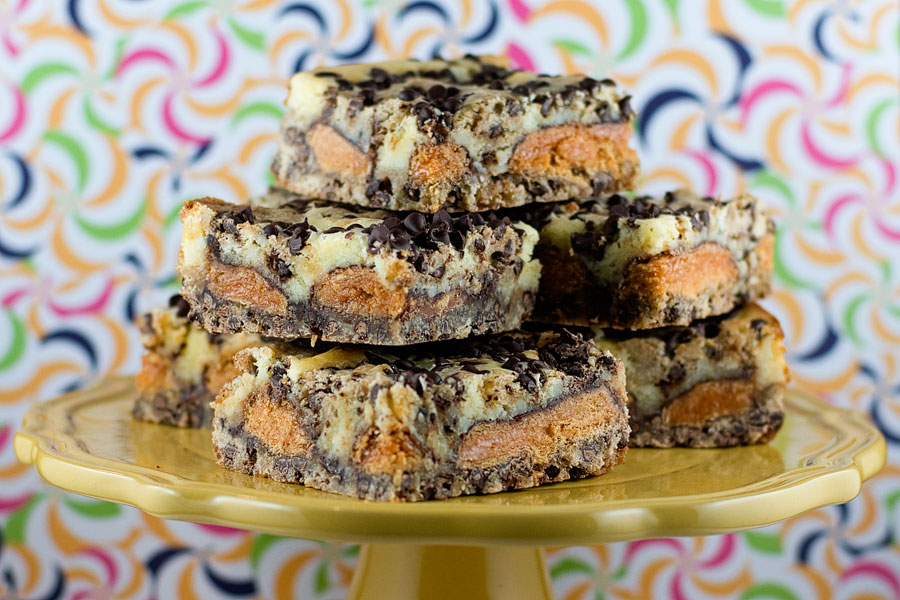
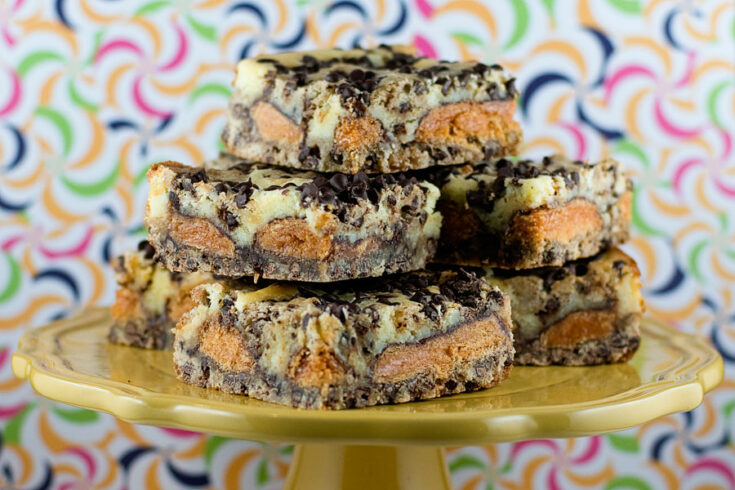
Butterfinger Cookie Dough Cheesecake Bars


My law school BFF’s birthday was a few weeks ago. I told her that I’d make her any treat she wanted and she picked these.

I know what you may be thinking: isn’t there just a little too much going on in these bars?

Butterfingers AND cookie dough AND cheesecake AND a cookie layer?!

But trust me, it somehow all works and works beautifully. The cheesecake and Butterfinger flavors dominate, so if you don’t like either of those these may not be for you!

Yield: 9 bars

Butterfinger Cookie Dough Cheesecake Bars

Butterfinger Cookie Dough Cheesecake Bars

A dessert Bart Simpson would love!

Prep Time 20 minutes
Cook Time 40 minutes
Total Time 1 hour

Ingredients

For the chocolate chip cookie layer:

  • 1/2 cup butter, melted
  • 1/2 cup brown sugar
  • 1 egg
  • 1/2 teaspoon vanilla
  • 3/4 cup flour plus 2 tablespoons
  • 1 cup mini chocolate chips + 1/2 cup for top
  • 5 Butterfinger bars, king size [I used the mini versions – worked fine!]

For the cheesecake layer:

  • 8 oz cream cheese, room temperature
  • 1/3 cup sugar
  • 1 egg
  • 1 teaspoon vanilla

Instructions

    1. Create a sling by lining an 8×8 inch pan with foil so that there is a one inch overhang on each side. Cover foil with bake spray. Heat oven to 375F.

    Make the chocolate chip cookie layer:

    1. Melt butter and let cool to warm.

    2. Add in brown sugar and mix to combine. Add in egg and vanilla extract and mix to combine. Add in flour and fold to combine. Add in 1 cup of mini chocolate chips and fold to combine.

    3. Pour mixture into pan; set aside.

    Make the cheesecake:

    1. Add all the above listed cheesecake ingredients in a bowl and beat until blended. Set aside.

    Assemble:

    1. Press 3/4 of cookie mixture into pan.

    2. Place Butterfinger bars side-by-side on top of cookie dough.

    3. Pour cheesecake mixture on top.

    4. Crumble remaining cookie dough sprinkle on top of cheesecake layer along with remaining 1/2 cup of chocolate chips all over top.

    5. Transfer pan to oven and bake for about 30-40 minutes at 375F. Remove from oven set on wire rack to cool.

Notes

Your yield will depend on how big or small you cut your bars.

Keep these bars refrigerated because of the cream cheese content. I think they taste better when cooled anyway!

Recipe credit: Bakers Royale


Easter Ideas 2013


Here’s the Easter idea roundup for 2013!

1. Tuxedo Peeps
2. Bunny Ear Cupcakes
3. Hot Cross Buns
4. Peep Cookies
5. Butterscotch Birds’ Nests
6. Coconut Easter Cupcakes
7. Cadbury Creme Egg Cupcakes
8. Homemade Peanut Butter Eggs
9. The Best Carrot Cake
10. Cadbury Mini Egg Cookies
11. Peep Cupcakes
12. Carrot Cake Cupcakes
13. Cadbury Mini Egg Blondies
14. Anniversary Peep Brownies
15. White Chocolate Jelly Bean Cupcakes
16. Easter Thumbprint Cookies

Anniversary Peep Brownies


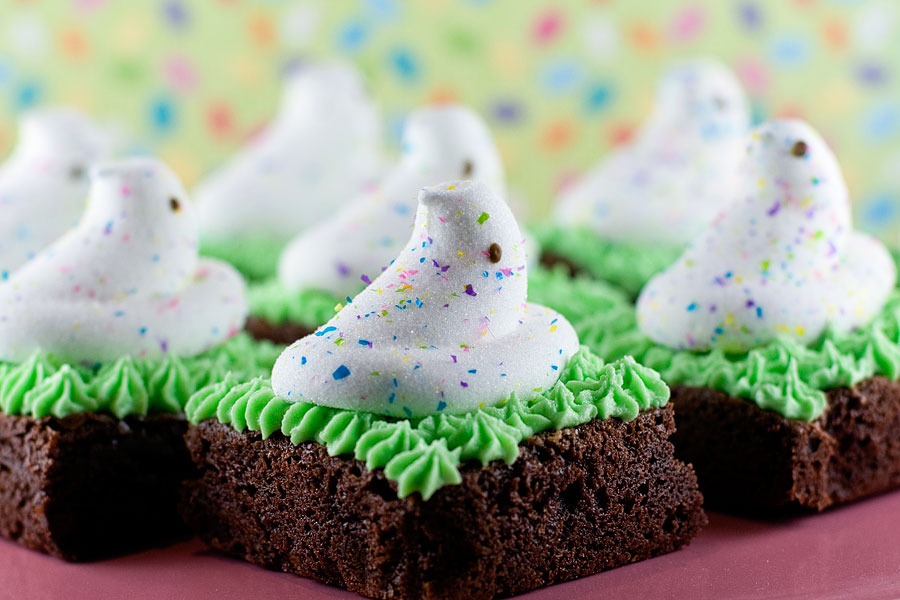
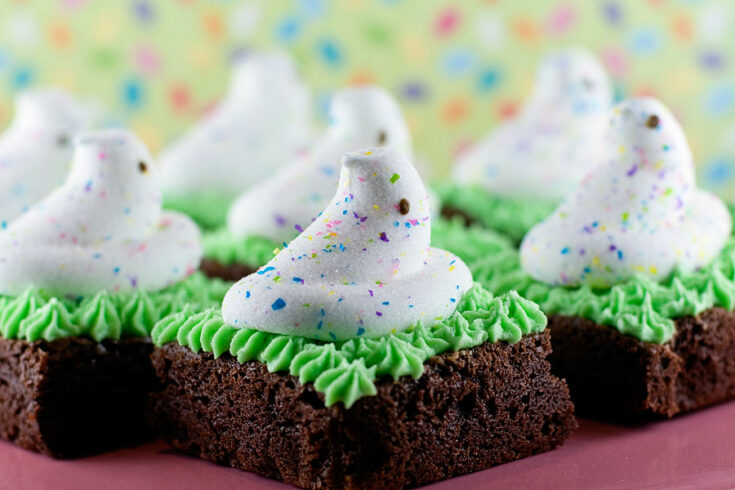
This year marks the 60th anniversary of Peeps! Aren’t these anniversary peeps the cutest things? I love the speckled colors — and the fact that they are vanilla flavored, as opposed to just tasting like stale sugar. I didn’t really know what to do with these and decided to make brownies. I figured that most people don’t like Peeps, but most people love brownies! I used a box mix for the brownies because I was short on time. I made a batch of homemade buttercream to look like grass and placed a Peep on top.

PS: The only place I’ve seen the anniversary Peeps is at Target. They come in a special silver package with three Peeps in each.

Yield: 9 brownies

Anniversary Peep Brownies

Anniversary Peep Brownies

Brownies to celebrate the 60th anniversary of Peeps!

Ingredients

  • 1 box brownie mix (plus required oil and eggs)
  • Ingredients for your favorite frosting (I used white buttercream)
  • Green food coloring
  • Pastry bag + small star tip
  • Peeps of your choosing

For the Frosting

  • 1 stick salted butter – room temperature
  • 1 stick unsalted butter – room temperature
  • 1 cup shortening
  • 1 tablespoon vanilla extract
  • 2 pounds confectioner’s sugar (powdered sugar, 10x)
  • 4-6 tablespoons very cold milk

Instructions

    1. Make the brownies according to box directions and allow them to cool entirely.

    2. Cut the cooled brownies into squares.

    3. Make the buttercream frosting.

    4. Cream the butter and shortening in the bowl of an electric or stand mixer.

    5. Add the vanilla extract and combine well.

    6. Begin adding in the sugar and mixing thoroughly after each addition.

    7. After all of the sugar has been added and mixed thoroughly, begin adding the very cold milk one tablespoon at a time, combining very well after each addition (mixer on medium-high to high speed) until you reach the desired consistency.

    8. Use a few drops of green food coloring to dye the frosting green.

    9. Using a small star tip, pipe a bed of “grass” on the top of each brownie.

    10. Place a Peep on each brownie.

Notes

This recipe was created in 2013 when Peeps was celebrating their 60th anniversary. The specific Peeps used in this recipe may no longer be available.

White Chocolate Jelly Bean Cupcakes


Happy first day of spring! It doesn’t feel like spring here in Wisconsin, as it’s still in the 20s. But the green grass and warmer weather will be here before we know it. Hopefully!

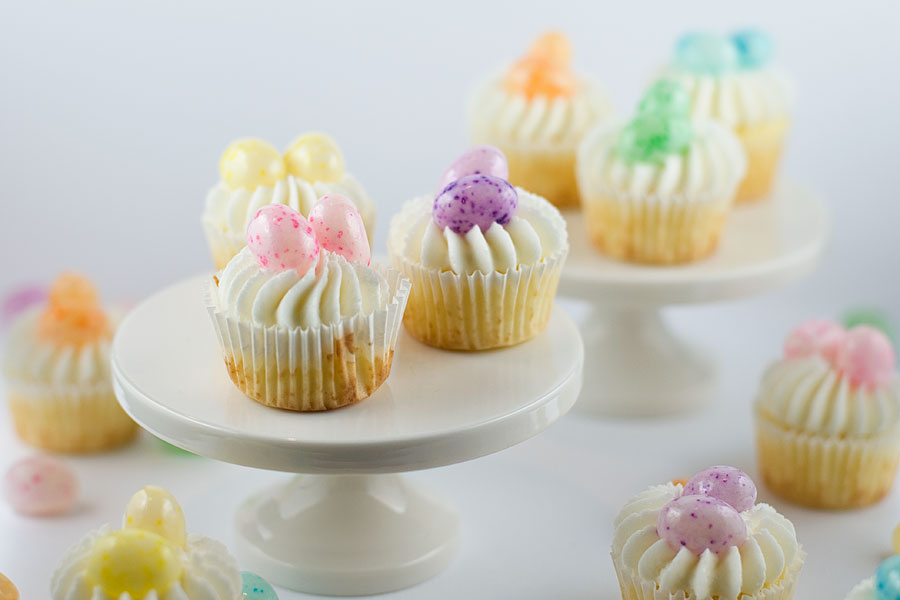
Jelly beans seem to be a polarizing candy – you either love or hate them. I’m in the hate them camp. But they’re so cute and they epitomize Easter and springtime. So I decided to make mini cupcakes decorated with jelly beans — which can be easily removed and thrown out if you’re not a fan of the little beans.

White Chocolate Jelly Bean Cupcakes
Recipe adapted from: epicurious.com
Print Recipe

8 ounces high-quality white chocolate (such as Lindt or Perugina), chopped
1 3/4 cups all purpose flour
1 teaspoon baking powder
1/2 teaspoon coarse kosher salt
1 cup sugar
3/4 cup (1 1/2 sticks) unsalted butter, room temperature
1 tablespoon vanilla extract
1/2 cup canned unsweetened coconut milk (do not use low-fat)
3 large egg whites

1. Preheat oven to 325°F. Line mini muffin pans with paper liners.
2. Place white chocolate in metal bowl set over pan of barely simmering water. Stir until melted and smooth.
3. Whisk flour, baking powder, and salt in medium bowl. Using electric mixer, beat sugar, butter, and vanilla in large bowl until blended. Add hot white chocolate to sugar mixture; stir to combine. Add flour mixture in 3 additions alternately with coconut milk in 2 additions, beating batter just to combine between additions.
4. Using clean dry beaters, beat egg whites in medium bowl until soft peaks form. Gently fold egg white mixture into batter in 3 additions.
5. Divide batter among muffin cups. Bake until tester inserted into center comes out clean, about 10 minutes. Cool completely.

I made a batch of my favorite white buttercream icing and topped each cupcake with two jelly beans. I bought the pastel and speckled jelly beans at Target.