Recent Posts

Smiley Face Cupcakes – and Happy 2014!
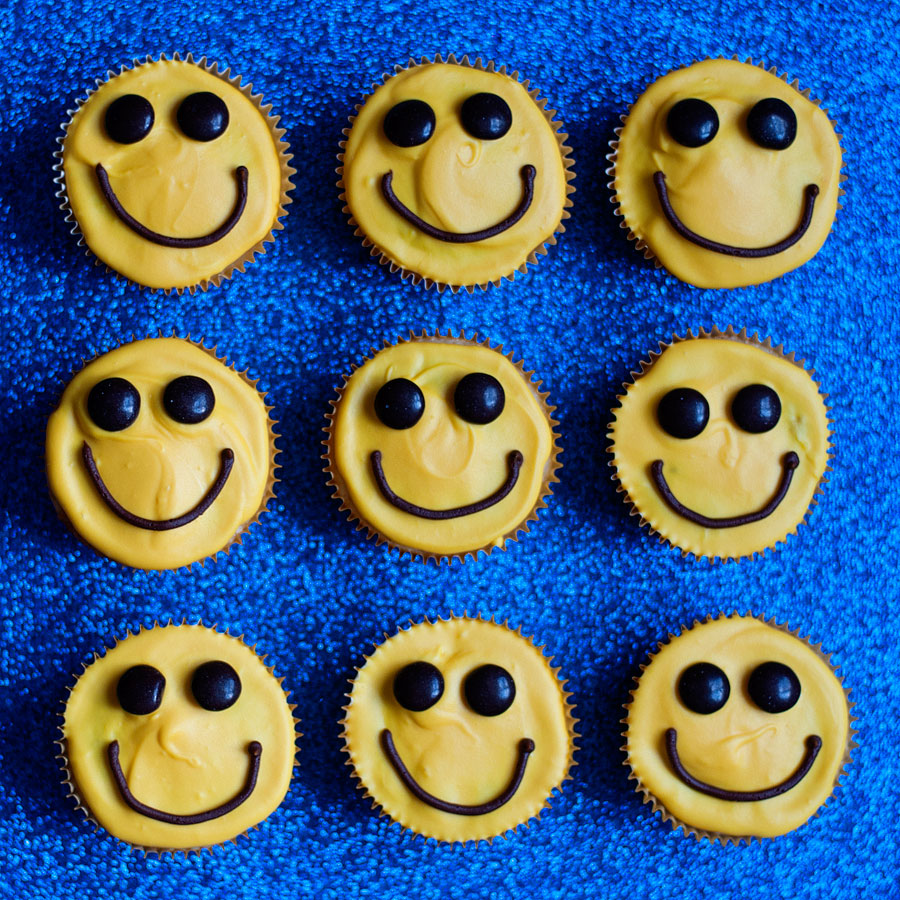
DSC_3968x900Happy New Year, everyone! I hope you are all enjoying the first day of 2014! I wanted to make something excessively cheerful for my first post of the new year — and I think these classic yellow smiley face cupcakes are just that. Have you all made resolutions for the new year? I never make resolutions — just a list of little things I’d like to accomplish (an item on my list for 2013 was to make cake pops — so really, I don’t aim very high!). Have a great start to your new year — especially if you are nursing a New Year’s Eve hangover. :)

Smiley Face Cupcakes
Print Recipe

1 box cake mix (plus required eggs and oil)
1 tub of vanilla frosting
1 tub of chocolate frosting
48 brown M&Ms
Yellow food coloring

1. Make the cupcakes according to the directions on the box mix. Under fill the muffin tins with batter for these. Allow them to cool entirely.
2. Dye your vanilla frosting yellow by using food coloring. Scoop the frosting into a microwave safe bowl and microwave it on 20-second increments until the frosting is thinner and a little runny.
3. Spoon the frosting onto the top of each cupcake. Using thinned frosting will help to give the cupcakes a smoother look.
[note: You don’t have to thin your frosting — these will work with your regular method of frosting a cupcake!]
4. Add two brown M&Ms to each cupcake for eyes. Pipe a smiley face onto each cupcake using a pastry bag + a small round tip.
Brown Butter Baked Donuts

DSC_4205x900
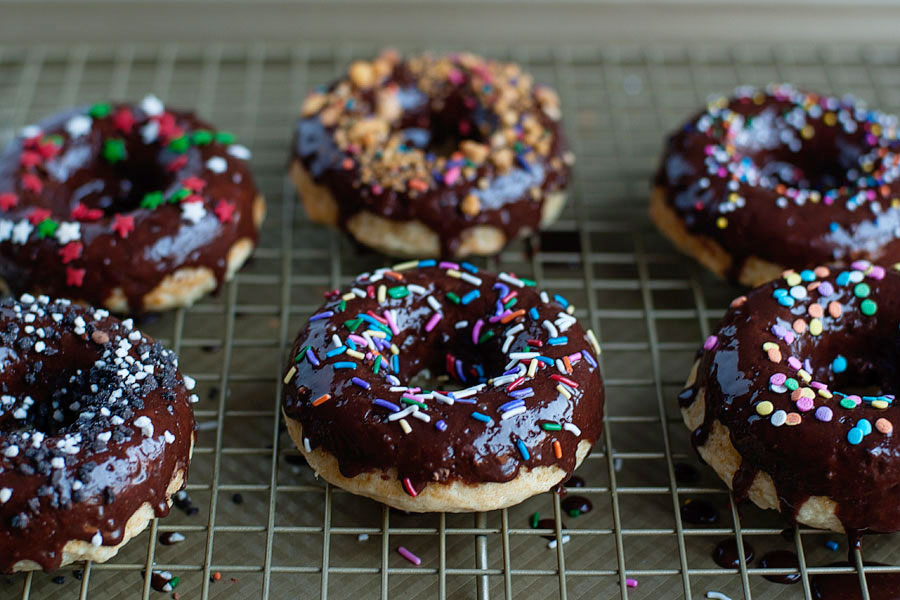
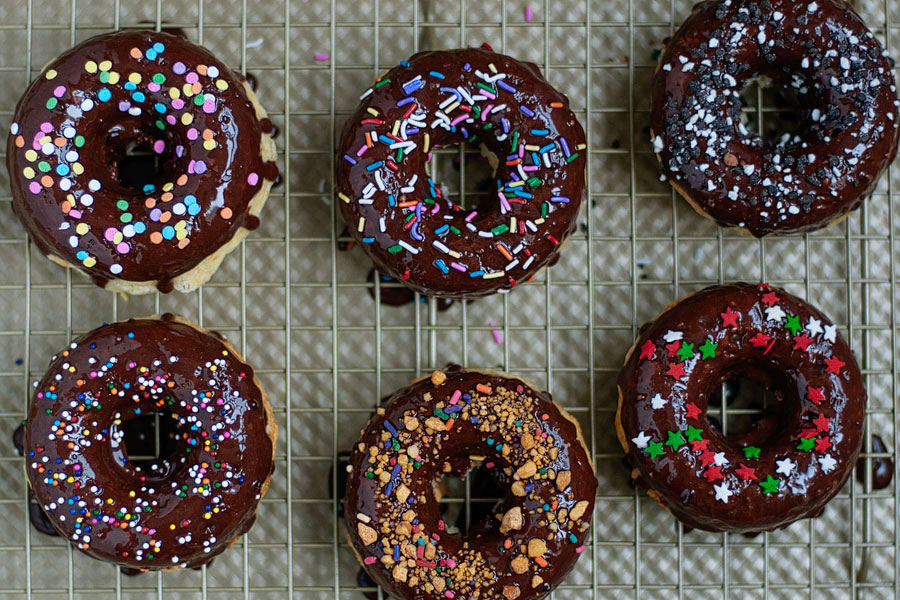
Looking for something fast, easy, and delicious to make on Christmas morning? Try these brown butter baked donuts! They’re not fried (I still have an irrational fear of making real donuts — hot, bubbling oil makes me nervous), but they are still delicious. If you have kids, they can help you decorate the donuts with sprinkles!

This will be my last post until after the holidays. I hope you all have a wonderful Christmas and are enjoying this magical time of the year.

Brown Butter Baked Donuts
Recipe source: Joy the Baker
Print Recipe

1 cup all-purpose flour
3/4 teaspoon baking powder
1/4 teaspoon baking soda
1/2 teaspoon salt
1/2 teaspoon freshly grated nutmeg
1/3 cup granulated sugar
3 Tablespoons unsalted butter (but we’ll only use 2 tablespoons of browned butter for the recipe)
1 large egg
1/2 cup buttermilk
1 teaspoon pure vanilla extract

For the glaze:
1-1/2 cups powdered sugar
4 Tablespoons unsweetened cocoa powder
Pinch of salt
3 to 4 Tablespoons milk
1 teaspoon pure vanilla extract

1. Place a rack in the upper third of the oven and preheat oven to 350F. Lightly grease a donut pan and set aside.
2. In a medium bowl, whisk together flour, baking powder, baking soda, salt, nutmeg, and sugar. Set aside.
3. In a small saucepan over medium-low heat, melt butter. Butter will begin to crackle and pop as it melts. Once the water has evaporated the butter will quiet down and begin to brown. Keep an eye on it, it browns quickly. The butter will begin to smell nutty. Remove from heat and immediately transfer browned butter (brown bits and all) to a small bowl.
4. In a small bowl whisk together egg, buttermilk, and vanilla extract. Measure out 2 tablespoons of browned butter and whisk into the wet ingredients.
5. Add the wet ingredients all at once to the dry ingredients. Stir together until no flour bits remain and all of the ingredients are well combined. Try not to overmix the batter.
6. Use a small spoon to dollop batter into the prepared pan. Smooth out and fill each doughnut in the pan three-quarters full with batter.
7. Place in the oven and bake for 8 to 10 minutes. Keep an eye on them and try not to over-bake them. Remove from the oven and allow to cool in the pan before inverting onto a wire rack to cool completely.
8. While the doughnuts cool, make the glaze. In a medium bowl whisk together powdered sugar, cocoa powder, and salt.
9. Add the vanilla extract and 2 tablespoons milk. Whisk to combine. Add more milk as necessary to create a thick but still just pourable glaze.
10. Once the doughnuts are completely cool, dip top-side-down into the chocolate glaze. Return to the wire rack and sprinkle with toppings. Allow to set for about 30 minutes before stacking or serving.

Makes six donuts.

DSC_4175x900

My Favorite Cookbooks!

Christmas is just about a week away! Are you still looking for a gift for the cooking or baking lover in your life? If so, I hope this post can help. I have a TON of books relating to food, baking, cooking, and party-throwing. A ton. I have one of those oh-so-popular IKEA bookshelves (the Expedit – with all the cubes!) that is nearly full of just books. I’ve picked some of my favorites to feature in today’s post. I’m not being paid to promote these books – they are just my favorites and what I would recommend to people. So make a list and head to your local bookstore!

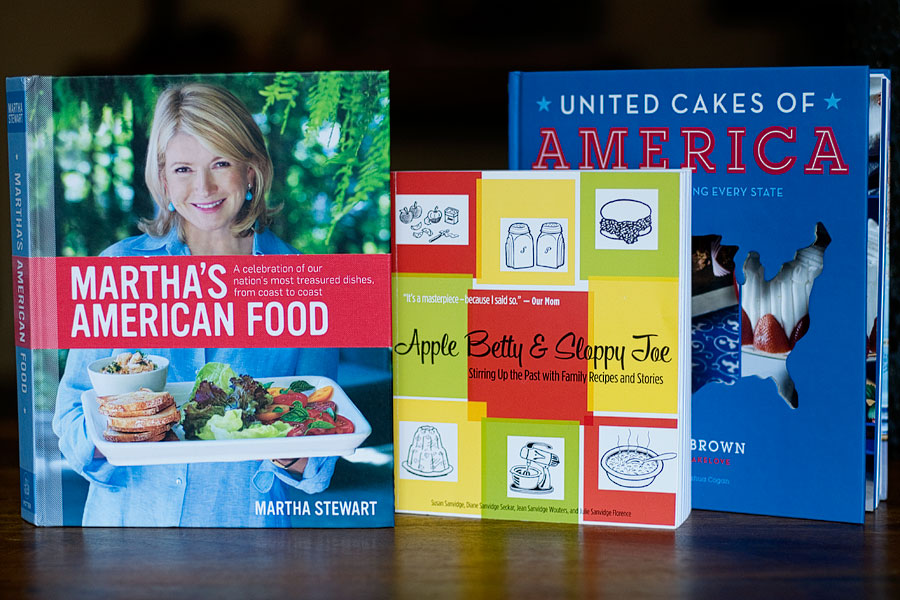
DSC_7681x9001. Martha’s American Food: A Celebration of Our Nation’s Most Treasured Dishes, from Coast to Coast. I love America. I love traveling. I love food. And I’m a big fan of Martha’s brand because of its consistent quality.
2. Apple Betty and Sloppy Joe: Stirring Up the Past with Family Recipes and Stories. This is a book written by four sisters from Oshkosh, WI — my hometown! The recipe collection in this book makes me miss my grandmother’s no-nonsense way of cooking — and how the simple dishes are always the best.
3. United Cakes of America: Recipes Celebrating Every State. I love the concept of this book. Travel the United States through cake. What’s not to like?

DSC_7684x900

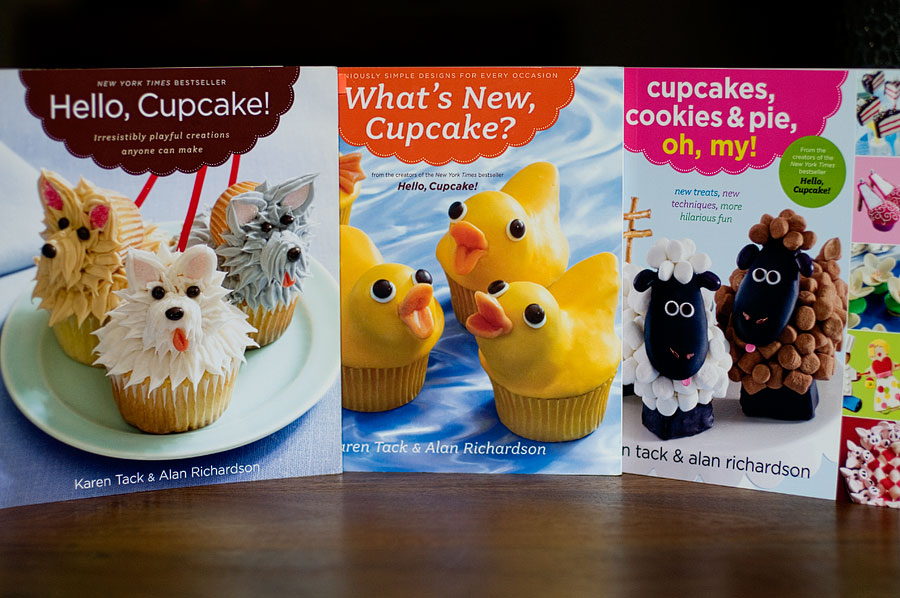
1. Hello, Cupcake!
2. What’s New, Cupcake?
3. Cupcakes, Cookies & Pie, oh my!
For those of you who love to decorate cupcakes, these books are phenomenal. The best part? The ideas are not overly complicated and they’re do-able! I know what it’s like to look at a picture of an intricately decorated cookie or cupcake and say, “Ha! Yeah, right. Not gonna happen.” But that’s not true with these books. The authors walk you through each design step by step. And all of the ingredients and embellishments are things you can buy at your grocery store or Target.

DSC_7704x900

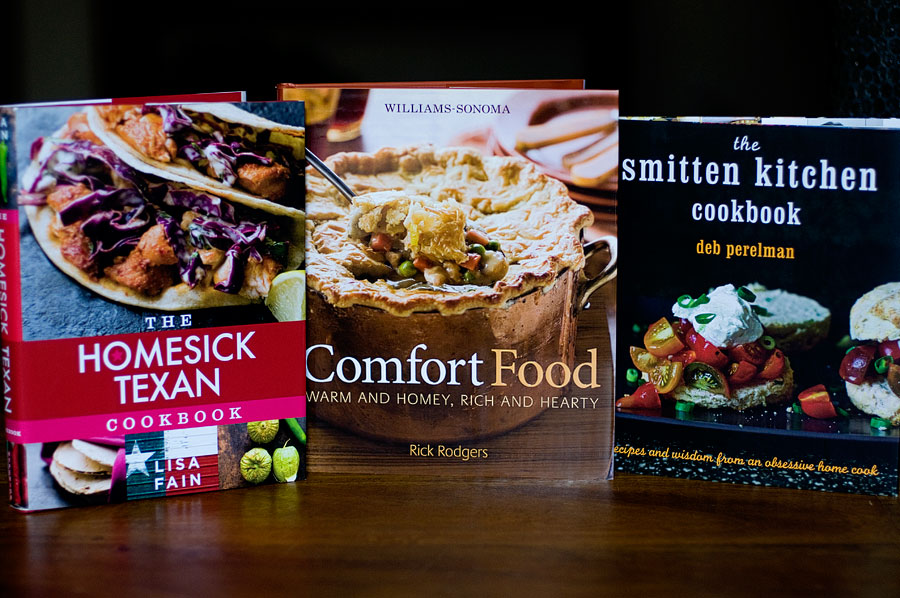
1. The Homesick Texan Cookbook. After reading this book, it is now one of my dreams to visit Texas and eat my way through the entire state. Mmmm.
2. Williams-Sonoma: Comfort Food. Umm, duh. Who doesn’t love comfort food?
3. The Smitten Kitchen Cookbook. Smitten Kitchen was one of the very first food blogs I started to read. I remember bookmarking and printing out so many of Deb’s recipes. I love her writing style and she writes consistently great recipes.

DSC_7708x900

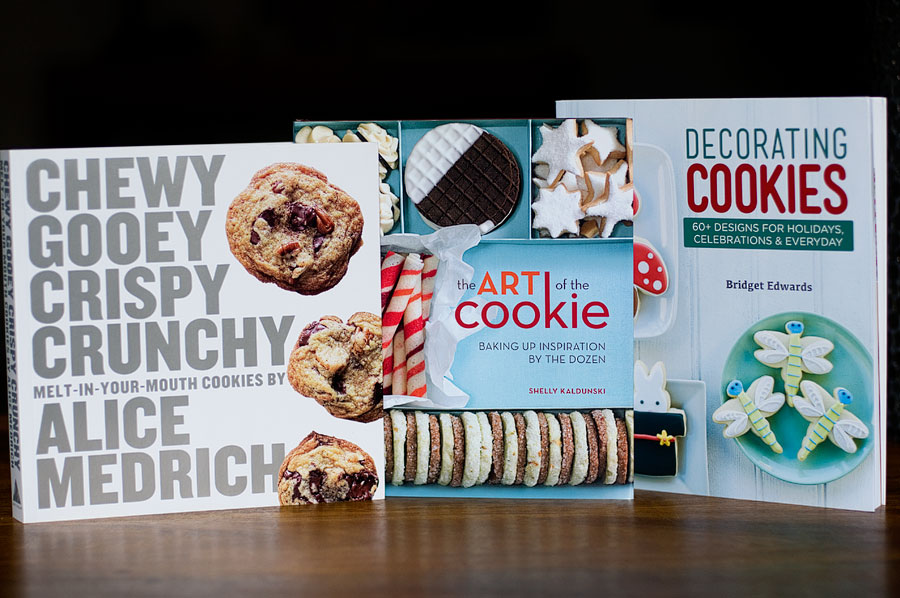
1. Chewy Gooey Crispy Crunchy Melt-in-Your-Mouth Cookies. I’ve always said that there are two kinds of people in this world: those who love chewy, gooey cookies and those who love crispy crunchy cookies. This book is perfect for everyone.
2. The Art of the Cookie. Oh, this book is beautiful. The photos are stunning and I was so inspired to try each and every idea presented. Sometimes I wish I could take the entire month of December off from work or school or any other responsibility and just make Christmas cookies.
3. Decorating Cookies: 60+ Designs for Holidays, Celebrations, and Everyday. It’s no secret that I’m a big fan of Bridget’s Bake at 350 blog. That woman is a cookie decorating pro. Her designs and execution are just amazing. This book is great because she walks you through each and every step of decorating cookies with royal icing — and she does it in a way that is not at all intimidating or pretentious. Love love love.

DSC_7714x900

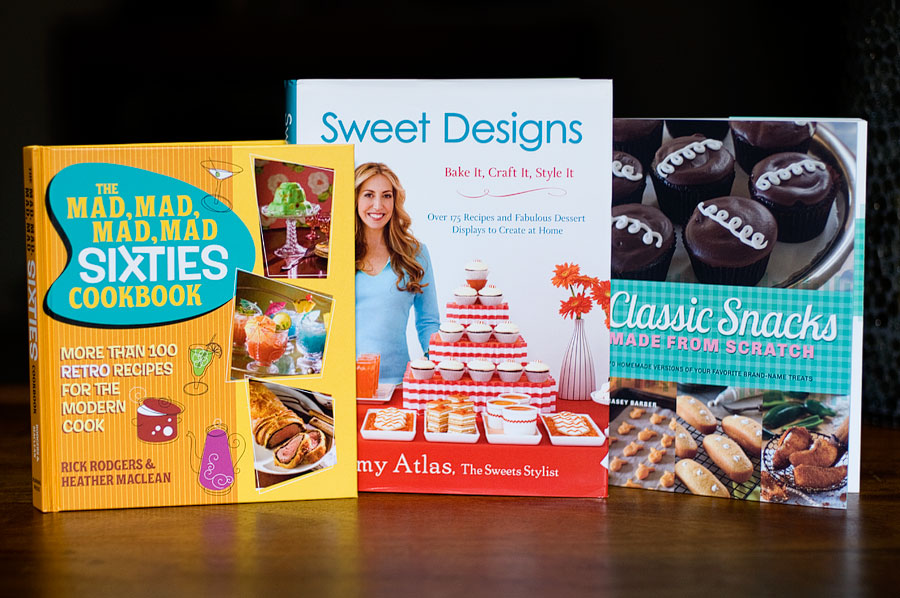
1. The Mad, Mad Sixties Cookbook. This book is just plain fun. I wish I could time travel back to the sixties — and put on my best Joan-from-Mad-Men outfit and throw a killer holiday party. But who needs time travel? This book tells you how to throw a killer sixties party – in 2013!
2. Sweet Designs: Bake It, Craft It, Style It. The profession I sometimes like to fantasize about is being a party planner. For real, I would love it. Give me a theme and a generous budget, and magic could happen. If you are planning a party, this is a must-have book full of ideas and beautiful photographs.
3. Classic Snacks Made from Scratch. Want to make goldfish crackers from scratch? How about Twinkies? Then this it the book for you. I love the idea behind this book – taking all of the treats that we loved as kids and giving us a way to make them from scratch.

DSC_7803x900

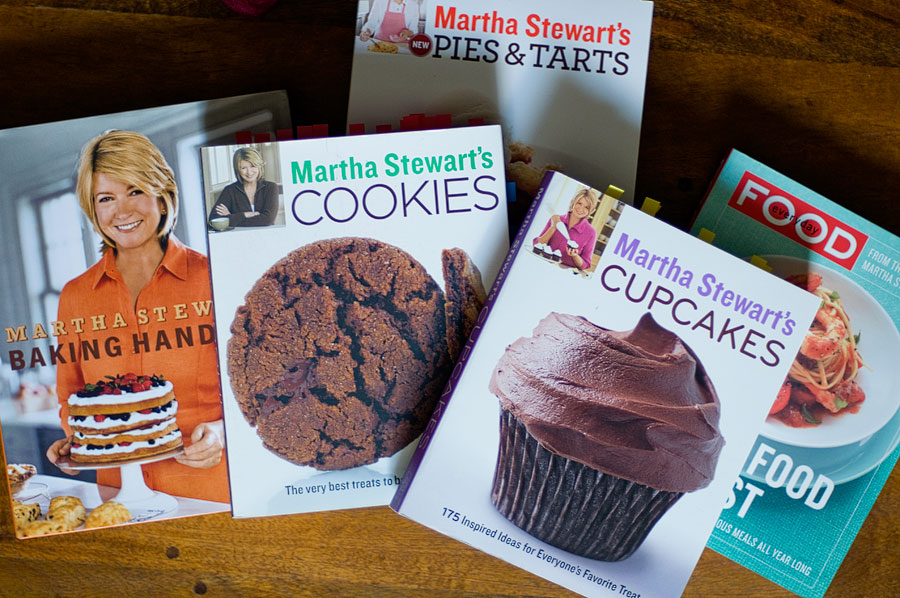
1. Martha Stewart’s Baking Handbook.
2. Martha Stewart’s Cookies.
3. Martha Stewart’s Pies & Tarts.
4. Martha Stewart’s Cupcakes.
5. Martha Stewart’s Everyday Food: Real Food Fast.
Alright, this is a Martha Stewart love-fest. Her books and recipes are consistently great – that’s all there is to it. I’ve never had a Martha Stewart recipe fail me (and I can’t say the same about some other cookbook authors!). Her photography team is also amazing – they produce such simple and beautiful images of each recipe.
PS: There’s also a Martha Stewart’s Cakes book out – but I forgot to include it in this photo.

Christmas Ideas 2013

xmasroundup2013
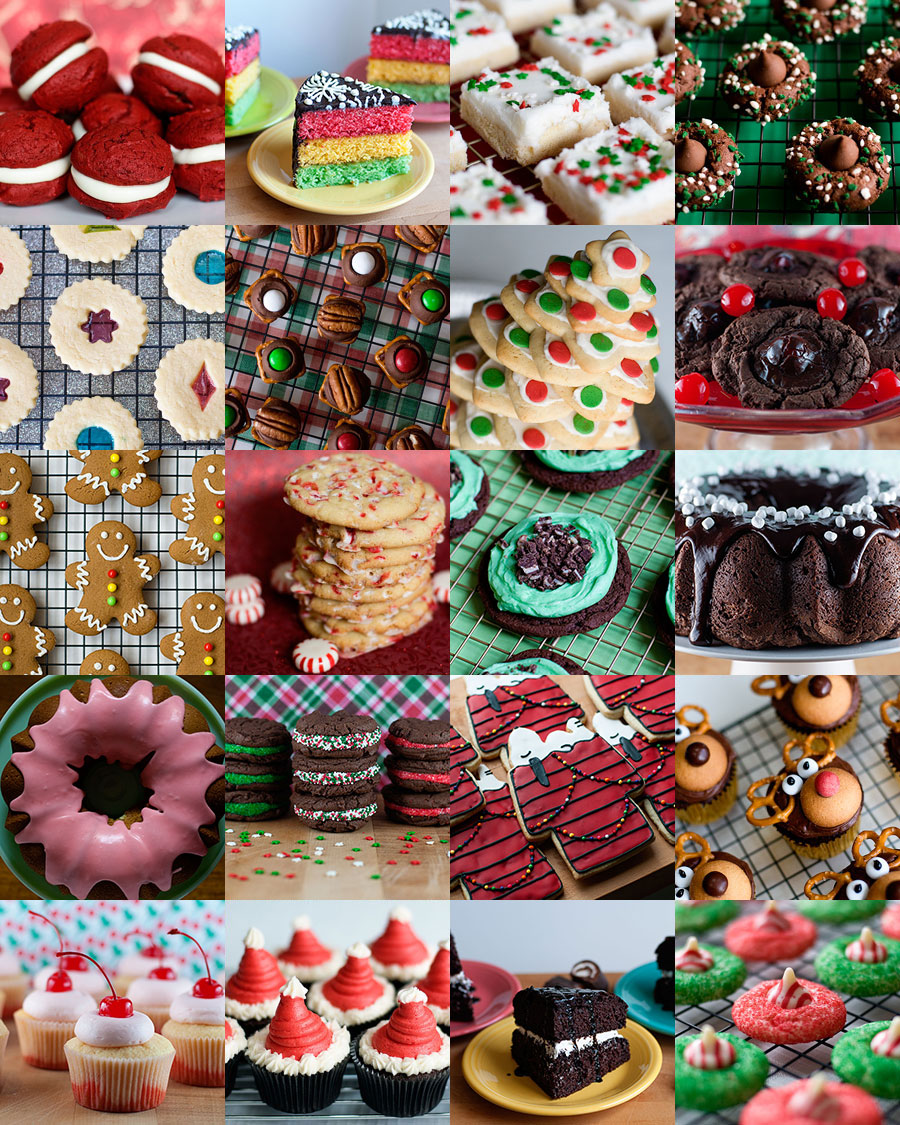
Still need a few ideas for your holiday cookie exchange or Christmas festivities? Here’s my list for 2013!

1. Red Velvet Whoopie Pies
2. Italian Rainbow Cake
3. Sugar Cookie Squares
4. Mint Chocolate Kiss Cookies
5. Stained Glass Sugar Cookies
6. Pretzel Rolo Turtles
7. Star Cookie Christmas Tree
8. Chocolate Covered Cherry Cookies
9. Gingerbread Men
10. Sparkling Peppermint Cookies
11. Grasshopper Cookies
12. Hot Chocolate Bundt Cake
13. Pistachio Cherry Bundt Cake
14. Homemade Peppermint Oreos
15. Snoopy Christmas Cookies
16. Reindeer Cupcakes
17. Shirley Temple Cupcakes
18. Santa Hat Cupcakes
19. Ho-Ho Cake
20. Candy Cane Blossoms

12 Days of Christmas: Snoopy Christmas Cookies

Dec12-2
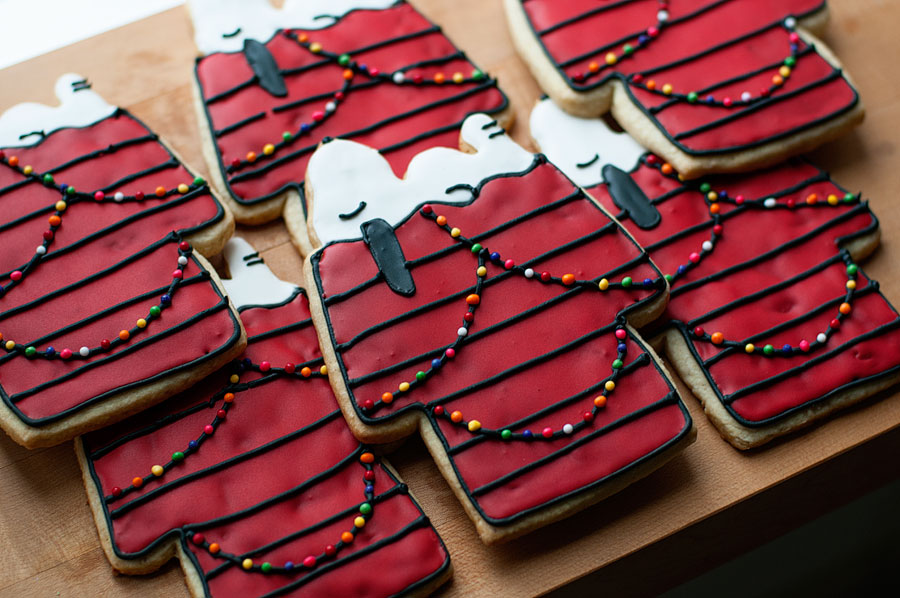
These cookies just make my heart happy. Who doesn’t love Charlie Brown and the whole Peanuts gang? Rather than a step-by-step tutorial, here are some bullet points explaining how I made these:

  • These cookies were inspired by Pink Apron Baker
  • The gigantic (these cookies are about 6″ tall) cookie cutter was purchased on Amazon
  • My cookies turned out lumpy, as you can see. Yikes. I’m still trying to figure out how to make perfectly smooth cut-out cookies. Any suggestions for me?? Help!
  • The “lights” are jumbo rainbow nonpareils from Wilton; it was the most tedious part of making these — as I put each little sprinkle on with a tweezers!
  • I used my grandmother’s cookie recipe for these
  • If you are new to decorating with royal icing, please see this post at Annie’s Eats
  • I outlined the dog house in black first, then I outlined Snoopy in white. After those outlines dried, I flooded each cookie with red icing — and flooded Snoopy with white icing. When the flooded icing dried, I drew the details with black icing — the lines on the house and strings of lights — as well as Snoopy’s ears, nose, eyes, etc.

Let me know if you have any questions — and I hope you’ve enjoyed the 12 days of updates on my blog!