Airplane Cookies
 It’s EAA week in my hometown of Oshkosh, Wisconsin! EAA’s annual air show, AirVenture, is the largest air show in the United States. It’s kiiiiiiind of a big deal for anyone in aviation. For a week each summer, our little airport becomes one of the world’s busiest. There are planes buzzing overhead all week long and it’s just a really cool event that Oshkosh is fortunate enough to host.
I’m going to EAA (locals call it EAA, not AirVenture) today – to continue my tradition of going almost every year since I was a little kid. I made these cookies to celebrate. I ordered the airplane cookie cutter online and didn’t pay enough attention to the size — it’s pretty tiny! So it’s a small miracle that these cookies don’t look worse, considering I’m not great at piping outlines! I decorated them with the colors of the Christen Eagle, my favorite airplane.
Happy Friday to you all!
Airplane Cookies
Print Recipe
If you are a new to decorating with royal icing, here are some helpful tips and links:
- I used my grandma’s sugar cookie recipe, which is listed below. Another good cut-out cookie recipe can be found at Bridget’s wonderful Bake at 350.
- I used a royal icing recipe from Annie’s Eats, which is listed below.
- If you are new to decorating with royal icing, please visit this post by Annie’s Eats, which will teach you about outlining and flooding. Bake at 350 is also a great resource for cookie decorating and ideas (I love Bridget’s book, too!).
Here are the specifics on how I made these cookies:
- I ordered the cookie cutter from Amazon. As I mentioned above, I didn’t pay attention to the size and the cookie cutter I received is quite small. If you are hoping to make larger planes, look closely at the size.
- I outlined the cookies in black royal icing.
- Once the black outline was dry, I piped the red, orange, yellow, blue, and purple stripes. I dyed the icing with Wilton gel colorings.
- When the stripes were dry, I flooded the cookies with white royal icing.
Omi’s Sugar Cookies
Print Recipe
1 cup butter
1 cup sugar
1 large egg
1/2 teaspoon salt
3 cups flour
1 teaspoon baking soda
1/2 cup sour cream
1 teaspoon nutmeg
Beat butter and sugar. Add eggs, sour cream, and nutmeg. Add dry ingredients gradually. Chill the batter overnight or for at least 4 hours. Roll out dough and cut with cookie cutters. Bake at 350F until golden (in true fashion, my grandma didn’t give a specific baking time. I baked the cookies for about 8 minutes).
White Royal Icing
4 cups powdered sugar, sifted
2 Tablespoons meringue powder
5 Tablespoons water
Directions:
Combine all ingredients in the bowl of a stand mixer fitted with the paddle attachment. Mix on low speed until the sheen has disappeared and the icing has a matte appearance (about 7-10 minutes). Transfer the contents of the mixing bowl to an air-tight container. This will be the stiffest consistency of the icing, and at this point it is still too stiff to use for decorating. Add water a very small amount at a time and stir by hand until fully incorporated. Continue until the icing has reached a consistency appropriate for piping.

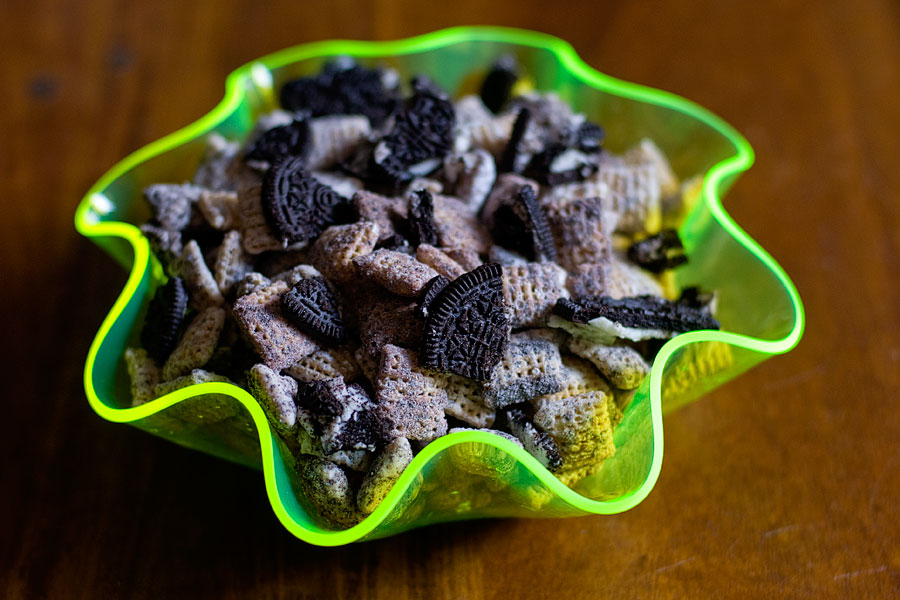 Planning a summer bonfire? Taking a road trip with the kids? Need a quick and easy snack? I have expressed my deep and profound love for puppy chow on my blog before, I’m sure. And I’ve also expressed my even deeper and more profound love for Oreos. (I know, I need to get a grip.) So the thought of trying cookies ‘n’ cream puppy chow was pretty great to me. As with all puppy chow derivatives, this was easy easy easy to make. Hope you enjoy!
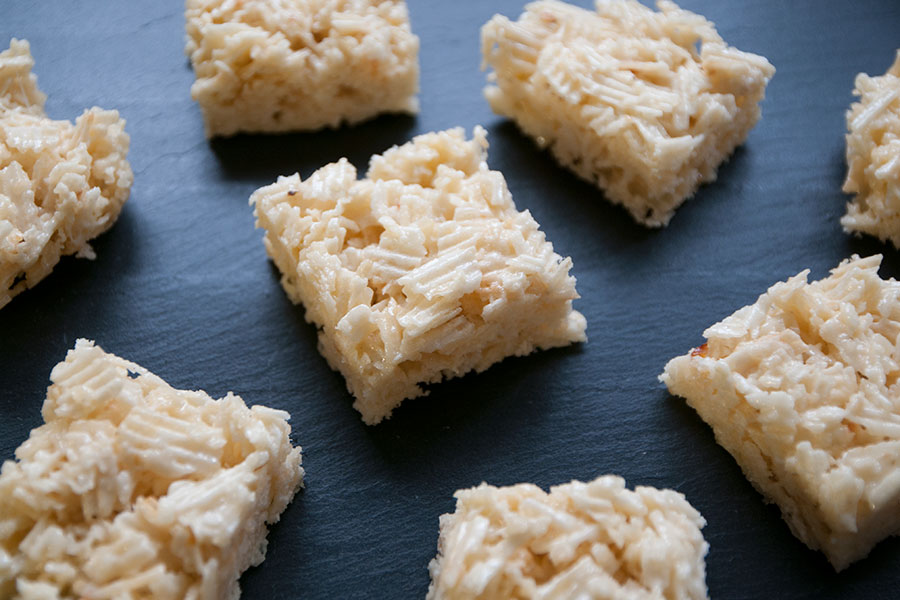 YOU GUYS. These are weird, but amaaaaaaaaaaazing! One of my all-time favorite foods is potato chips. Probably because I’ve been eating them since birth. My family used to own a potato chip factory in my hometown of Oshkosh, Wisconsin. Potato chips everywhere… all the time. I was even posed with a box of potato chips in my 4-year old professional photos. Pretty fab, right?
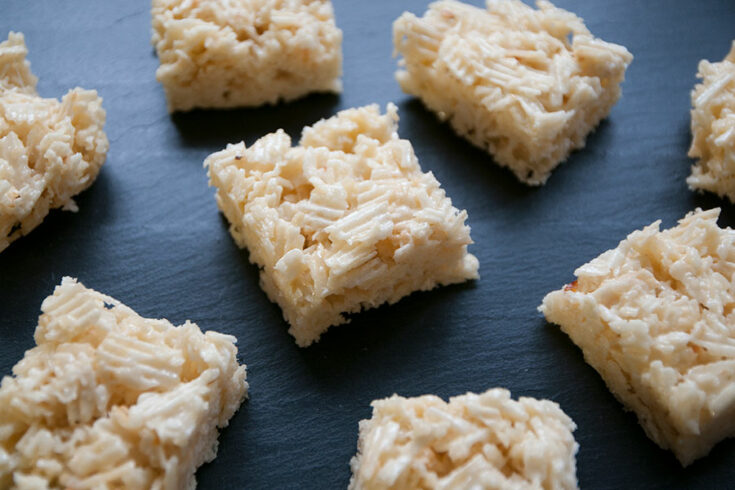
 I made these beauties a few months ago… but forgot to blog about them until now! Whoops.