Recent Posts

Pumpkin Mini Muffins
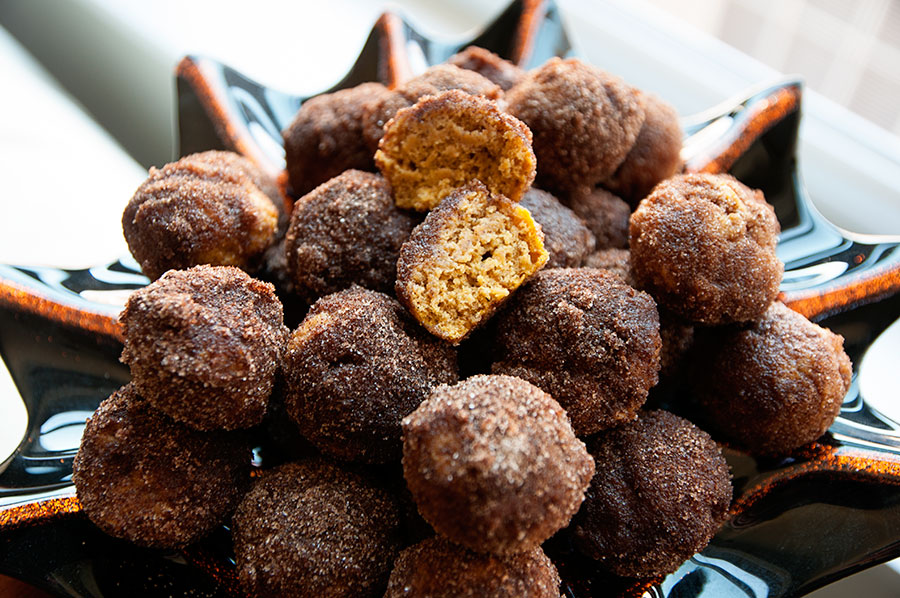
DSC_1170x900I know that I have professed my dislike of all things pumpkin many, many times on this blog. But these babies? They may have changed my mind. A little. Sort of. Kind of. I mean, I’ll still gravitate toward anything BUT pumpkin… but… these mini muffins were actually pretty good. My friend Andrea made them originally and brought about 80 of them to school. Our fellow law students descended upon her like vultures and the mini muffins were gone in about 20 minutes. I figured they had to be amazing and worth a try. :)

Pumpkin Mini Muffins
Recipe source: Sally’s Baking Addiction
Print Recipe

Mini muffins:
1-3/4 cups white-whole wheat flour (I used all-purpose flour; worked fine)
1-1/2 teaspoon baking powder
1/2 teaspoon salt
1 teaspoon ground cinnamon
1 teaspoon pumpkin pie spice
1/2 teaspoon nutmeg
1/4 cup (1/2 stick) unsalted butter, melted
1/2 cup dark brown sugar
1 large egg
1-1/2 tsp vanilla extract
3/4 cup pumpkin puree (not pumpkin pie filling)
1/2 cup milk

Cinnamon sugar coating:
1/4 cup (1/2 stick) unsalted butter
1/2 cup white sugar
2 Tablespoons ground cinnamon

1. Preheat oven to 350F. Spray mini muffin tin with nonstick spray. Set aside.
2. In a large bowl, combine the flour, baking powder, salt, cinnamon, pumpkin pie spice, and nutmeg. Set aside.
3. In a medium sized bowl, whisk together the melted butter and brown sugar. Add the egg and stir for about 1 minute. Add the vanilla, pumpkin puree, and milk. Slowly pour wet ingredients into the dry. Stir together until just combined – don’t overmix!
4. Using a small spoon, spoon the batter into the muffin tins, about 2/3 way full. I used a cookie scoop for this — made it so much easier!
5. Bake for 11-12 minutes, or until a toothpick inserted into the center comes out clean. 6. While the muffins are cooling, make the coating: combine the sugar and cinnamon a small dish. In a separate small dish, melt the butter.
6. Once the muffins are relatively cool, dip into the melted butter and then into the cinnamon sugar.

Makes a couple dozen mini muffins.
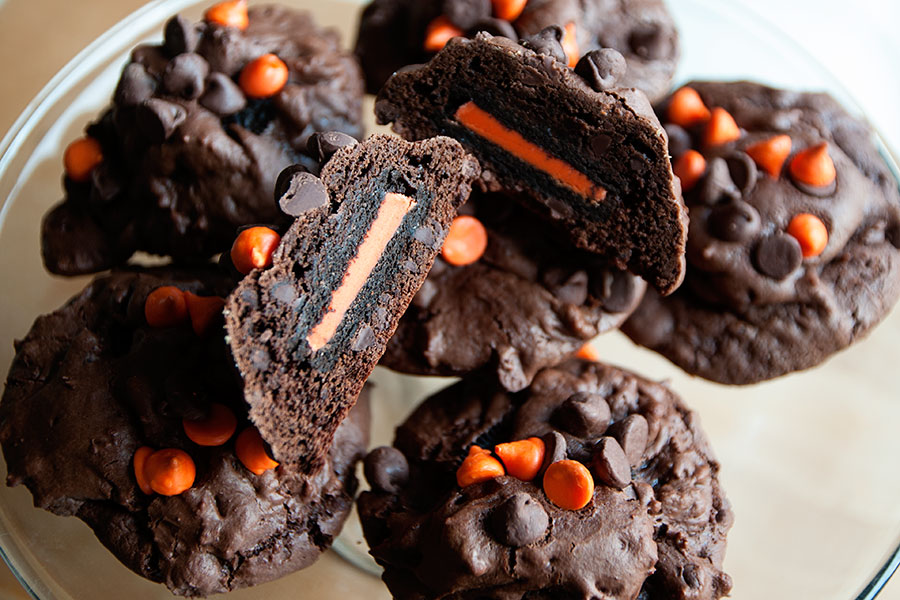
Halloween Oreo Stuffed Chocolate Cookies

DSC_1468x900Did you like yesterday’s post but felt that there just wasn’t enough CHOCOLATE involved? Well I hope these cookies help! Basically the same concept as the cookies posted yesterday — but it’s a chocolate cookie dough instead. These are also a little more tricky to make, so read the instructions carefully. Because I didn’t the first time around. Whoops.
Halloween Oreo Stuffed Chocolate Cookies
Recipe source: simplygloria.com
Print Recipe

1-1/2 cups all-purpose flour
3/4 plus 2 tablespoons baking cocoa
1 teaspoon baking soda
1/2 cup butter, melted
1-1/4 cups (14-ounce can) sweetened condensed milk
1 egg, beaten
1 teaspoon vanilla
2 cups chocolate chips, divided
18-20 Oreos
3/4 cup semi-sweet chocolate and orange colored morsels (found mine at Target)

1. Preheat oven to 350 degrees.
2. Whisk together the flour, baking cocoa, and baking soda in a medium mixing bowl.
3. Melt butter in a large sauce pan on medium heat. Take off heat and add 1 cup of chocolate chips and stir until melted.
4. Pour sweetened condensed milk into the melted chocolate mixture. Add vanilla and beaten egg. Stir.
5. Gently fold in the flour mixture into the chocolate in the sauce pan. Once all combined, stir in the rest of the chocolate chips.
6. Use a large cookie scoop and put the each ball of dough onto a large baking sheet. Put a sandwich cookie right on top and gently pushing it down. Fold over the cookie dough and roll it up over the sandwich cookie. Cover the tops with chocolate morsels. [This step is important! The folding of the dough over the top of the cookie is important! If you don’t do it like this, you’ll have sad looking cookies — trust me… I failed the first time around!]
7. Bake in a preheated 350 degrees oven for 10-12 minutes. Allow the cookies to cool completely on wire racks. Enjoy!

Makes about 20 cookies.

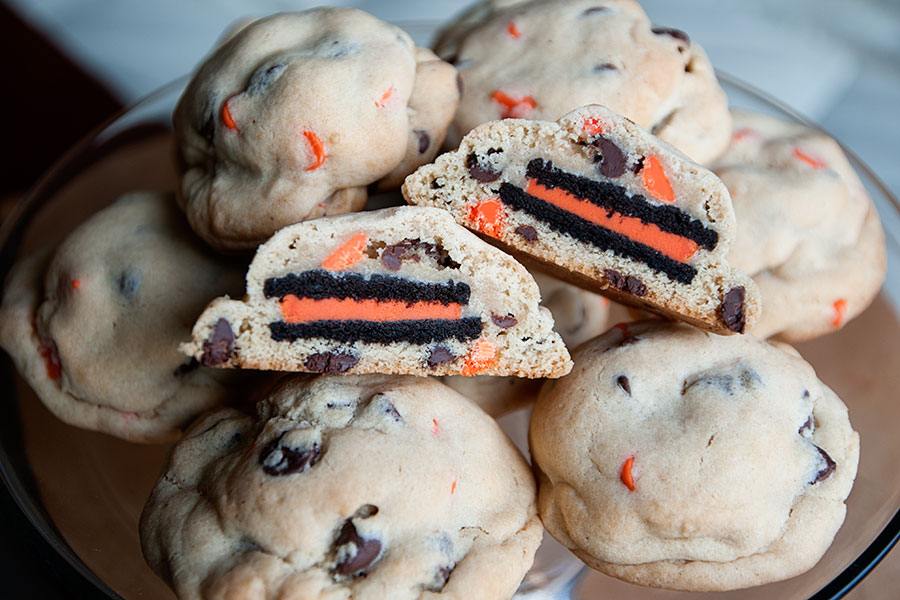
Halloween Oreo Stuffed Chocolate Chip Cookies

DSC_1455x900These cookies are nothing new to my blog. I made them a few years ago with plain Oreos — and thought I’d make them again now with Halloween Oreos & Halloween baking chips. Tomorrow I will be posting a more chocolate-y version of these cookies.
Enjoy!!

Oreo Stuffed Chocolate Chip Cookies
Recipe source: picky-palate.com
Print Recipe

2 sticks softened butter
3/4 cup packed light brown sugar
1 cup granulated sugar
2 large eggs
1 Tablespoon pure vanilla
3 1/2 cups all purpose flour
1 teaspoon salt
1 teaspoon baking soda
10 oz bag chocolate chips [I used Halloween baking chips; found them at Target!]
1 bag Oreo Cookies [I used Halloween Oreos]

1. Preheat oven to 350 degrees F. In a stand or electric mixer cream butter and sugars until well combined. Add in eggs and vanilla until well combined.
2. In a separate bowl mix the flour, salt and baking soda. Slowly add to wet ingredients along with chocolate chips until just combined.
3. Using a cookie scoop take one scoop of cookie dough and place on top of an Oreo Cookie. Take another scoop of dough and place on bottom of Oreo Cookie. Seal edges together by pressing and cupping in hand until Oreo Cookie is enclosed with dough.
4. Place onto a parchment or silpat lined baking sheet and bake cookies 9-13 minutes or until cookies are baked to your liking. Let cool for 5 minutes before transferring to cooling rack.

Makes about 20-24 REALLY BIG cookies.

Indian Corn Cake

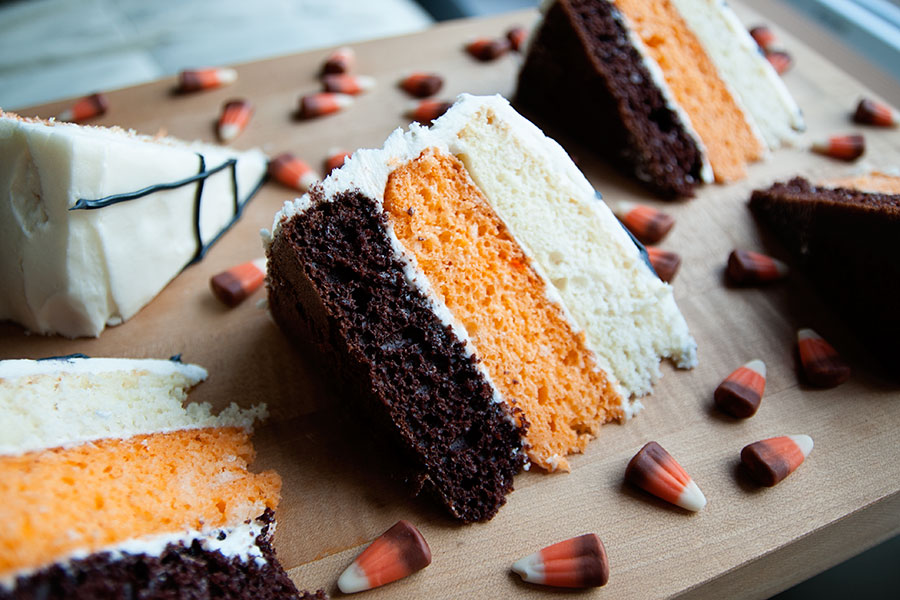
DSC_1547x900I’ve always liked Indian candy corn better than plain candy corn. It’s like that little sliver of chocolate somehow helps to make the candies less sickly sweet. I’ve seen a ton of Indian candy corn-inspired caked on Pinterest and other food blogs over the years and finally decided to make one.
I also tried to make the outside of the cake look like a cute little spider web — but that was a huge failure, so you don’t get to see those pics. ;-) Frosting cakes is one of my baking/decorating weak spots. I really should take a class or something so I can improve!

But the rest of the cake turned out well — semi-homemade and all!

Indian Corn Cake
Print Recipe

You will need:
1 box of white cake mix (plus required oil, eggs)
1 box of chocolate cake mix (plus required oil, eggs)
Orange food coloring
1 batch of buttercream icing (I used the white buttercream icing recipe here)
3 8″ or 9″ cake pans (or you can use just one pan, cleaning it between making each layer)

1. Preheat oven according to box cake mix directions.
2. Make the white cake mix batter; divide the batter in half and dye one half orange. I used Wilton gel dye for this. Spray two of your cake pans with non-stick spray and fill each one with cake batter — making one white cake and one orange cake. Bake and allow the cakes to cool completely.
3. Make the chocolate cake mix batter. Spray a cake pan with non-sticks spray and fill with chocolate cake batter (you won’t use all of the batter for this). Bake and allow the cake to cool completely.
4. While your cakes are cooling, make your batch of buttercream icing.
5. If your cakes came out of the oven with little “domes”, cut those down with a large knife – so you have nice, flat cakes to layer.
6. Assemble the cake on a cake plate or stand. Start with the chocolate layer on the bottom, then the orange layer, then the white layer. Make sure you spread a thin layer of buttercream between each layer. When the cake is assembled, cover it with white buttercream and enjoy!

Apple Gruyere Pie

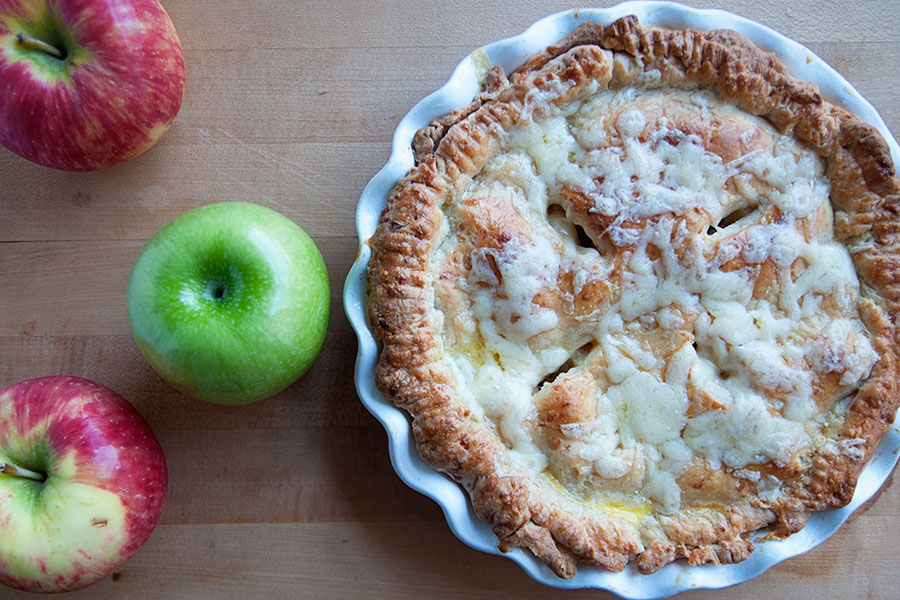
DSC_1767x900My friend Andrea suggested that we take a breather from law school and have a Disney movie and pie day. Ummm, YES. PLEASE. I understand that it’s silly for two grown women to watch cartoons and bake pies all day, but this is what law school does to you. I expanded my Disney horizons (by finally viewing Mulan, Lilo & Stitch, and Pocahontas) and we made a delicious, 100% from scratch apple gruyere pie.
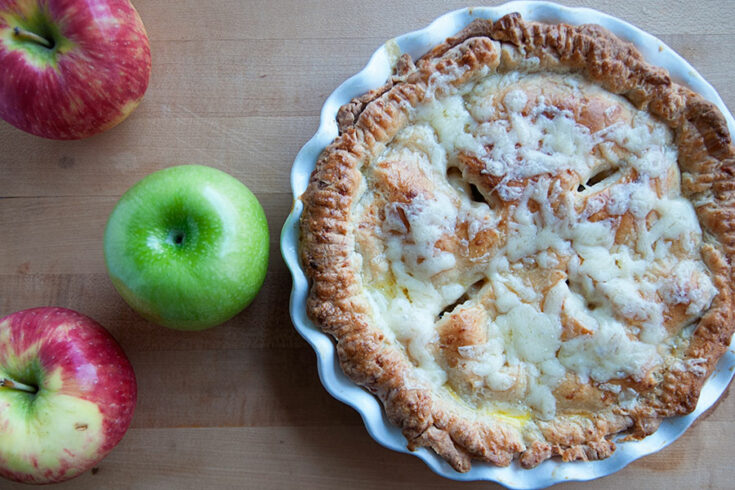
The idea for this particular pie was inspired by Pushing Daisies — a television show that Andrea LOVES and I am lukewarm about at best.

But pie? I LOVE pie. And pie that involves cheese? I was intrigued. Apparently cheesy apple pies are a thing. Who knew?

Anyway, we tried it, we conquered it, and it was delicious.

Yield: 8 slices of pie

Apple Gruyere Pie

Apple Gruyere Pie

If apple pie is great, then apple pie with CHEESE is amazing!

Prep Time 45 minutes
Cook Time 50 minutes
Additional Time 2 hours
Total Time 3 hours 35 minutes

Ingredients

For the crust:

  • 2 cups flour
  • 5 ounces shredded gruyere cheese (weigh it out on a kitchen scale)
  • 12 tablespoons cold butter
  • 1/4 cup + 2 tablespoons (cold) water

For the filling:

  • 5-6 apples (Granny Smith preferred)
  • 1/2 cup milk
  • 1 teaspoon vanilla extract
  • 1/2 cup brown sugar
  • 1 teaspoon cinnamon
  • 1 tablespoon cornstarch
  • 1 tablespoon butter
  • 1 egg
  • 3 ounces shredded gruyere cheese for the top

Instructions

    Make the crust:

    1. Cut the gruyere into cubes and weigh out 5 oz.

    2. In a food processor, combine the 5 oz. of cheese, flour, and cold, cubed butter. Pulse until crumbly. Switch the food processor on to low and pour the cold water in through the top opening. Keep mixing until a dough forms — this will not take long, so keep an eye on it.

    3. Turn the dough out onto a floured surface and knead into a ball. Cover in plastic wrap and refrigerate for a few hours (we left ours overnight).

    Make the filling:

    1. Preheat oven to 375F. Peel and cut the apples into small bite-sized pieces.

    2. In a bowl combine the milk, vanilla extract, brown sugar, cinnamon and cornstarch. Whisk so it is well combined and the cornstarch doesn’t clump together. Add the apples to the bowl and stir so that every piece gets coated in the mixture.

    3. Set the ball of dough on the counter for 10-15 minutes before rolling it out. Once 10-15 minutes has passed, divide the ball of dough in half. Roll out half of the dough and place the bottom crust in a buttered pie dish.

    4. Fill the pie dish with the apple mixture. Cut the tablespoon of butter into four pieces and distribute over the top of the apples.

    5. Roll out the second half of the dough. Cover the apple mixture with the top crust and roll up the edges. Cut 3-4 small slits in the top of the pie, so air can escape as it bakes. Brush with one whisked egg (optional).

    6. Bake for 50 minutes. During the last five minutes of baking add the cheese on top.

Notes

Your yield will depend on how big or small you make your pie slices.

Recipe credit: A Beautiful Mess