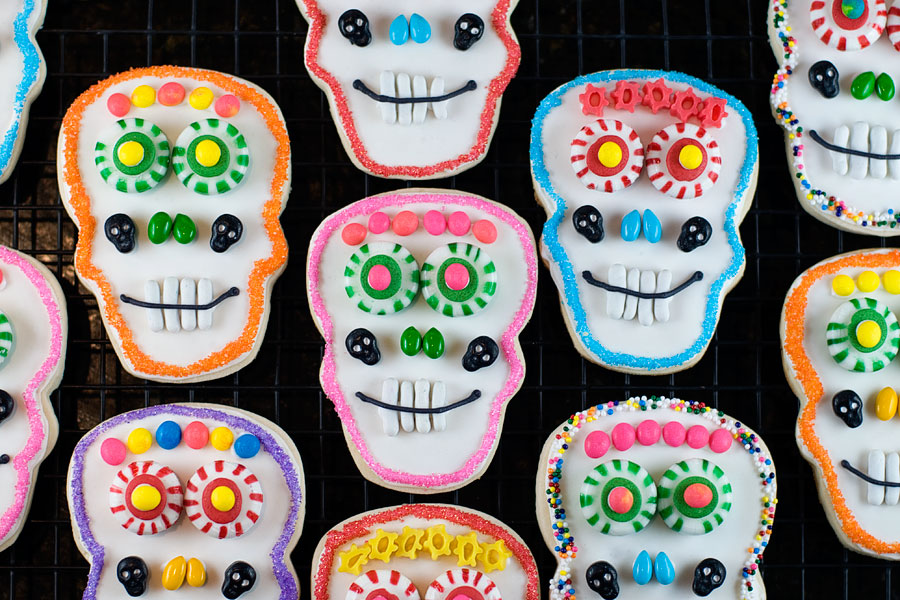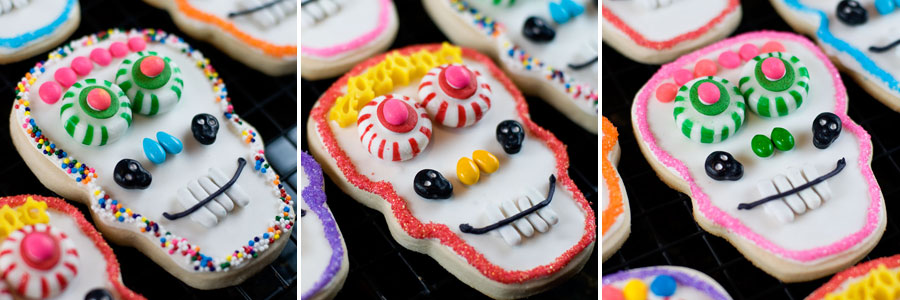
Most Americans celebrate Halloween but are unaware of another interesting holiday: the Day of the Dead (Dia de Los Muertos, if you know Spanish). The Day of the Dead is celebrated primarily in Mexico, but extends throughout the world. Family and friends gather together to pray for and remember loved ones who have died.
The Day of the Dead is celebrated on November 1st and 2nd, and the 2nd is a national holiday in Mexico. Babies’ spirits return to their parent’s home on November 1 and the spirits of dead adults return home November 2. Traditions associated with the holiday include honoring the deceased with sugar skulls, marigolds, and favorite foods, beverages, and trinkets of the deceased. Gifts are left at the deceased’s grave.
While this holiday may appear to be morbid at first glance, it’s actual considered a time of celebration and reflection.
I wanted to make cookies that resembled the traditional sugar skulls. There are so many amazing bakers out there who have made truly stunning cookies for this occasion – see for yourself here, here, and here.
I decided to make my cookies with candy instead of just royal icing.
Day of the Dead Cookies
Cookie/icing recipes from annies-eats.com
Print Recipe
Almond Flavored Sugar Cookies
1 cup butter
1 cup powdered sugar
1 egg, beaten
1-1/2 teaspoon almond extract
1 teaspoon vanilla
1 teaspoon salt
2-1/2 cups sifted flour
Directions:
Cream butter. Add powdered sugar. Blend in egg, almond extract, vanilla, salt and flour. Chill dough until firm. Roll to ¼â€ thickness on well-floured surface. Cut with cookie cutters. Place on greased cookie sheets. Bake at 375° for 8-10 min. Cookies should not brown. Frost and decorate when cool. Yield will depend on size of cookies.
White Royal Icing
4 cups powdered sugar, sifted
2 Tablespoons meringue powder
5 Tablespoons water
Directions:
Combine all ingredients in the bowl of a stand mixer fitted with the paddle attachment. Mix on low speed until the sheen has disappeared and the icing has a matte appearance (about 7-10 minutes). Transfer the contents of the mixing bowl to an air-tight container. This will be the stiffest consistency of the icing, and at this point it is still too stiff to use for decorating. Add water a very small amount at a time and stir by hand until fully incorporated. Continue until the icing has reached a consistency appropriate for piping.
Decorating Instructions:
- Refer to Annie’s Eats for her tutorial on royal icing – and how to outline, flood, etc.
- I used a Wilton soft-grip skull cookie cutter for these cookies.
- I outlined and flooded the pumpkins with white royal icing. Some people add white coloring to achieve an extra bright hue, but I don’t think this is necessary.
- Once the icing dried completely, I outlined the skull again with a thin line of icing — then dipped the cookie into sprinkles. I used a variety of colors.
- The eyes are Starlight mints – in peppermint and spearmint. I glued them onto the cookie using a dab of royal icing. I placed a large round sprinkle on top, then a candy button on top of that to create a more three-dimensional look. [Candy buttons are those treats from your childhood – the little dots of sugar that are sold on white strips of paper.]
- The noses are two chocolate-covered sunflower seeds “glued” onto each cookie.
- The teeth are white licorice candies (white Good ‘n’ Plenties will also work), “glued” to each cookie with icing. Then I piped a smile across the teeth using royal icing tinted black.
- I used other decorations (like more candy buttons, or slices of rainbow Twizzlers, or little skull candies) to embellish the rest of each skull.


These are absolutely awesome! I love them. Great job!
Thank you!
cool cookies looks hard to eat though