 Today’s post features the classic bunny cake. As you can see from the photo above, I’ve been a fan of this design since the ’80s (side note: check out those mom jeans and that sweater vest! It was truly a magical time.) My Dad made that cake for me when I was 4 or 5 years old. Yes, my Dad. He was (and still is) a totally creative, awesome, and loving Dad. When I was younger my Mom worked on Saturdays because she was a young attorney who was building her practice. This meant that I got to spend every Saturday with my Dad, which was the best time. To this day, some of my strongest childhood memories involve those Saturdays with him. We’d go to breakfast together, run errands, visit my grandparents, etc.
Because my Dad has always remained a kid himself — and believes strongly in making life fun and silly — he made me this cake. My five-year old self thought what he did was magical. When I was home earlier this month for spring break, I asked him about the cake. He told me that he clipped the idea out of a magazine, planned it all out, and had to call my grandma because he couldn’t figure out how to dye the coconut pink and green.
I’m not a parent, but I can understand and appreciate the fact that parenthood can be exhausting. But please don’t forget to have fun with your kids. The simple things, like a bunny cake, matter more than you may realize. And those simple things can end up forming the strongest and happiest memories.
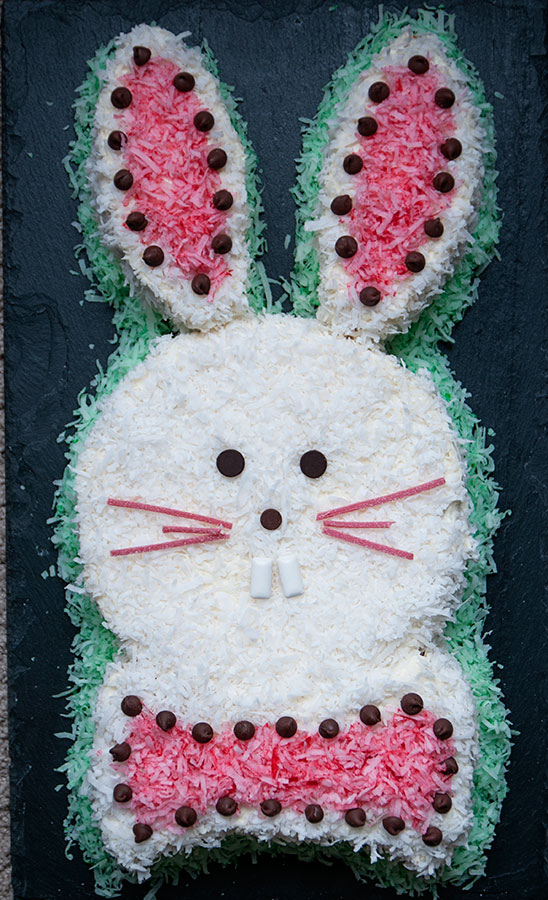
So how do you make a bunny cake? So. Simple. Just bake two round cakes. Leave one round cake as-is. And cut the other one up to make the ears and bow tie. If you are having a hard time visualizing this, check out this helpful graphic.
Bunny Cake
Print Recipe
1 box cake mix (plus required oil + eggs)
Two 8″ or 9″ cake pans
Two tubs of vanilla frosting (I used store bought; feel free to make homemade icing!)
1 bag of sweetened, shredded coconut
Green food coloring
Red/pink food coloring
2 Ziploc bags
Chocolate chips (about 1/2 cup)
2 pieces of gum for the bunny teeth (I used Eclipse)
String licorice or another type of candy for the whiskers
1. Bake the two round cake according to box directions.
2. While the cakes are baking, dye the coconut. Put a handful of shredded coconut into a Ziploc bag and add a few drops of green coloring. No need to use gel coloring for this. I used the food coloring you can buy at the grocery store. Seal the bag and shake, which will color the coconut green. Repeat this process with the red/pink food coloring. Leave the rest of the coconut white.
3. After the cakes have cooled completely, cut one of the cakes into the pieces according to the link I posted above. Assemble the “ears”, “bow tie”, and un-cut round cake into a bunny on a large cookie sheet or serving platter.
4. Frost the cake with the vanilla icing. Cover the frosted cakes with the shredded coconut. You can do any design you’d like, or you can follow along using my photo as a guide. Outline the cake with green coconut to make it look like grass.
5. Embellish the bunny with the chocolate chips, gum, and licorice strips.
Easy, right?! Please feel free to decorate your bunny how ever you’d like, using different colors or candies as you see fit. There’s no perfect way to do this. A Google image search for “bunny cake” will produce a variety of results that can serve as decorating inspiration.
If you end up making one of these for Easter, please take a photo and send it to me! I’d love to see it!


